


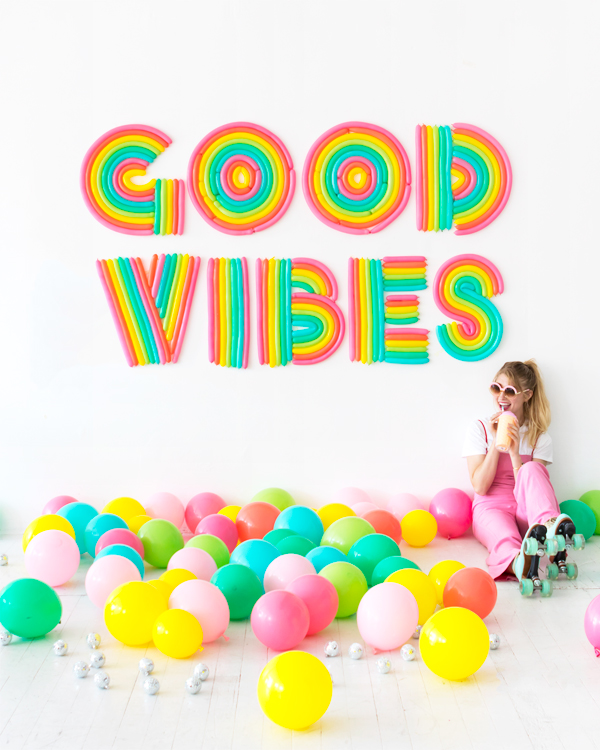
Not too long ago, we tried our hand at cursive balloon lettering with great success. One year later (almost to the day!) we felt it was time to experiment with a different style. Using a typeface reminiscent of 70’s roller discos, we created this fun phrase made entirely out of long balloons in all the colors of the rainbow! Read on to find out how we did it…
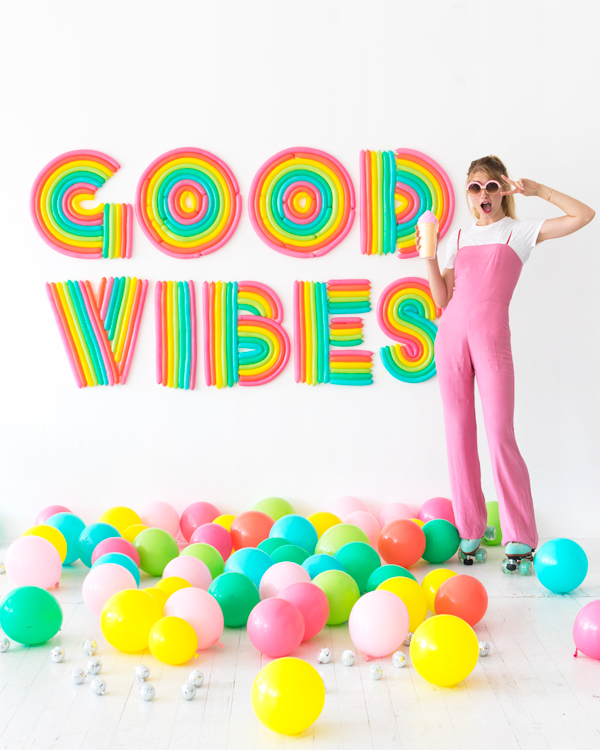
Materials needed: Projector, pencil, 160Q long balloons (in rainbow colors), mini balloon hand pump, scissors, double-sided Shurtape
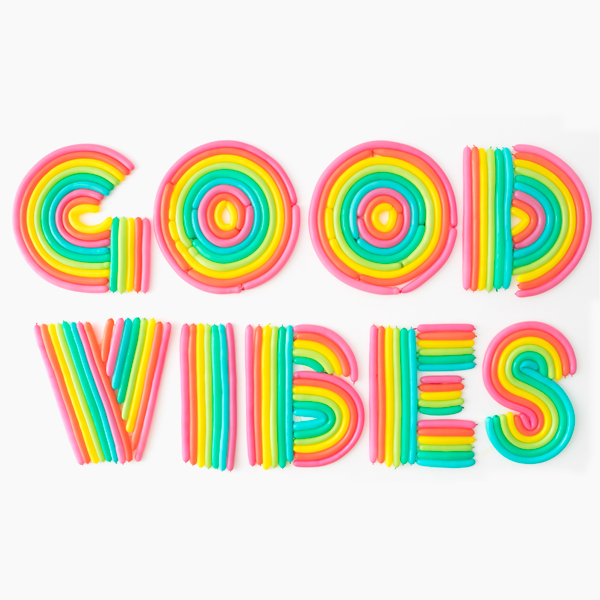
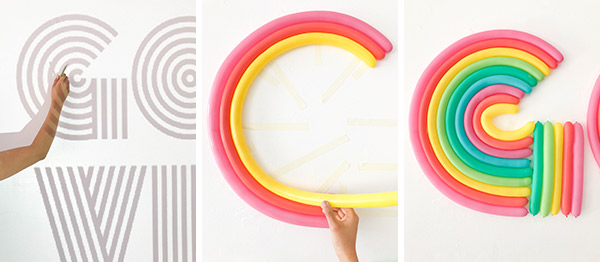
Step 1: Find a retro inspired, multi-line typeface (we used Vibro). Using a word processor, type your phrase as large as you can and save it as a PDF. Project the PDF onto a large blank wall and lightly trace the design with a pencil.
Step 2: Apply strips of double-sided Shurtape within the design, stemming from the outline and stopping at any letter openings. Run the tape perpendicular to the direction of the balloons. Then, peel off the paper backing.
Step 3: Inflate a bunch of 160Q balloons in all colors. Release a bit of air from each balloon before knotting, so that the balloon has less tension, then trim off the balloon tails.
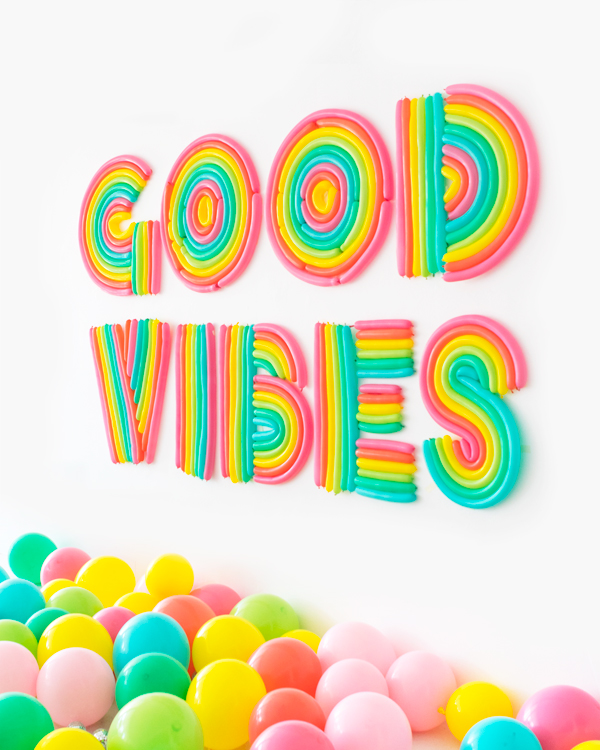
Step 4: Fill in the design with balloons in rainbow order, starting with the outline of each letter. To make balloons to size, inflate a balloon to the length that you need, knot both ends, and trim off the leftovers.

Crafting by Naomi Julia Satake & Justine Pon


Michelle
August 30, 2017
Love the 70s style, very cool!
https://www.makeandmess.com/
Belle
September 1, 2017
So retro. So fun. I’m tempted to throw myself a rollerskate party fr my next birthday…!
http://www.thislifeisbelle.com/