


This post is sponsored by Brother USA.
Ok, it’s March again (how?!), which means we’re a year into this pandemic and all the daily stresses that have come with it— honestly, that’s a lot. Consider this post a reminder that it’s ok to take some time to recharge however you need to. To celebrate National Craft Month (and more importantly, relaxation), we made these cheeky eye masks using craft tools from Brother. Read on to get crafting, and/or pull the covers back over your head—absolutely no judgement here.


For this project, we’re using two craft tools from Brother to take standard eye masks to the next level. We got to try out their new ScanNCut SDX85M machine to cut out both the fabric pattern pieces along with some fun sayings in iron-on vinyl to decorate each mask (the template is below for “Out of Office” and “Bon Nuit”). We’re also using the Brother P-touch Embellish ELITE to create customized satin ribbon for the ties—you can choose from Brother’s library of symbols (we love the cherries and coffee cup!) or write your own custom text using fonts installed on your computer.
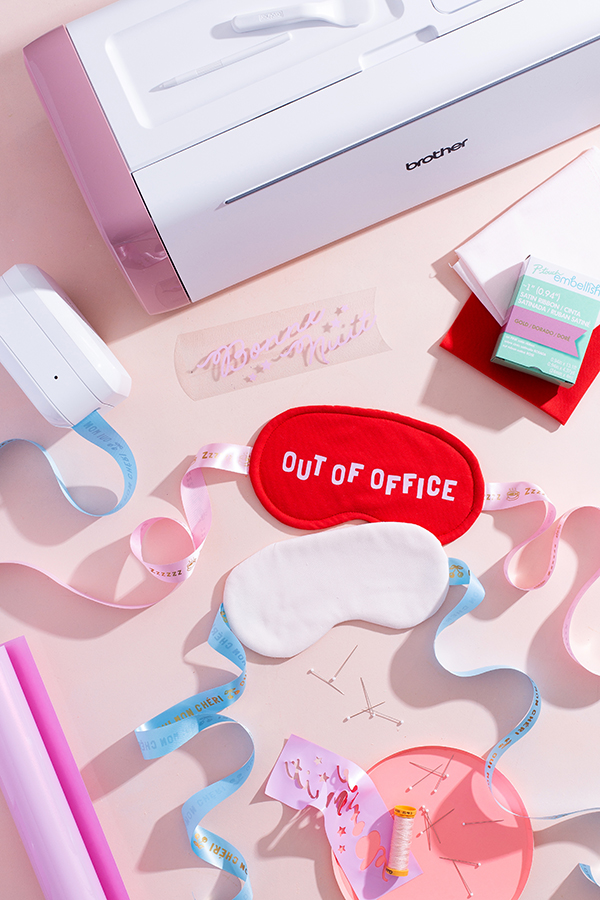
Materials needed: Brother ScanNCut SDX85M (with Auto Blade, Standard Mat and Fabric Mat), pink iron-on vinyl, Brother P-touch Embellish ELITE, 1” ribbon cartridge (If you plan to use the mask for sleeping vs. relaxing, substitute ribbon with a length of elastic for safety.), fabric (¼ yard), cotton batting (¼ yard), fabric scissors, thread (in matching color), needle, sewing machine, pins, iron, eye mask artwork template
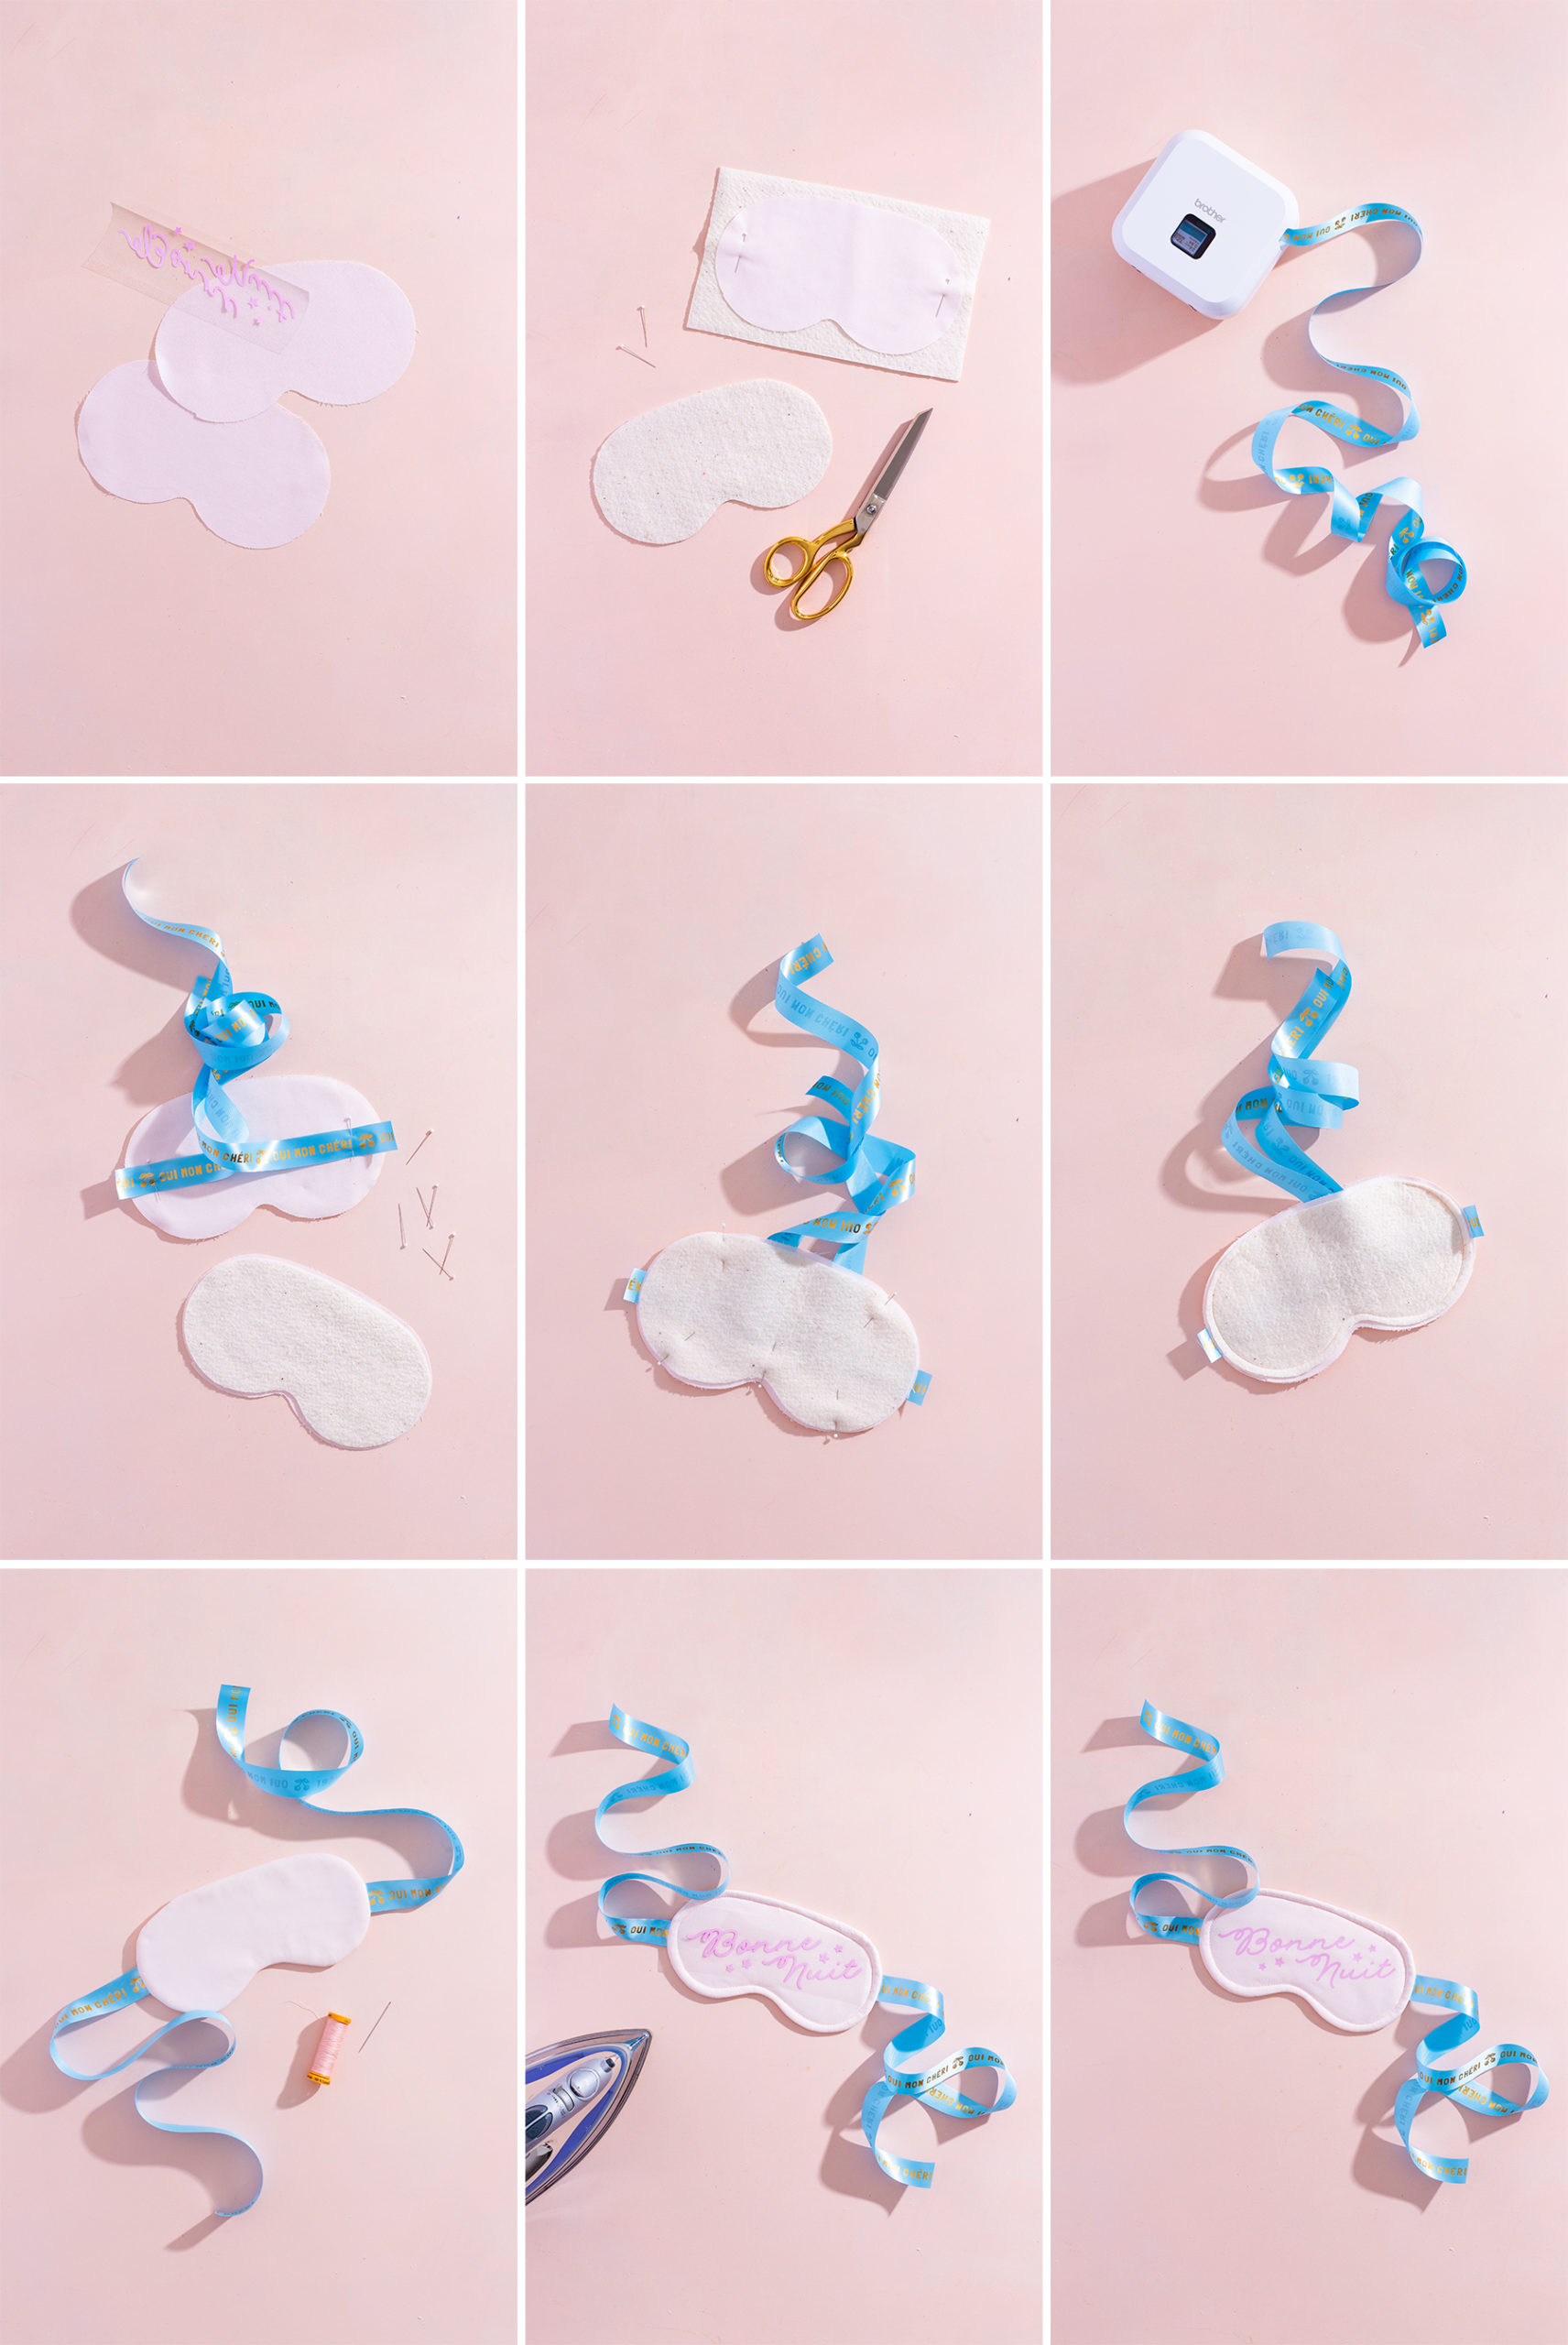
STEP 1: Cut fabric pieces and vinyl lettering using ScanNCut SDX85M machine and provided template.
STEP 2: Pin one of the cut fabric pieces to cotton batting and cut around it. Repeat so that you have two cotton batting pieces.
STEP 3: Use Brother P-Touch Embellish ELITE to print 1.5 yards of ribbon with phrases or symbols (we chose “Oui Mon Chéri”). Remove ribbon from machine, and cut into two equal lengths.
STEP 4: On a work surface, stack one layer of batting, followed by one fabric piece. To these, pin the 2 lengths of ribbon to each side as shown, about 1” away from the edge (you’ll need room to sew around the perimeter). Next, stack the second fabric piece, followed by the second piece of batting. Pin these layers all together.
STEP 5: Sew around the perimeter of the mask, with a ⅜” seam allowance, leaving the top section open so the mask can be turned right side out.
STEP 6: After sewing, press open the seams before turning right side out. Fold in the top seam and press with an iron before sewing closed by hand. If desired, top stitch around the edge of the mask by machine.
STEP 7: Iron on the vinyl cut out in Step 1, following package instructions.
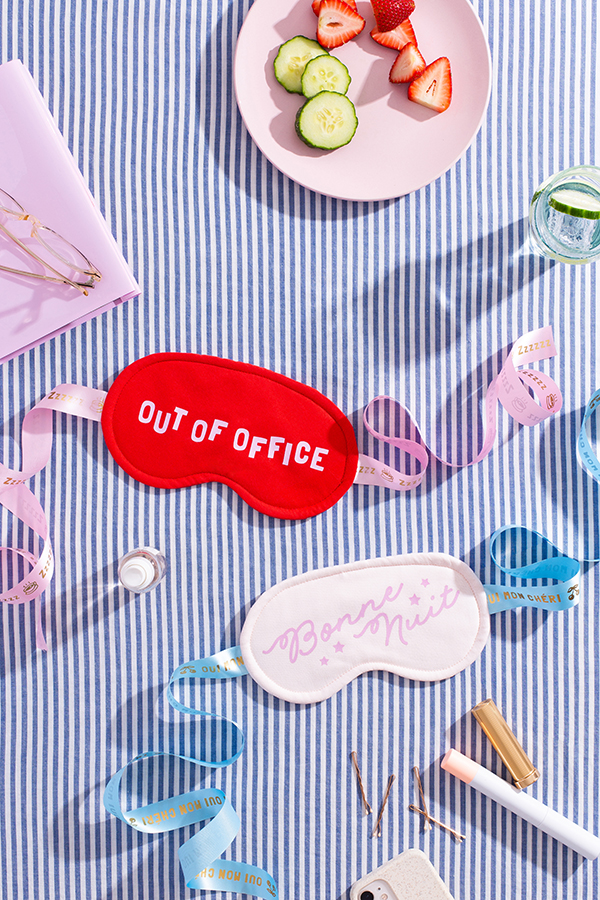
STEP 8: Done! Time to relax.


Ritesh sute
March 23, 2021
this DIY mask is easy to make and also feels nice on the eyes. i will definitely be going to try this.