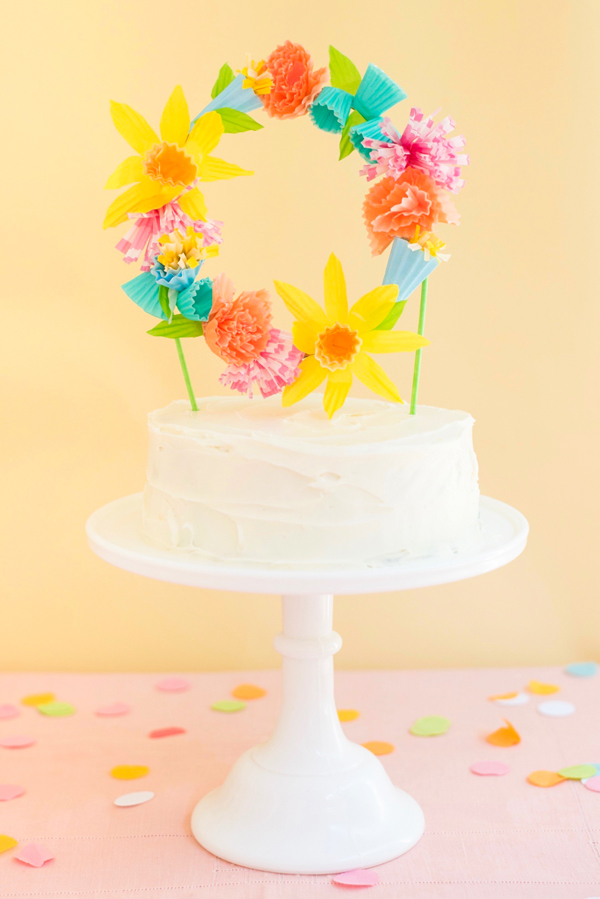
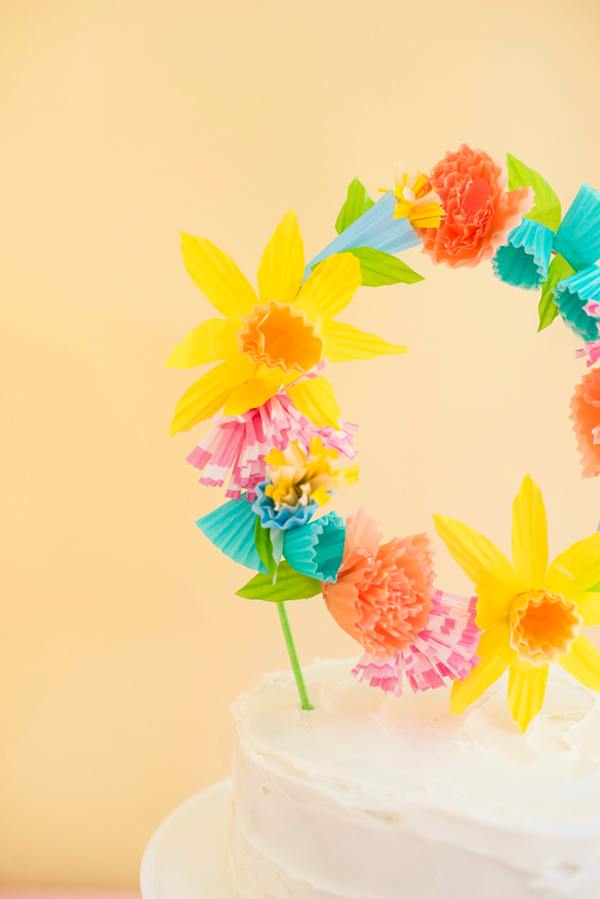
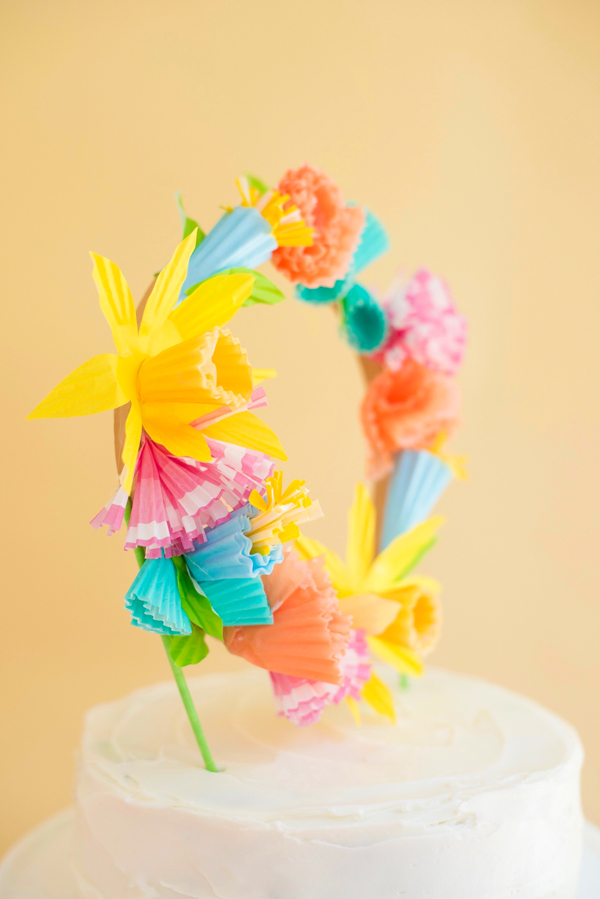
I was so inspired by this project, I set out to see what other flowers could be made using only cupcake liners. Attached to a hoop, they create a festive wreath that can be used as a cake topper. When the cake’s been eaten, remove the sticks, loop a string through the top and hang it up for a pretty decoration.
Materials needed: cupcake liners in assorted colors –regular sized pink, yellow, light blue, orange, yellow and green liners, and mini size in teal, green cake pop sticks, hot glue gun, scissors, 6-inch embroidery hoop (one piece of it), pinking shears.

For the pink flowers:
Step 1: Flatten two liners pink liners (I used a pink and white design). Fold them in half and stack them on top of each other.
Step 2: Cut fringe into the edge of the pink liners.
Step 3: Pinch the pointed end and apply a dab of hot glue, folding the tip towards the fringed edge. Fluff fringe with fingers.
For the orange flowers:
Step 1: Flatten two orange liners, fold in half and stack on top of each other.
Step 2: Trim the curved edge with pinking shears.
Step 3: Pinch the pointed end and apply a dab of hot glue, folding the tip towards the sheared edge. Fluff flowers out with fingers.
For the yellow flowers:
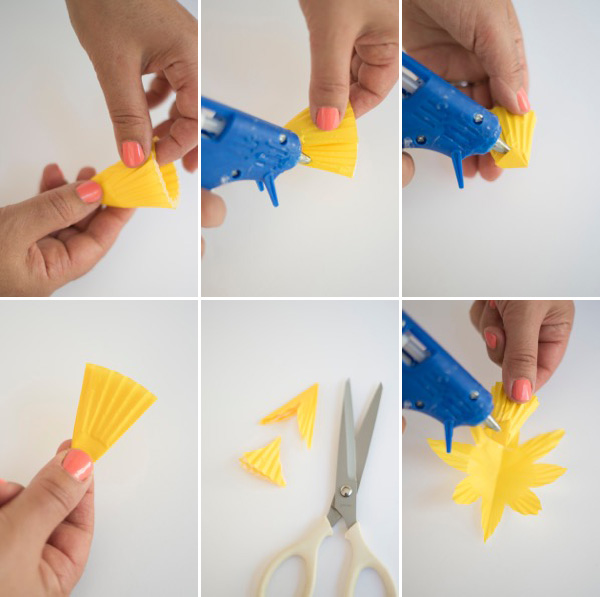
Step 1: Gently fold a baking cup in half and twist it around your finger to create a cup shape. Try not to crush the ruffle.
Step 2: Apply a line of hot glue to the edge of the cup and press together (being careful not to touch the hot glue!).
Step 3: Stick your finger into the cup, and bend back the base of the cup. Apply a dab of hot glue under the bent end and press closed.
Step 4: Fold a yellow baking cup in quarters.
Step 5: Holding the point of the liner, cut a curved line into the center of the liner from each side. Open carefully.
Step 6: Attach the petals to the cup with hot glue.
For the teal flowers:
Step 1: Gently fold a mini cup in half and twist it around your finger to create a cup shape. Try not to crush the ruffle.
Step 2: Apply a line of hot glue to the edge of the cup and press together (being careful not to touch the hot glue!).
Step 3: Stick your finger into the cup, and bend back the base of the cup. Apply a dab of hot glue under the bent end and press closed. Repeat 3-4 times.
For the blue and yellow flowers:
Step 1: Gently fold a baking cup in half and twist it around your finger to create a cup shape. Try not to crush the ruffle.
Step 2: Apply a line of hot glue to the edge of the cup and press together (being careful not to touch the hot glue!).
Step 3: Take a yellow cupcake liner, fold in half, then half again. Cut fringe into the curved edge. Squeeze the pointed edge, apply a dab of hot glue, and insert into the blue cone.
To assemble the final topper:
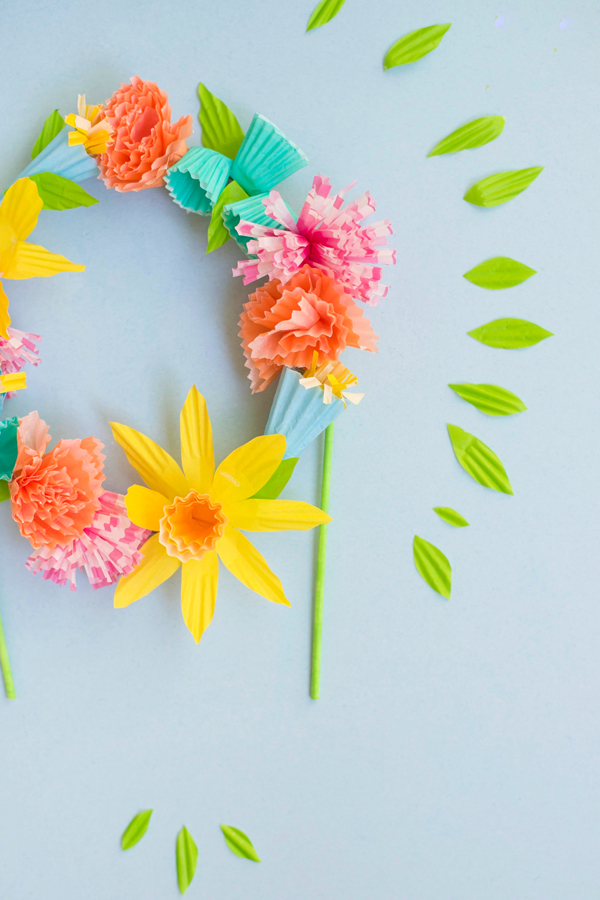
Step 1: Once you have about 14-16 flowers, attach them with hot glue to the embroidery hoop (arrange them roughly before attaching).
Step 2: Cut out some green leaf shapes and attach with hot glue between some of the flowers.
Step 3: With hot glue, attach two green cake pop sticks to each side of the embroidery hoop.
Photography by Tim Gibson







Claire - StartACraftBlog
May 31, 2017
this is an awesome tutorial! I’ve never been able to master the flowers from cupcake wrappers and I always thought it was my technique (you know how you have to sometimes use your thumb to add creases etc) but this one looks so simple and effective. I’m going to have to find the cupcake wrappers now and make a wreath for my craft room wall 🙂
Sophie
May 31, 2017
All the flowers are amazing. I’m always impressed when someone does a flower DIY. I definitely want to try making this.
http://goldclutter.com
Michelle
June 1, 2017
It’s so colorful, beautiful!
https://www.makeandmess.com/
Belle
June 1, 2017
This is so gorgeous. It would be awesome at ‘Flower Power’ hippie party!
http://www.thislifeisbelle.com
spanish to english
June 2, 2017
This is so adorable!
Kate
June 5, 2017
Love this idea! I organized a small garden party for my daughters’ friends and there was a cake with the same wreath. I helped them make it and it coordinated perfectly to the flowers we picked up from the garden to decorate the table.