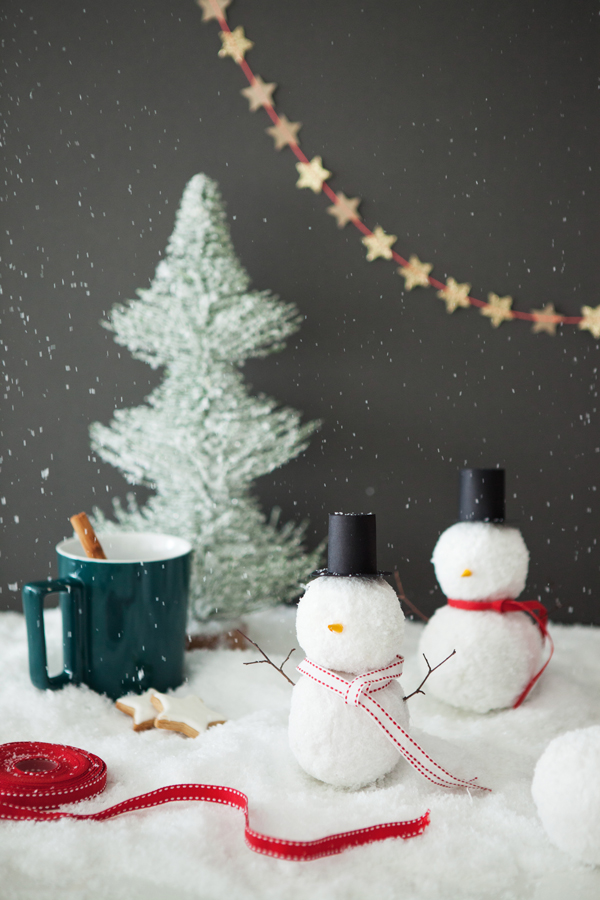
Surprise balls are some of my favorite things. If you aren’t familiar with them they are balls of crepe paper wrapped up with 10 different tiny prizes inside. I love having them for kids or having one at each place setting for a dinner party. They are a really playful way to give little gifts. Today we’re sharing a Snowman Surprise Ball!
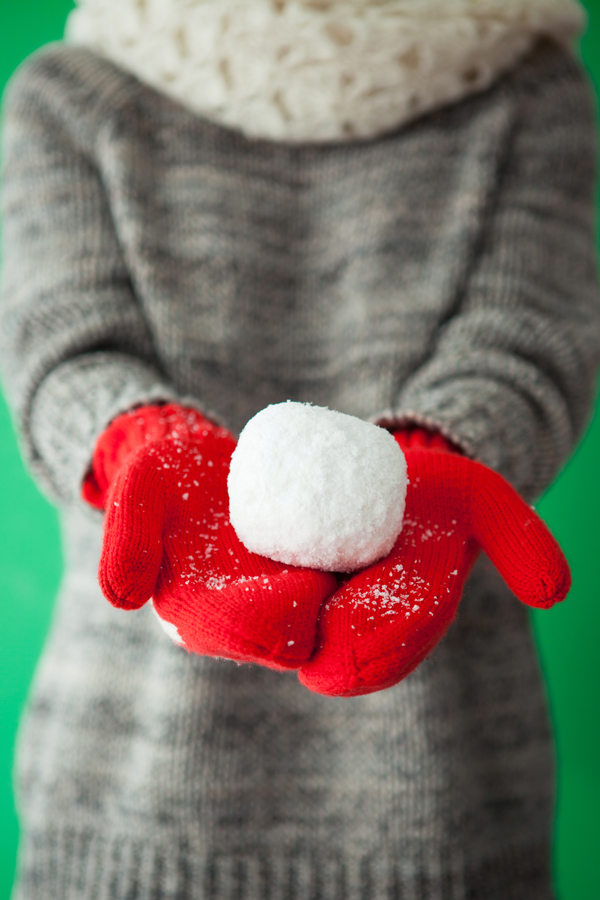
We also thought they looked sweet just as a simple snowball so you could just do a series of snowballs. These turned out so cute I can’t stand it!
Snowball Surprise Ball
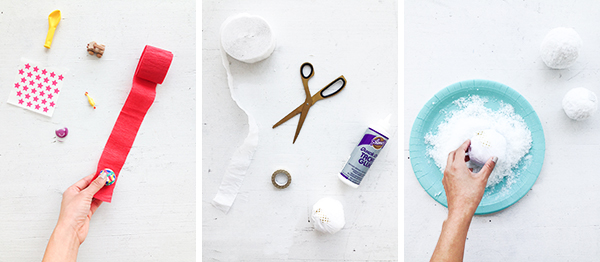
Materials needed: Crepe paper party streamers (in a bright color and white), tiny gifts (some smaller than others), scissors, Aleene’s Quicky Dry Tacky Glue, washi tape, paper plates, artificial snow flakes, cardstock in black and orange, hot glue gun, twigs
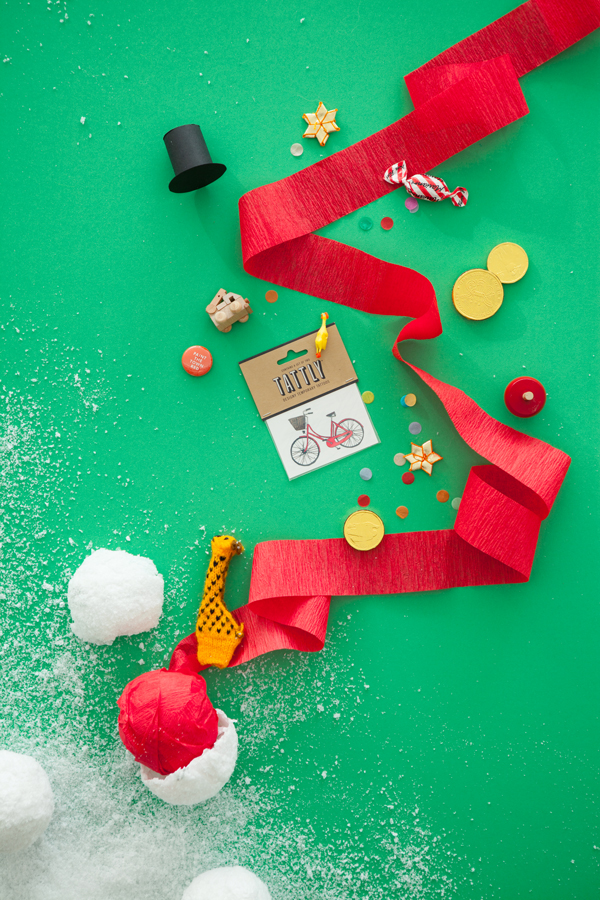
Step 1: Gather a bunch of tiny gifts (bouncy ball, buttons, stickers, mini balloons, etc).
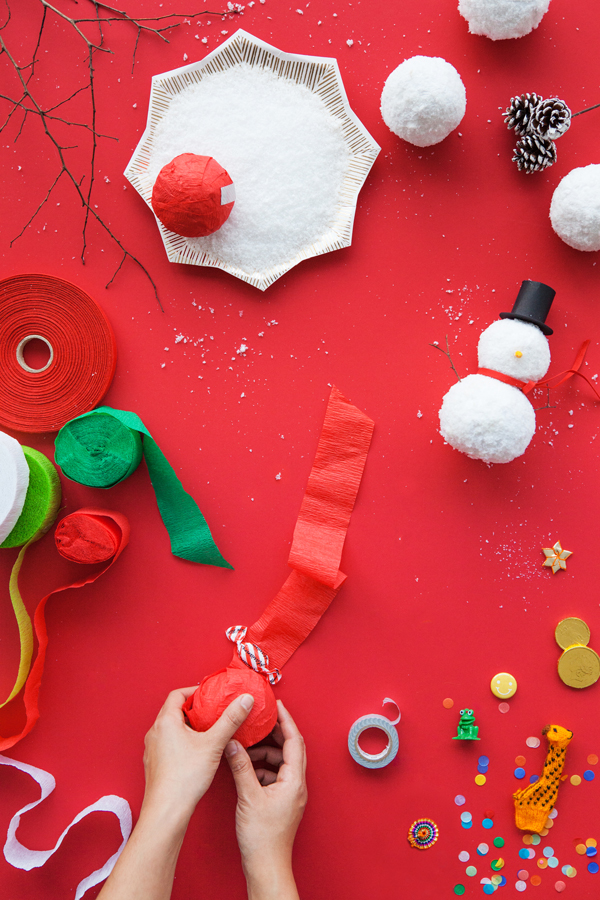
Step 2: Starting with the largest of the tiny gifts, begin wrapping your items in the brightly colored crepe paper streamer. Be sure to wrap each item completely before moving onto the next one to maintain the surprise element!
Step 3: Wrap the second largest item. Keep in mind that you’ll want to end up with a round ball shape so be strategic when placing your items.
Step 4: Continue to wrap the remaining items into the streamer, creating a snowball shape in the process. If needed, add a bit of Aleene’s to keep the crepe paper in place.
Step 5: Once you’ve wrapped your last gift, cut the streamer and secure with a dab of Aleene’s. Place a piece of washi tape on the end the streamer to create a small tab for easy unwrapping.
Step 6: Wrap the colorful snowball in the white crepe paper streamer until the brightly colored interior is no longer visible. Cut the white streamer and add a dab of Aleene’s to secure the end.
Step 7: Apply a thin layer of Aleene’s onto the exterior of the snowball. Roll the snowball in a plate of faux snow until it is completely covered and let dry. Repeat until you have a hard outer shell.
Snowman Surprise Ball
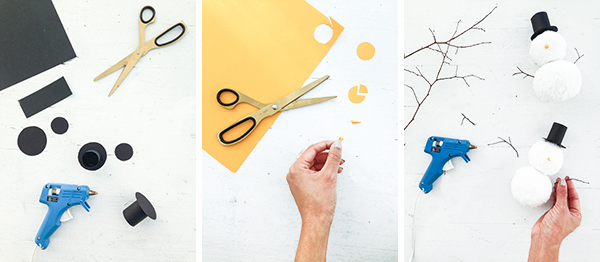
Step 1: Make two surprise snowballs, one smaller than the other. Hot glue the smaller snowball on top of the larger one.
Step 2: Cut out a small, 1” circle out of orange cardstock. Cut out one-fourth of the circle and roll it into a cone shape. Attach the nose with a dab of glue to the smaller ball.
Step 3: To make the hat, start by cutting out a piece of black cardstock 1” by 2.5”. Roll the rectangle into a tube and glue in place. Cut out two 2” rounds and glue to either end of the tube. Trim one end so that the edge is flush with the tube opening. Hot glue to your snowman’s head.
Step 4: Cut off a set of small twigs for the snowman’s arms and hot glue to the snowman’s body. Tada! All done!
Photos & styling by Naomi Julia Satake
Crafting by Justine Pon





Daphne @ Be Frenchie
November 28, 2016
Wow, I never saw that in France but it’s such a great idea to entertain kids for Xmas !
Thanks Justine, I’ll definitely try it for my little boy.
Natalie
November 28, 2016
What a fun idea! I’ve never seen them before but it’s like a more present heavy and easy open pass the parcel
– Natalie
http://www.workovereasy.com
Jessica
November 28, 2016
This is the greatest DIY ever, I love this x
Jessica — NinetyCo
Kari
November 28, 2016
Those are just so adorable!
Kari
http://sweetteasweetie.com/10-minute-pretzel-chocolate-chip-cookies/
Jentou
November 28, 2016
I’ve never seen this before! Definitely a great idea.
lenny face
November 28, 2016
Good ideas 🙂
lenny face
November 28, 2016
This is a great article, that I really enjoyed reading. Thanks for sharing. – lenny face
Michelle
November 28, 2016
This is such an adorable idea, and they look so cute!
https://www.makeandmess.com/
Dottie Louise
November 29, 2016
They look too cute! What a fun activity! They remind me of the fun of Christmas crackers! 😀
Carolyn
November 29, 2016
Serious cuteness!
Carolyn
November 29, 2016
Seriously so cute!