


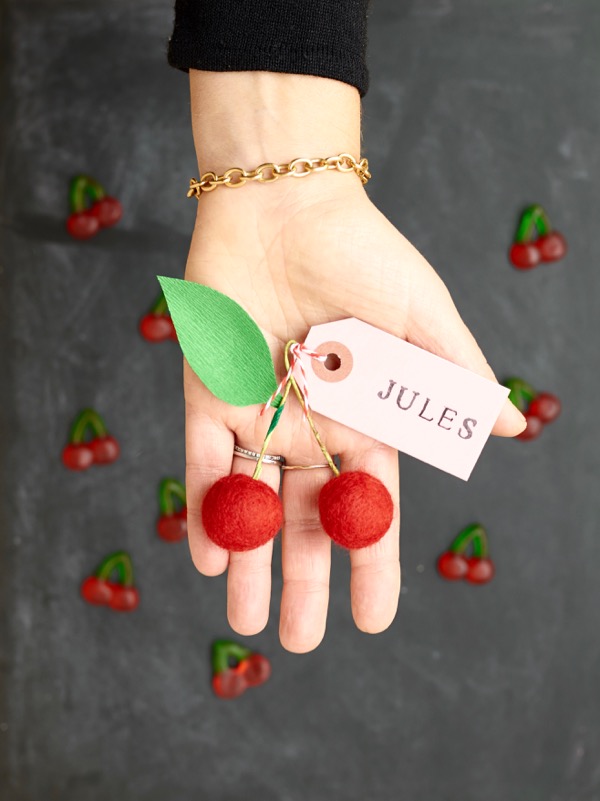
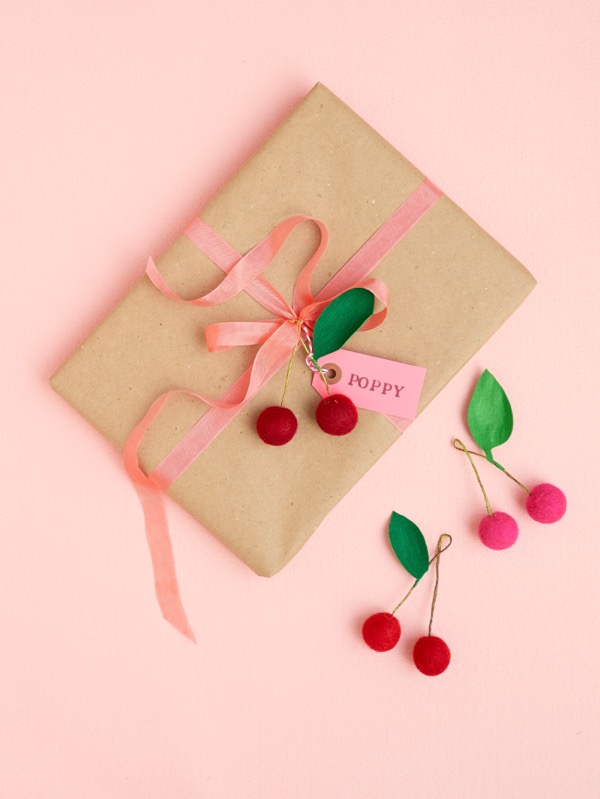
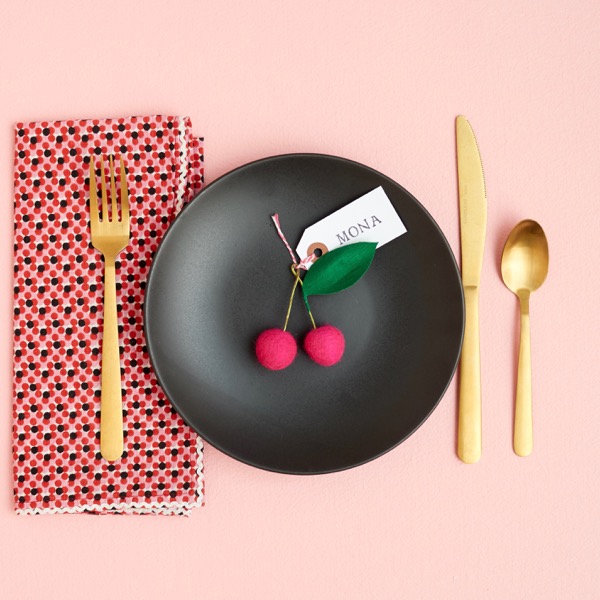
These sweet little cherries will have your guests saying “Pretty please with a cherry on top!” You can use them for place cards, gift toppers, or favors!

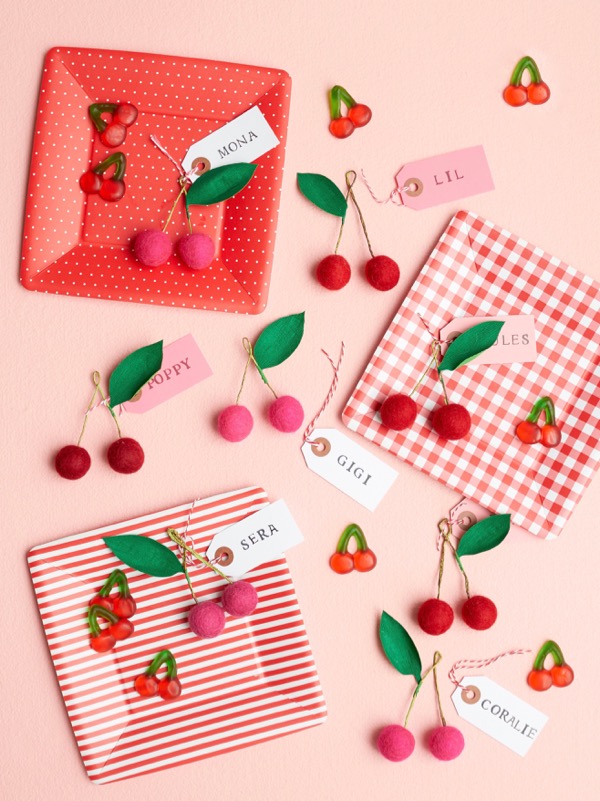
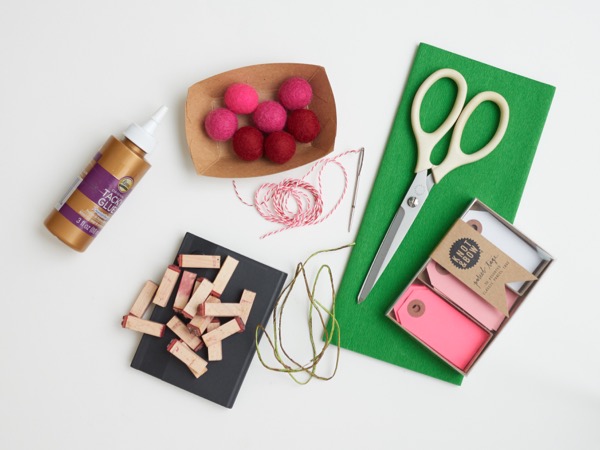
Materials needed: 1″ red and pink felt pom poms, green wire, oversized needle, green crepe paper, scissors, craft glue, baker’s twine, tags.
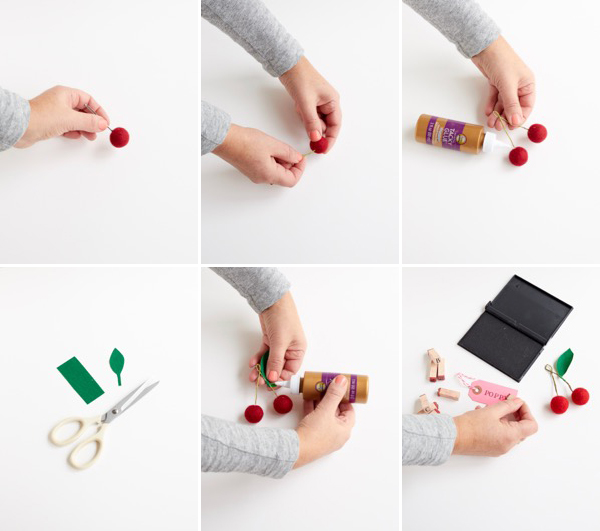
Step 1: Take an oversized needle and stick it halfway into a red felt ball. Wiggle it around to loosen the wool up.
Step 2: Take a 5″ piece of wire and insert it into the ball. Squirt a little bit of glue into the entry point to secure the wire to the ball.
Step 3: Repeat with the other end of the wire and the second red ball. Twist a small loop in the middle of the wire, and arrange the cherries like they are a pair on a stem.
Step 4: Cut out a small leaf shape out of crepe paper.
Step 5: Using craft glue, attach the leaf to the wire.
Step 6: Attach a name tag to the cherry using baker’s twine.
Photography by Benton Collins.


Shelby
January 17, 2019
I love these little cherries! Thanks for the blog.
Lauren
January 21, 2019
I love these! Reminds me of Mary Englebreit . Thanks for sharing