


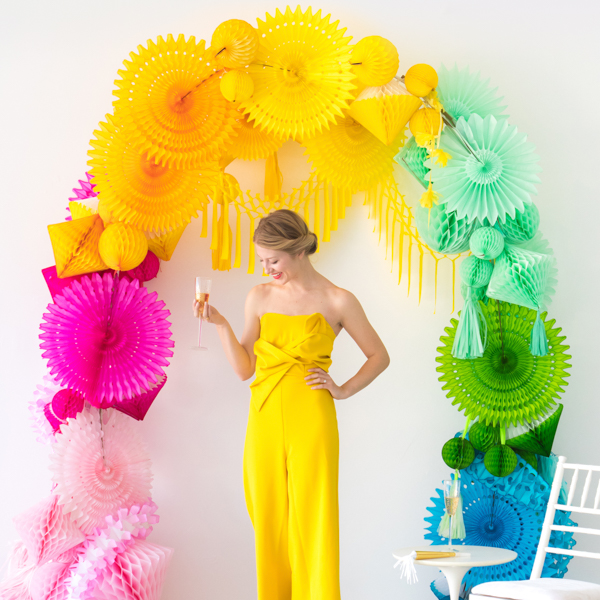
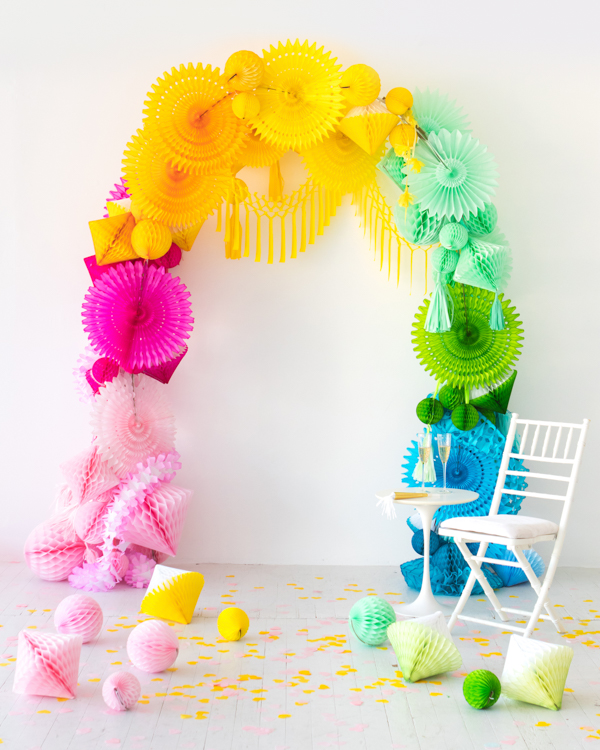
Honeycomb decorations are such an easy and affordable way to elevate the look of your party, especially when arranged in RAINBOW formation!! This DIY was inspired by the arch at Laura Miller‘s amazing wedding (you can see the whole thing here!) The end result is so versatile- use it as a photo booth backdrop, a wedding arch or a beautiful and festive frame for your food table!
Click through for the DIY…
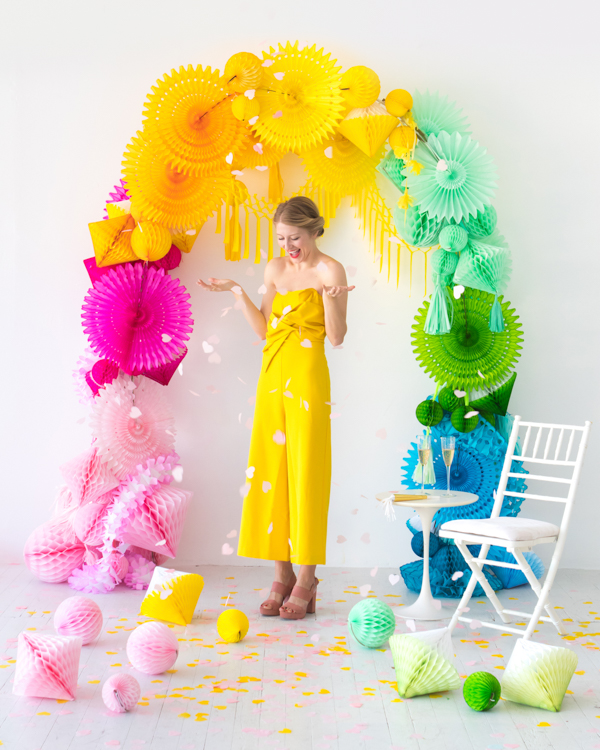
Materials Needed: Metal arch trellis, tissue paper, ribbon, scissors, zip-ties, 21″ tissue paper fans (in pink, cerise, gold, yellow, mint, green, and turquoise), honeycombs, tissue garlands, wire cutters
Step 1: Assemble the metal arch and secure it to the surface it’ll be displayed on. If you’re displaying it outside, secure the trellis to the dirt with the instructions provided with the trellis. We stabilized our trellis indoors by securing it to the wall.
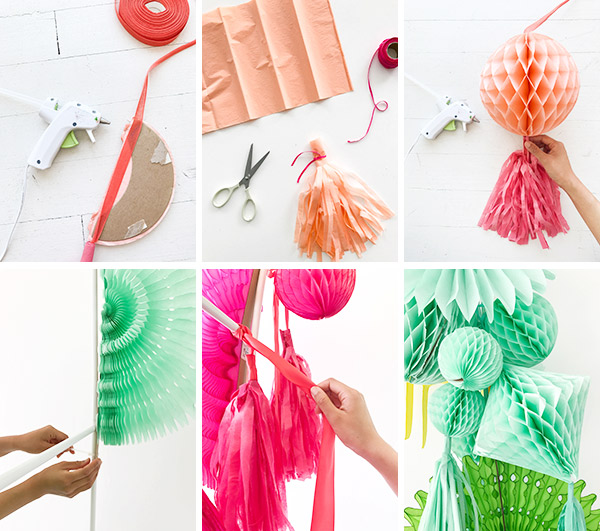
Step 2: Make long paper tassels by cutting fringe from a stack of tissue paper 12” tall and 1 cm wide with good scissors. Roll the cut fringe into a paper tassel. Put a dot of hot glue at the beginning and end of the wrap to hold it in place. Knot a piece of ribbon around the top to keep it together, leaving excess ribbon to tie to the arch for later.
Step 3: To hang honeycombs, apply a thin line of hot glue along the inside edge of a closed honeycomb and attach ribbon. Leave extra ribbon to tie onto the arch later.
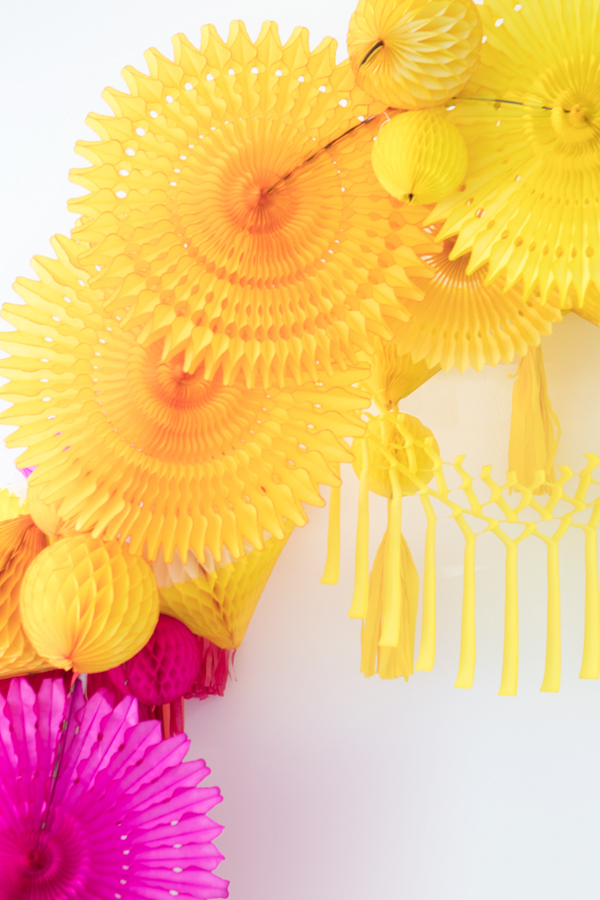
Step 4: Attach paper fans to the arch. First, assemble a few fans in each color and attach to the arch with zip-ties. Then, attach a second layer of fan to the arch by opening the fan half-way, and zip-tying each end separately.
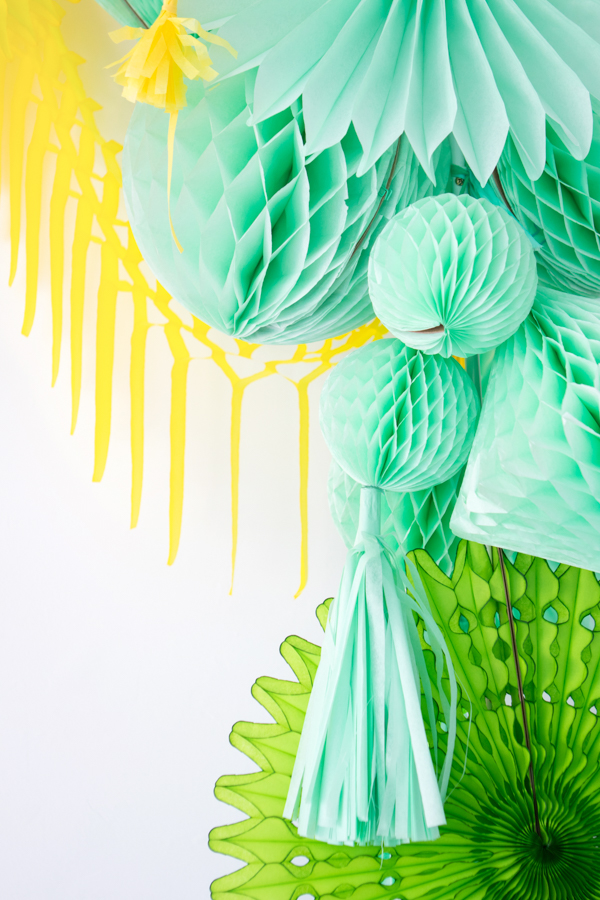
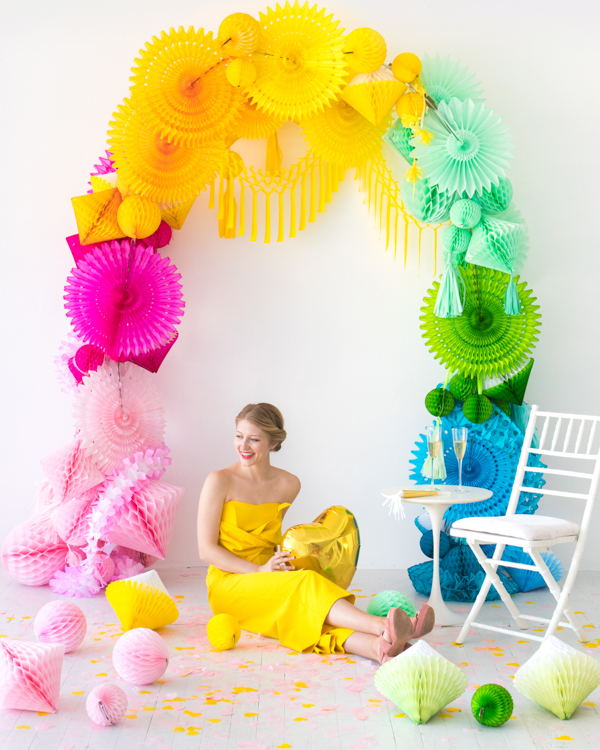
Step 5: Layer honeycombs around the fans. Tie honeycombs to the front and back arches, as well as the center bars to create more dimension. Continue until the trellis is covered and the arch feels full!
Step 6: Final touch! Carefully wrap garlands around the fans and honeycombs, securing each end to the trellis separately with their own zip-ties. You’re all done! When you’re ready to break down the installation after your event, you can just clip the zip-ties to quickly remove the honeycombs and save them for later! Just use wire cutters.
Photography and Styling by Naomi Julia Satake
Crafting by Naomi Julia Satake and Justine Pon
SHOP THIS POST: Jumpsuit, Heart Balloon, Giant Confetti, Party Horn


Michelle
June 22, 2017
That looks fantastic, so colorful!
https://www.makeandmess.com/
Paige Flamm
June 22, 2017
This is such a fun and colorful arch! I love it!
Paige
http://thehappyflammily.com
metal beads
June 23, 2017
Wow! It looks so pretty. Yellow color is my favorite. Amazing color you choose,
Belle
June 27, 2017
Wouldn’t a bride and groom look amazing under this on their wedding day?
http://www.thislifeisbelle.com/