Gifts
Sleep Mask
Kitchen
Cake Stand
Office + Crafts
Dot Stickers
party
DIY Eye Masks
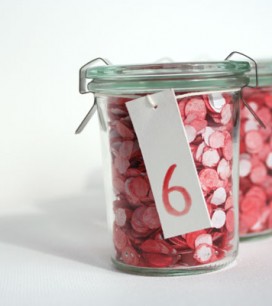
Strawberry Party
Disco Ball Photobooth Backdrop
holidays
Fly Fishing Gift Topper
Pasta Bow Ties
Shrinky Dink Father’s Day Gifts
interiors
Checkered Wallpaper
Pegboard Arts + Crafts
6 Tips for Open Shelf Organization
Mini Banana Pinatas
Free Printable Candy Letter Garland
printables
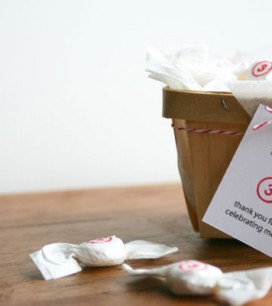
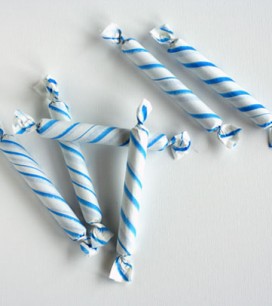
DIY Candy Stick Party Invitations
travel
Parisian Picnic On The Seine
Paris Movie Night
DIY Travel Map
OHD Vimeo Videos OHD Facebook Videos OHD YouTube Videos
We use cookies on this site to inform and personalize your experience. You may opt-out and/or read more about our policy here.