


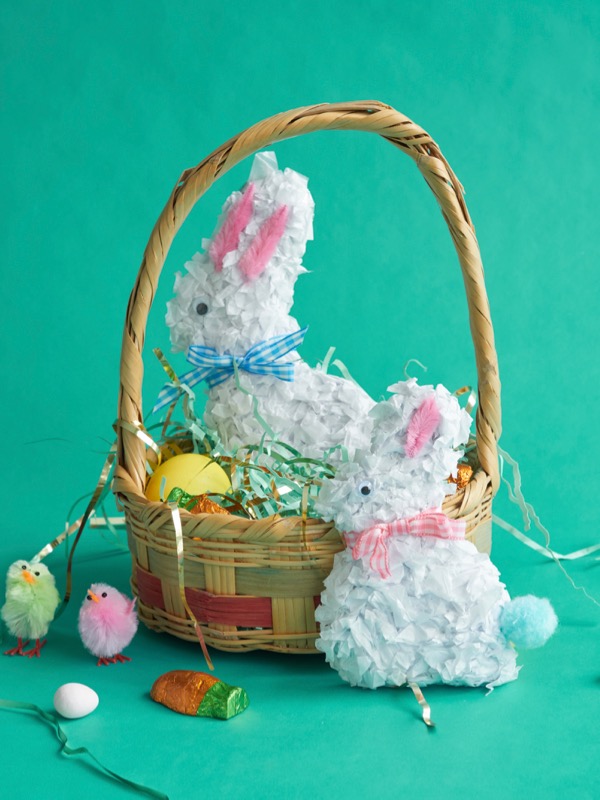
Looking for a craft activity over the Easter break? You might have made something similar in your pre-school class when you were little, as this activity has been around for a while. I love the way the white tissue paper looks like shredded coconut!

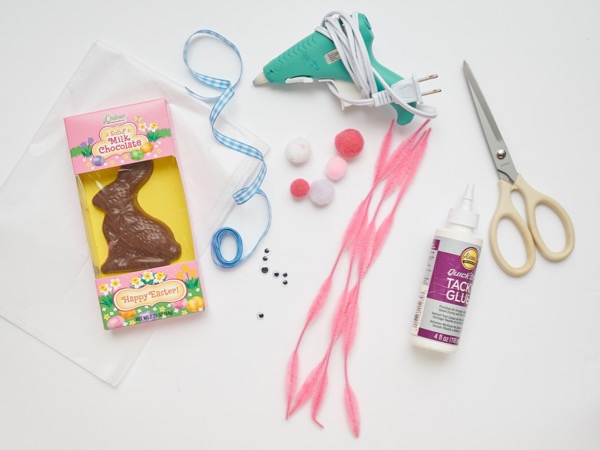
Materials needed: chocolate bunny, tissue paper, scissors, craft glue, ribbon, pink bump chenille pipe cleaners, googly eyes, tin foil (if needed), pencil, ½” pom poms
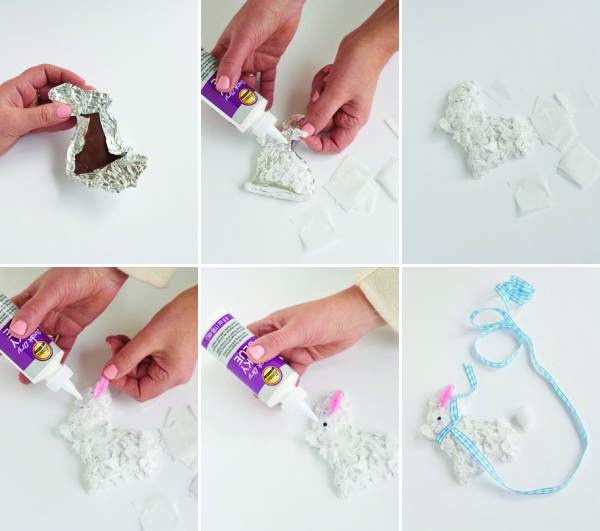
Step 1: If you are using a chocolate bunny that is not wrapped in foil, gently wrap it in tin foil, pressing down to get as close a possible to the chocolate form.
Step 2: Cut up tissue paper into 1″ x 1″ squares. They do not need to be perfect, but try to keep them roughly the same size so that your finished project is fairly even. Place your pencil’s eraser into the center of a pink tissue paper square, and wrap the square around the pencil eraser. Stick the tissue paper into the glue using the eraser, then pull the pencil up and out.
Step 3: Continue until the front and sides of the bunny are all covered.
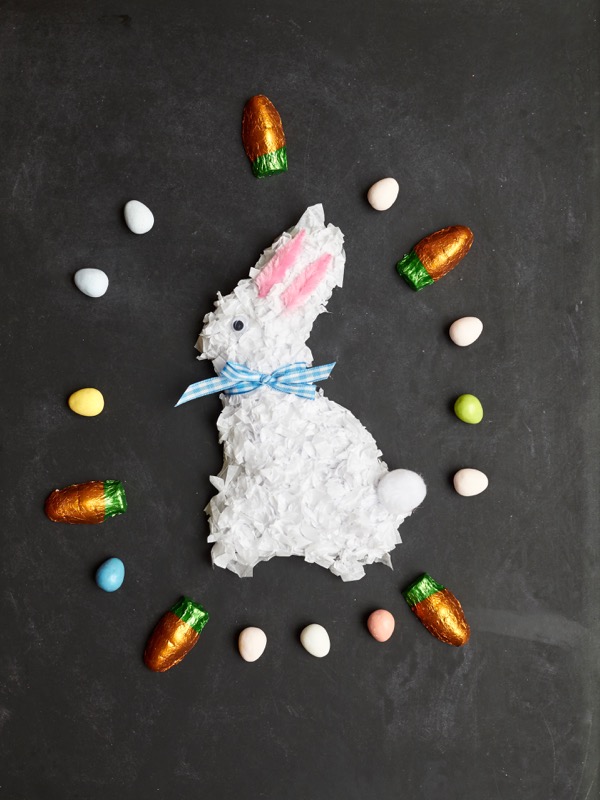
Step 4: Cut out the pink bump from the pipe cleaner, and glue to the bunny’s ear.
Step 5: Glue on a googly eye.
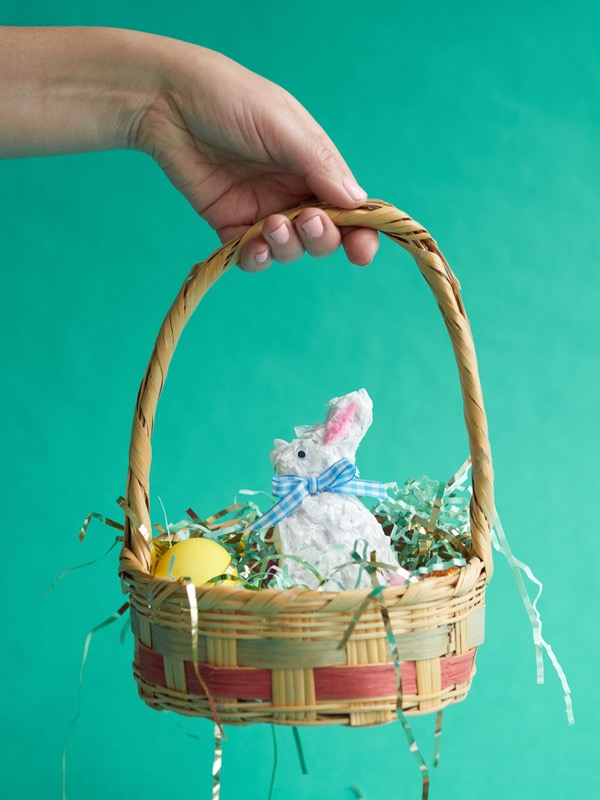
Step 6: Cut a piece of ribbon and tie it in a bow around the bunny’s neck, and glue on a pom pom for the bunny’s tail.

Photography by Benton Collins


Holly
April 19, 2019
Those are adorable! A great way to dress up the chocolate bunnies!
Kate
April 19, 2019
These are so cute and just perfect for Easter!!! Thanks for sharing, hope you are having a lovely day.
-Kate
https://daysofkate.com/