


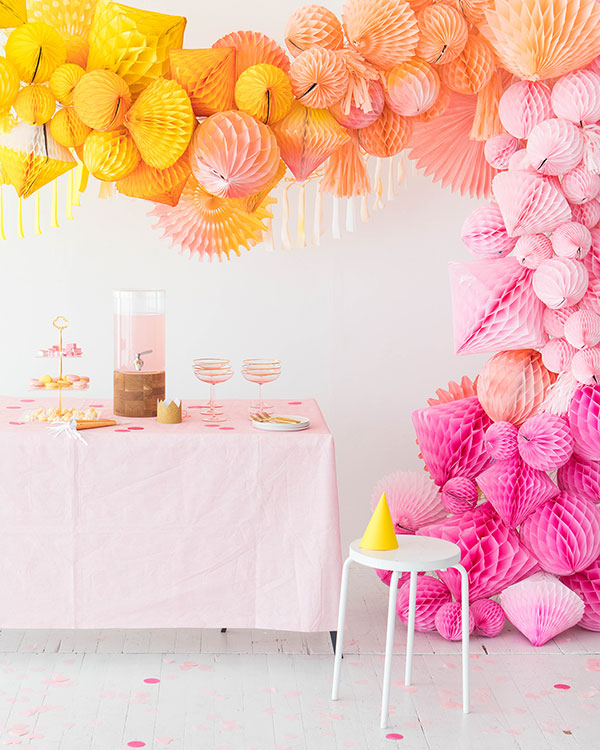
Lately we’ve been super inspired to create over the top honeycomb installations, and thought we’d have a go at an ombre version! One of the best things about working with honeycomb is that they fold up flat, so they’re super easy to store and reuse later. Think of the possibilities! (Psst… check out this post for more honeycomb love)!
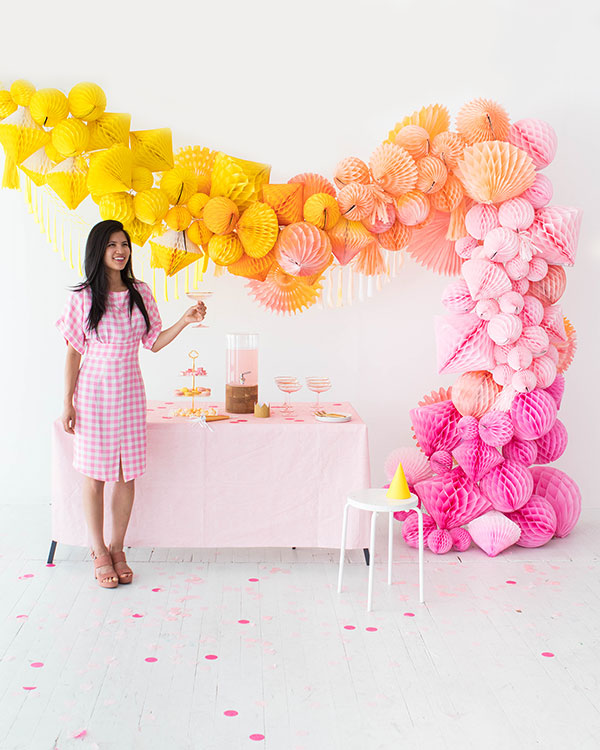
Materials Needed: Ceiling hooks, chicken wire, gloves, scissors, zip-ties, honeycombs (in white, yellow, gold, peach, pink, and dusty rose), tissue paper fans (in white), spray paint (in coordinating colors), streamer garlands (in yellow and white), wire cutters
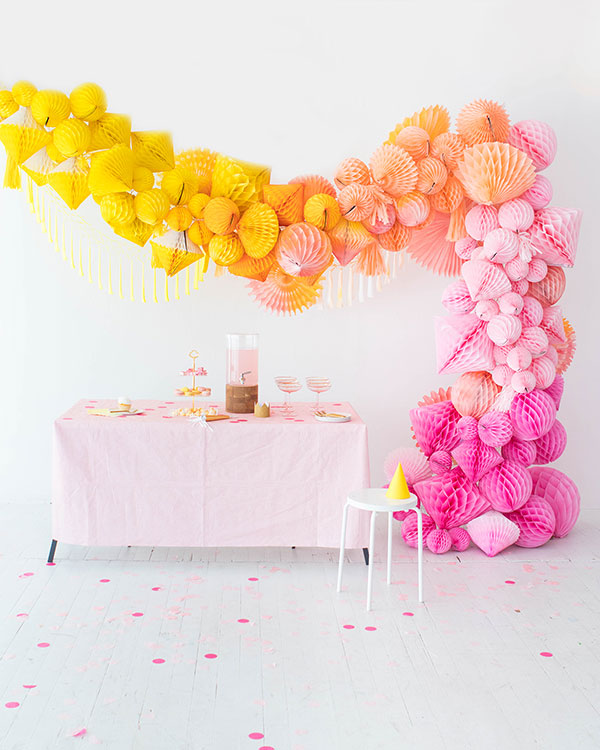
Step 1: Install ceiling hooks where you want your waterfall arch to start and end.
Step 2: Unroll enough chicken wire to reach from the ceiling to the floor. With a loose bit of wire, secure the end of the wire roll to the starting ceiling hook. Use gloves to avoid cutting your fingers!
Step 3: Drape the chicken wire across to the second hook and secure again with loose wire. Release enough chicken wire to form a wavy waterfall to the floor, then trim with wire cutters.
Step 4: Bend the hanging chicken wire into a tube shape. Secure shape with bits of loose wire.
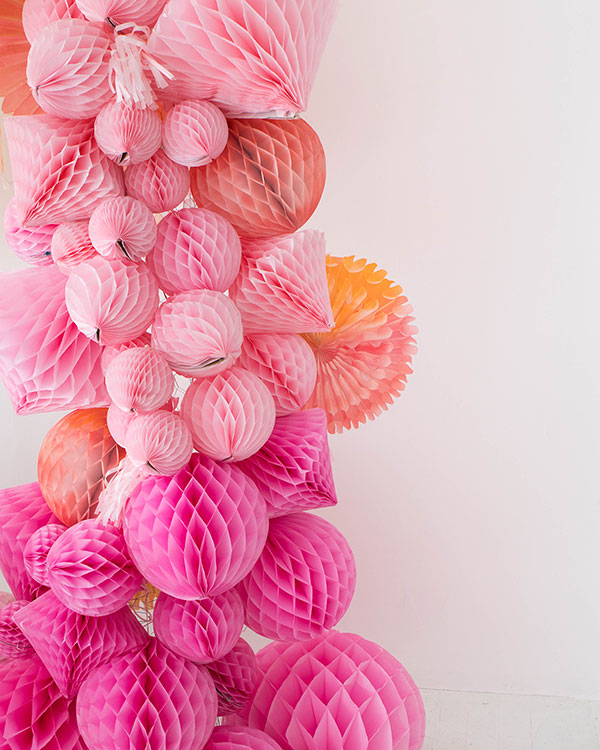
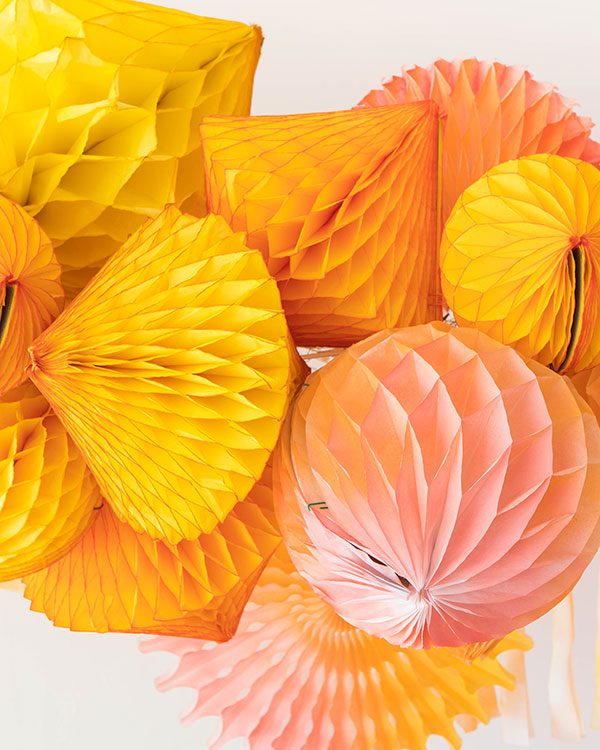
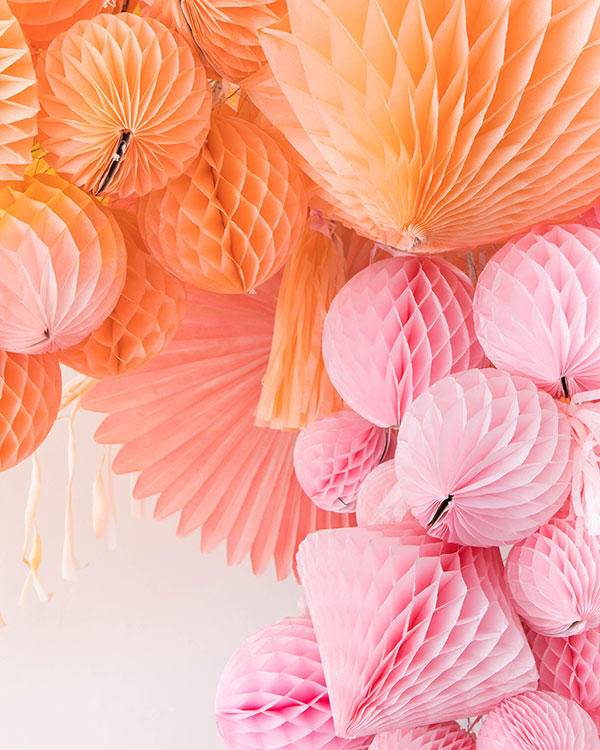
Step 5: Assemble a white honeycomb. Spray paint half of the honeycomb in the first color and let dry completely. Spray paint the second half in the next color to create a gradual ombre effect. Repeat for the white tissue fans and streamer garlands.
Step 6: Assemble the larger honeycombs and attach them to the chicken wire in an ombre pattern with zip-ties. Attach large tissue fans to the back side of the chicken wire structure to add dimension. Add smaller honeycombs and hanging garlands to fill remaining gaps.
Step 7: When you’re ready to break down the installation after your event, clip the zip-ties with wire cutters to remove the honeycombs and save them for later!


Crafting by Naomi Julia Satake and Justine Pon
SHOP THIS POST: Honeycombs, Drink Dispenser, Party Horn, Confetti


Michelle
June 29, 2017
It’s so beautiful, I love that it’s ombre!
https://www.makeandmess.com/
Belle
June 29, 2017
So pretty…. How about a red, white and blue one for 4th of July?!
http://www.thislifeisbelle.com/
Rhea
July 5, 2017
I think it would be interesting/helpful to see quantities and/or pricing on some of these ideas. For instance, we used X honeycombs, X fans, X cans of spray paint, etc. for this project. They’re so lovely, that it would be nice to be able to easily calculate the feasibility for an event.
Thanks for the tip, Rhea! This project was definitely a bigger impact installation, ideal for something like a wedding or hallmark birthday. We used nearly 85 honeycombs in a variety of sizes, 5 fans, 2 streamer garlands, and 3 cans of spray paint (with plenty to spare). The best part about putting together one of these installations is that you can fold up the fans and honeycombs and keep them for your next party! Just use paperclips to open them, and zip-ties to hang them.
cristy jones
July 6, 2017
Oh ’ awesome! I’m stoked about your honeycomb waterfall arch.
Berry
July 10, 2017
These colors are to die for! Hello rum punch!