


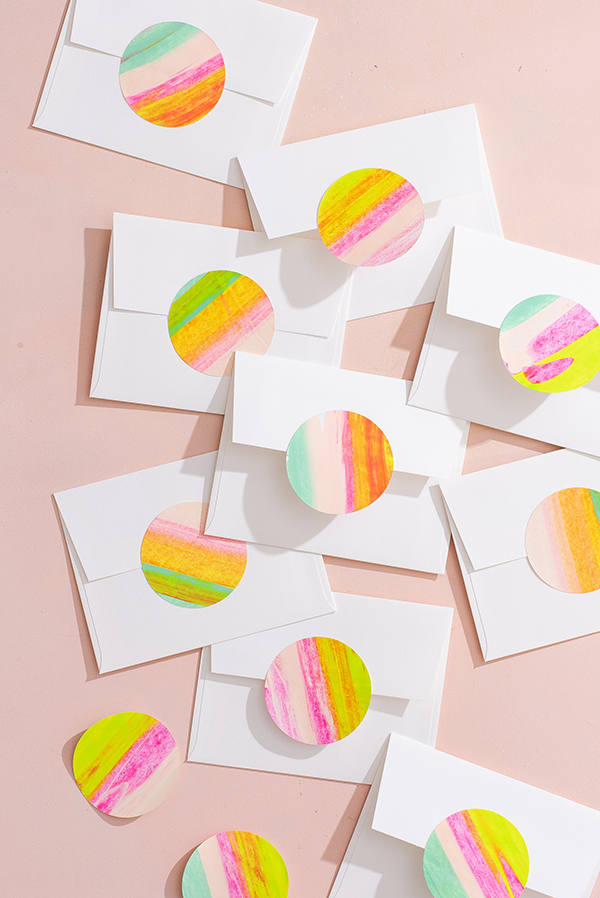
Unlike traditional paper marbling methods, all you need is paint, cardboard and a few seconds to get this modern, organic rainbow effect—we used the technique to create a whole sheet of colorful stickers. Make a batch of these, and use them to seal envelopes, decorate packages, (hello, happy mail!) or festoon favor bags.


Materials needed: Printable labels, gouache or acrylic paints, cardboard scrap with straight edge, favor bags or envelopes
Step 1: In the top right corner of a sheet of labels, squeeze several dots and lines of paint.
Step 2: Using the cardboard scrap, scrape paint down the length of the label sheet.
Step 3: Use excess paint on cardboard to paint another section of the label sheet. If necessary, reapply paint using the same technique to cover the whole label sheet.
Step 4: Use labels to seal envelopes or decorate favor bags.


Crafting and photography by Olivia Inman.


Evi Yuliawati
August 30, 2020
Wow. I always love neon painted stickers. I want to make one too. I will somehow buy online and keep them for my collection. Thank you for this wonderful post. Amazing!
Kate
September 4, 2020
Thanks for sharing, these are so so cute!!
-Kate
https://daysofkate.com/