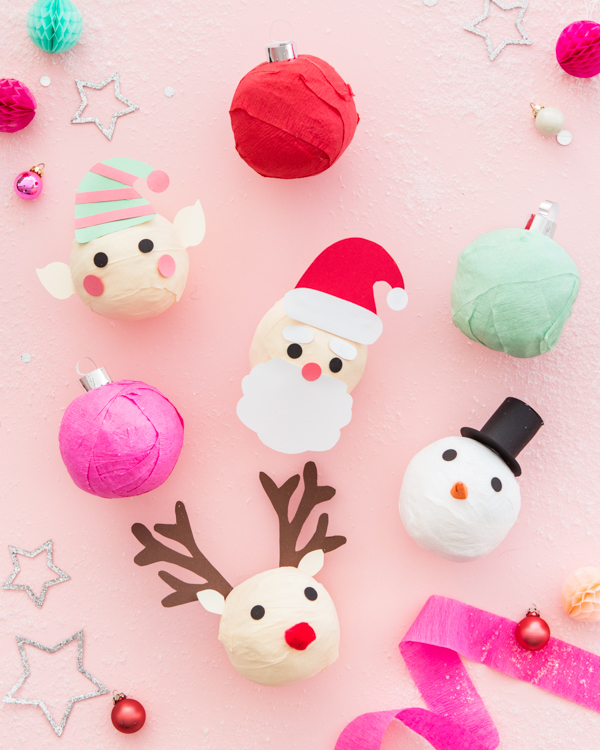
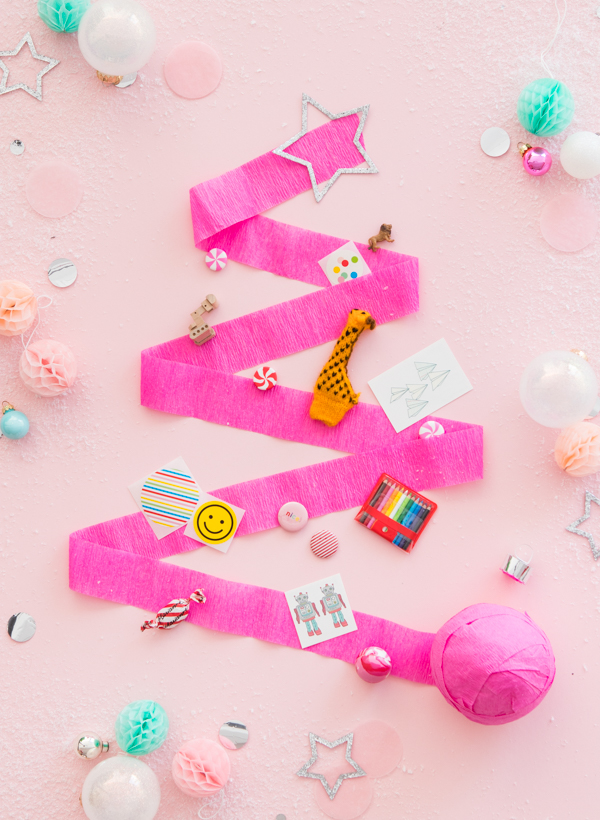
My absolute favorite part of Christmas Day is watching the look of anticipation on the kids’ faces as they unwrap presents. Surprise balls are the perfect way to gift tiny treats because unravelling them is half the fun! Just fill them with little treats and toys for the little ones to unwrap Christmas Day!
These character surprise balls would make the cutest holiday stocking stuffers. Just imagine a little elf or santa peeking out of their stockings — so sweet!
Materials needed: Tiny gifts, crepe paper streamers, cardstock, hot glue gun, printable character template, x-acto knife, red pom poms, 1 inch hole punch, ¾ inch hole punch, ½ inch hole punch, mirrorboard, scalloped scissors
Step 1: Gather a variety of tiny gifts to wrap in your surprise ball.
Step 2: Starting with the largest item, begin to wrap with the crepe paper streamer. Continue to wrap the item until it is completely wrapped. Wrap the second item until you have a ball shape, then add a tab of washi tape to secure the end of the streamer to the ball.
Step 3: Wrap the remaining items, creating 5 balls all together.
Step 4: Print out the template and cut each asset out. Trace each item on its colored paper and cut of the traced image.
Step 5: For Santa, cut out the hat elements, beard and eyebrows and glue to the surprise ball. Punch two ½” rounds for the eyes, and a ¾” round for a nose. Attach elements to the surprise ball.
Step 6: For the snowman, cut out a small, 1” circle out of orange cardstock. Cut out one-fourth of the circle and roll it into a cone shape. Attach the nose with a dab of glue to the smaller ball. Punch two ½” rounds for the eyes. To make the hat, start by cutting out a piece of black cardstock 1” by 2.5”. Roll the rectangle into a tube and glue in place. Cut out two 1” rounds and glue to either end of the tube. Trim one end so that the edge is flush with the tube opening. Hot glue to the top of your surprise ball.
Step 7: For the elf, cut out the hat, ½ inch strips of pink paper and the ears. Adhere strips to the hat following the angle of the curve. Punch two ½” rounds for the eyes. Attach the elements to the surprise ball.
Step 8: For the reindeer, cut out the antlers and ears and glue on surprise ball. Punch two ½” rounds for the eyes. Attach the eyes and red pom pom as the nose.
Step 9: For the ornaments, cut a 1 by ½ inch piece of mirrorboard and slightly curl it with a pencil. Punch out another piece of mirrorboard with a ¾ inch hole punch. Using scalloped scissors, cut along the edge of the curled strip of mirrorboard. Cut a small strip of paper and glue both ends together. Glue the top to the cap and adhere on the top of both ornament surprise balls.
Step 8: Finish adding the remaining elements to your surprise balls. Done! Merry Gifting!
Crafting by Erica Kjos


stephanie
December 15, 2017
Hey Jordan! I was wondering if your company Bright Lab Lights is still operating. I have had a hard time getting the website to work.
Your products and ideas are so fun and inspiring!
Georgie
December 15, 2017
These are adorable! I wish someone would make these for me!
Linda Summerfield
December 15, 2017
These are the cutest surprise balls I have ever seen!
Kristine
December 16, 2017
I couldn’t link to the template to download it for printing. Can you please reattach the link? Thank you!
Sorry about that, Kristine! The link is fixed!
Jerusalem
December 17, 2017
Vavv. Thas beatiful. I want to make to this. Thanks for sharing.
Dekoracja Światłem
December 19, 2017
I feel that Christmas is coming. Good Ideas 😉
Kay
December 20, 2017
Aww this is just too cute! I love it, thanks for sharing <3
https://www.myblackcloset.com/
Eva
December 21, 2017
I love surprise balls! I bought one for myself a few weeks ago and it was so cute and fun. Had a little fortune inside 🙂
http://www.shessobright.com