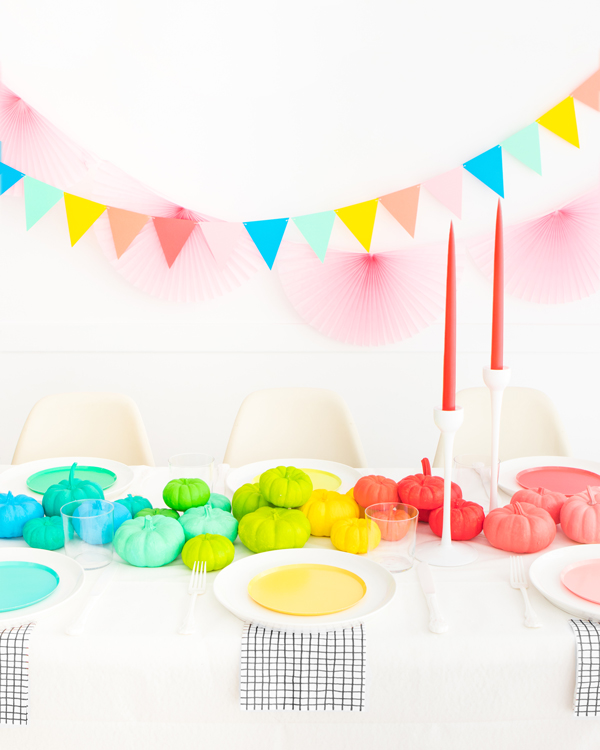
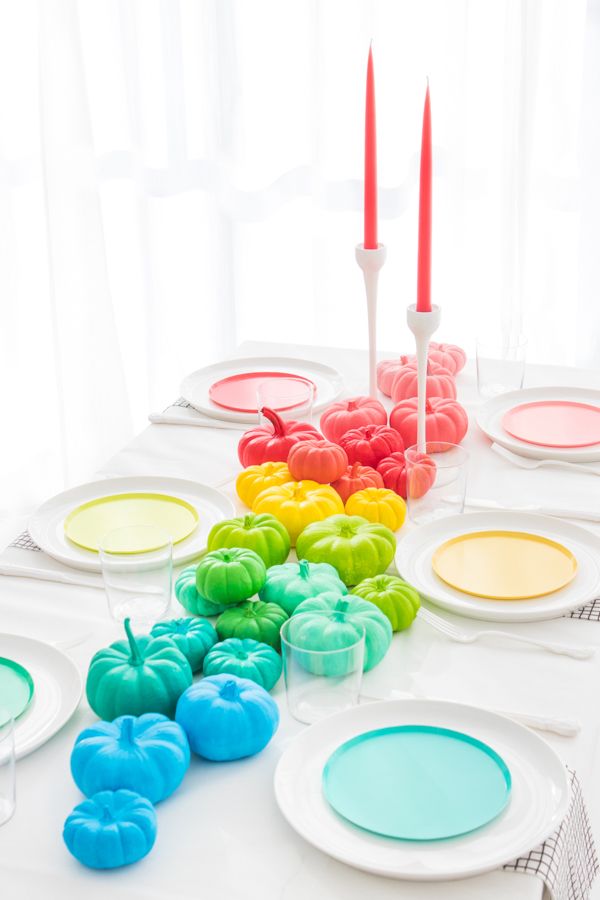
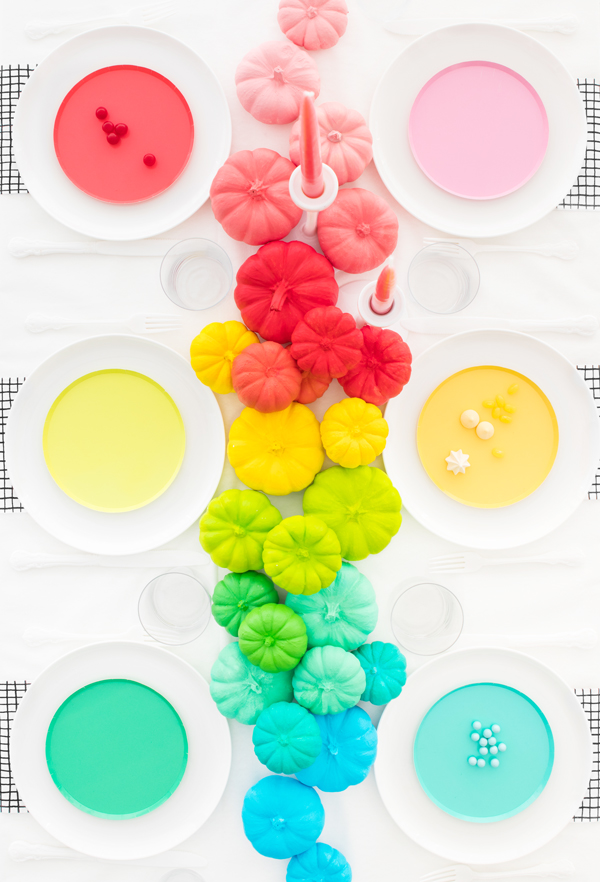
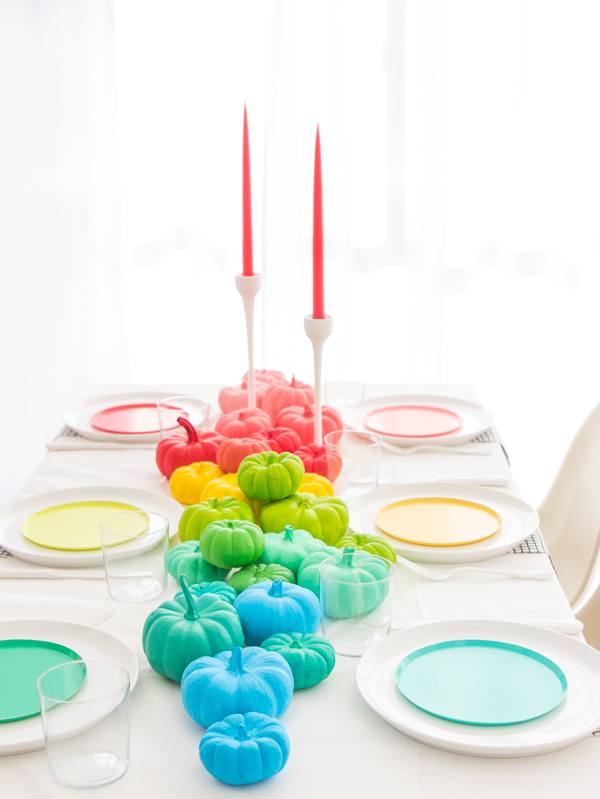
I can get behind a good neutral color palette, but sometimes autumn can get a bit drab. Why should color be restricted to just spring and summer? We’ve updated our pumpkin centerpiece this year in a cheerful rainbow of color. This bright centerpiece would be a fun addition for Friendsgiving, or to spruce up the center of the kids table!
Materials Needed: Mini pumpkins in assorted sizes, white gesso, acrylic paint (in rainbow shades), paint brush.
Step 1: Lay out all of your pumpkins as you plan to place them in your centerpiece. Assign rainbow colors to the pumpkins, making sure that each color blends into the next, and separate the pumpkins into color groupings.
Step 2: Prime all of the pumpkins with one to two layers of gesso.
Step 3: Paint the underside of all of the pumpkins in their assigned colors. When dry, flip and paint the rest. Do additional coats as necessary.
Step 4: Arrange the dry painted pumpkins in the middle of your table, stacking smaller ones to create dimension. Happy Fall!
Crafting by Erica Kjos


Kersey
November 6, 2017
So, so good. And those plates! I need those rainbow plates in my life.
Ana
November 6, 2017
So beautiful! 😀
http://www.fine-alchemy.blogspot.com
Belle
November 7, 2017
This is stunning. Such a high impact and cheerful centerpiece. I love it!
http://www.thislifeisbelle.com/
Crystal Wilson
November 7, 2017
Love the innovation and imagination. The colors are incredible and vibrant. Love hanging out with kids and making beautiful memories like these
Carrie Colbert
November 7, 2017
I love this!! A rainbow of pumpkins 🙂
Maggie Hall
November 8, 2017
Thank you so much. This is helpful. I am using your pumpkin theme at my Thanksgiving wedding! The blue to green ombre took many tries to get right and I settled on a look close to this. Thank you for your inspirational blog, market place, and the happy whimsy you bring to the internet!