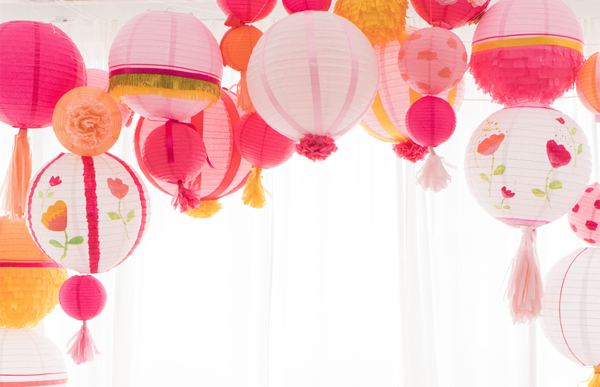
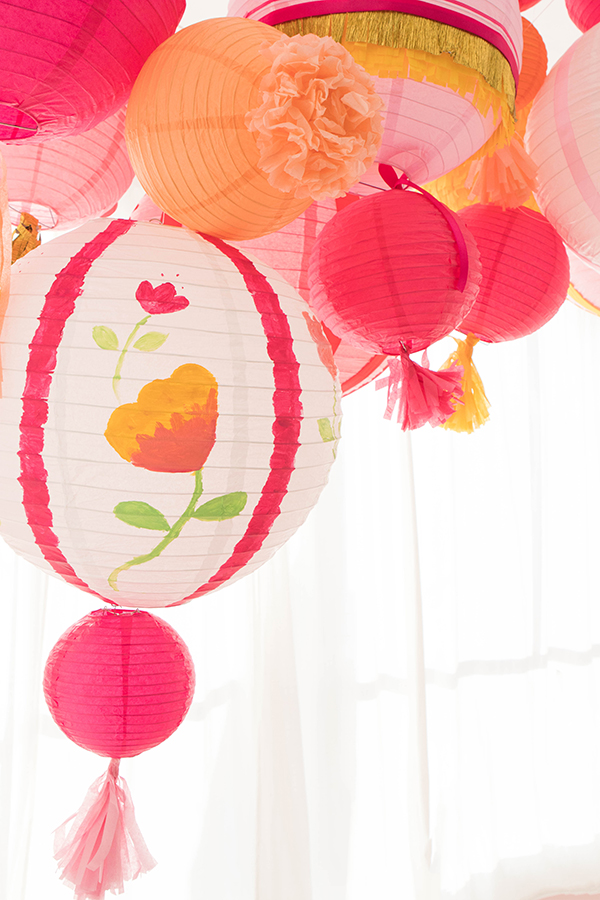
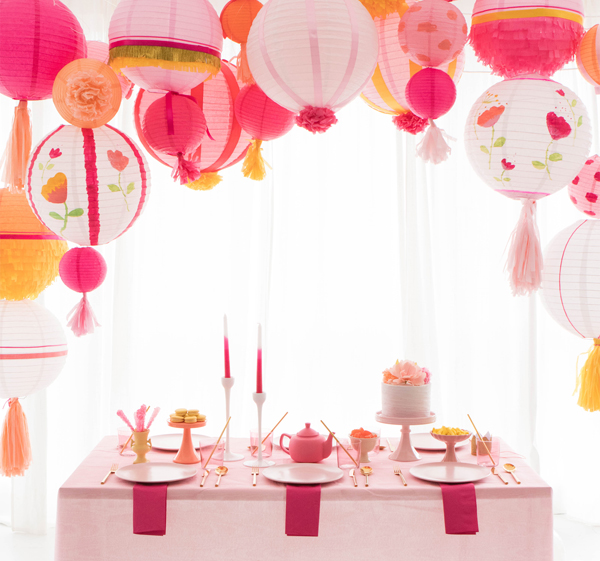
Today we have a partnership with Etsy Studio, a new craft-based online market from Etsy. It’s an awesome site to visit for DIY supplies where you can buy and sell unique supplies for your favorite craft projects. There are lots of different sellers, millions of craft supplies and tons of inspiration. For this project we used: paper lanterns, satin ribbon, tissue paper, crepe paper and acrylic paint. It was so easy to get it all in one place. For this party decor we wanted to customize some common paper lanterns. We made them special by adding painted details, tassels and ribbons.
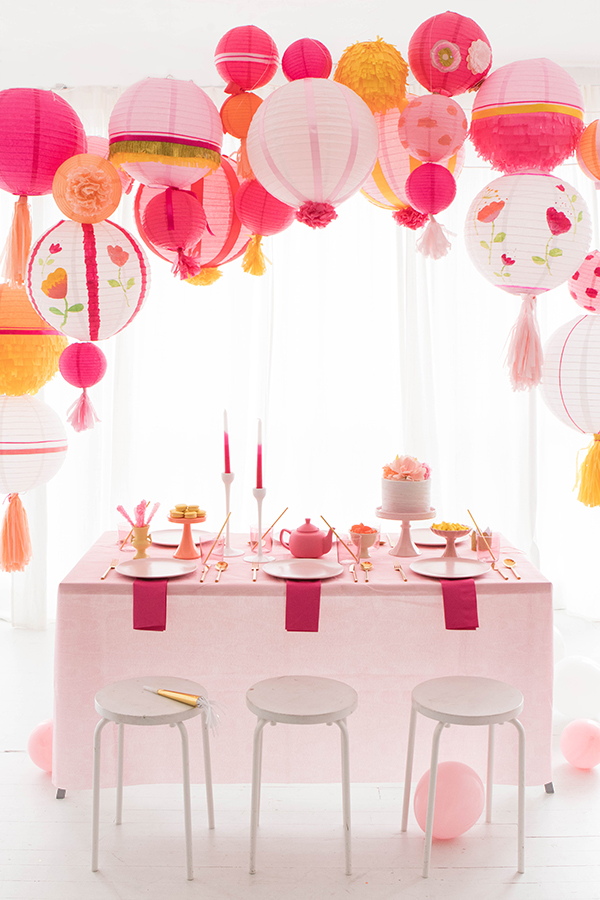
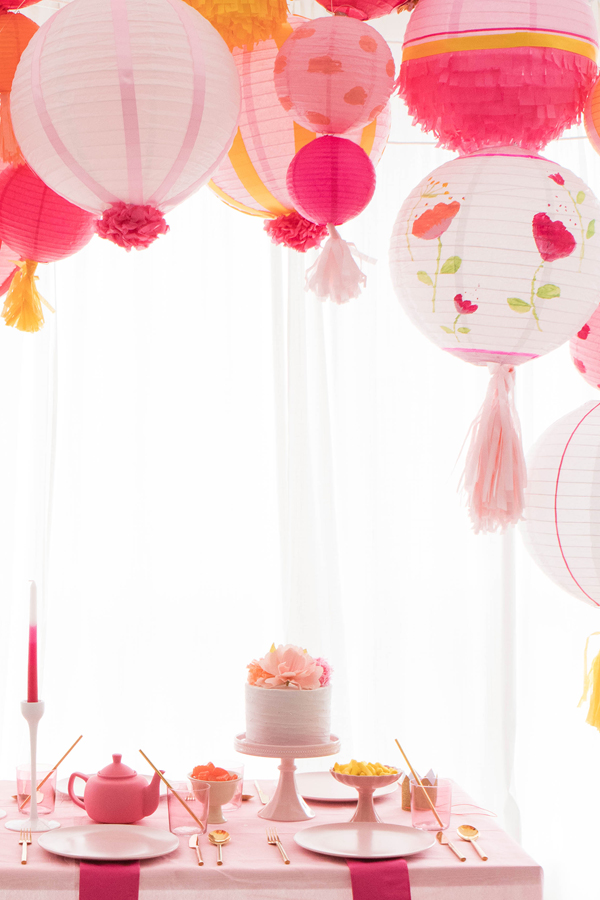
I love the idea of taking something that is affordable and simple like the Chinese Paper Lanterns and making them customized for your party. For our tea party we went with a pink palette and added in warm sunset accents. Easy and special inspiration if you need to throw a shower for a friend!
Materials needed: Paper lanterns in different sizes, acrylic paint, paintbrush, tissue paper, crepe paper, ribbon, scissors, low temp hot glue gun
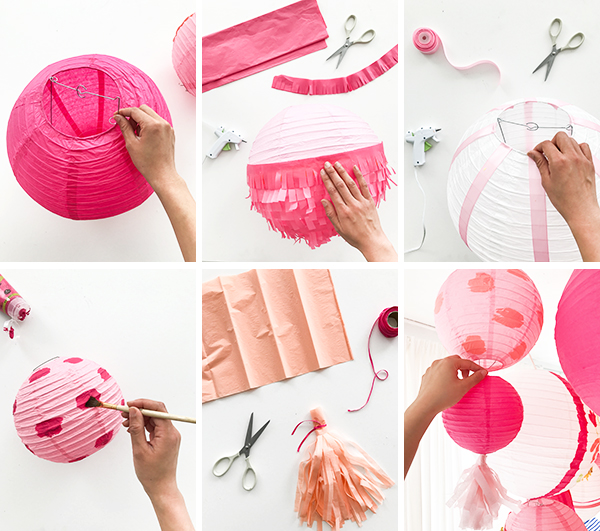
Step 1: Assemble the paper lanterns by carefully inserting the metal frames.
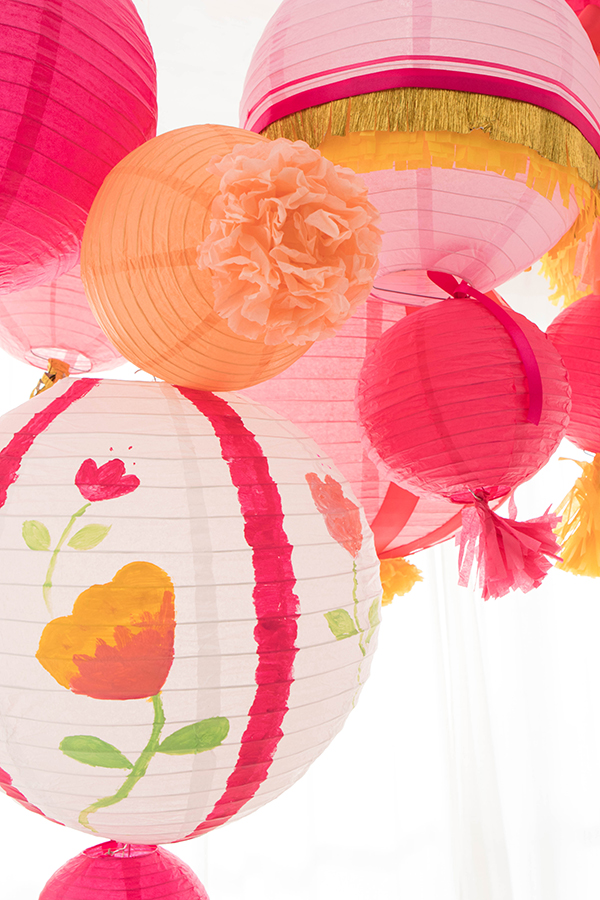
Step 2: Decorate your lanterns by fringing, adding ribbon, and painting them!
Fringe Lantern
- Cut a bunch of fringe out of tissue paper with a good pair of scissors. Our fringe was roughly 2″ tall and 1 cm wide.
- Hot glue fringe to the lantern, starting from the bottom and stopping halfway up.
- Hot glue a contrasting strand of ribbon on top of the last layer of fringe.
Ribbon Lantern
- Hot glue the beginning of a piece of ribbon to the inside edge of the lantern.
- Run the ribbon down the side of the lantern. Hot glue the end of the ribbon to the inside edge of the bottom opening and trim.
Painted Lantern
- Sketch out a design that you’d like to paint on your lantern on a plain sheet of paper.
- Gently paint the design onto the lantern with a thin layer of paint. Since the paper is super thin, you won’t want to over saturate it!
Tassel Lantern
- Cut fringe from a stack of tissue paper that is 12” tall and 1 cm wide. Roll the cut fringe into a paper tassel. Then, twist the top of the tassel and knot a piece of ribbon around the top to keep it together.
- Tie the tassel to the bar on the end of the lantern.
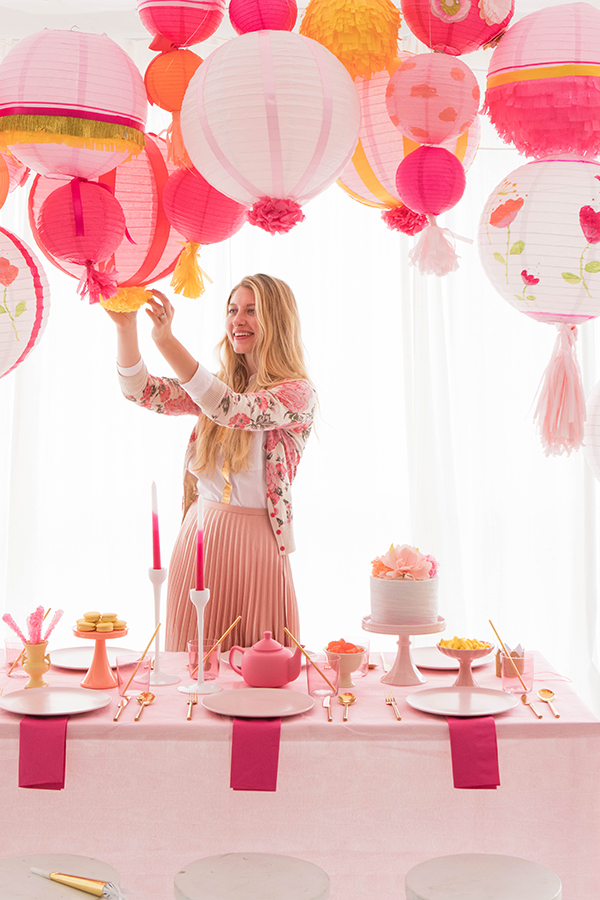
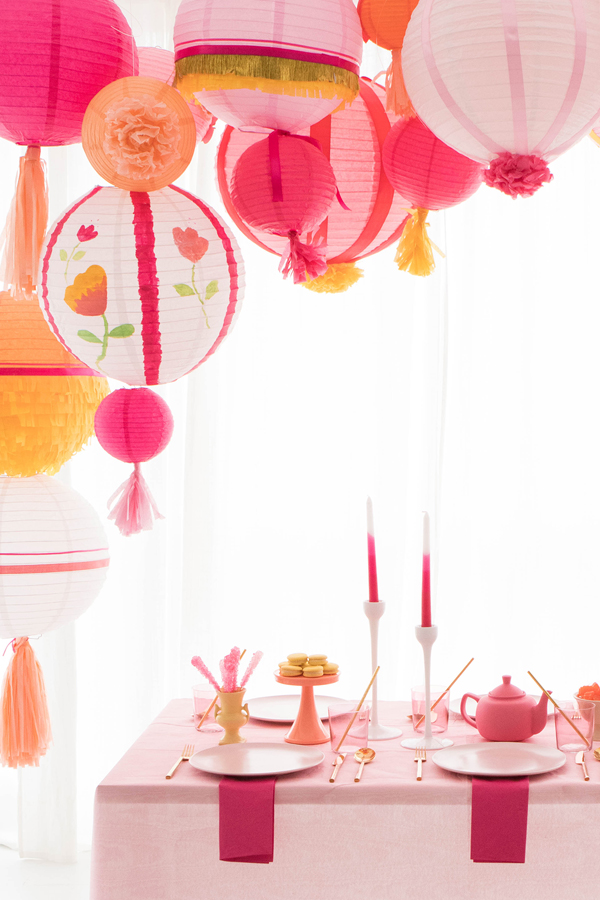
Step 3: Hang the decorated lanterns all around for a full, festive look!
This post is sponsored by EtsyStudio: a new craft supply market, powered by Etsy.
Photos & styling by Sarah Kate Price
Crafting by Naomi Julia Satake, Justine Pon, and Erica Kjos





Michelle
April 28, 2017
How beautiful are those paper lanterns?!
https://www.makeandmess.com/
Eva
April 28, 2017
Beautiful! I’d have never thought to decorate the paper lanterns! Now all I need is a reason to throw a party…hmmm
http://www.shessobright.com
makenzie v.
April 28, 2017
When did they start selling craft supplies?! This would be such a great activity for a craft night!
Peppermint Dolly
April 30, 2017
They look fab!
Rebecca
xx
http://www.peppermintdolly.com
Maria at Inredningsvis
May 2, 2017
WOW I love the colors dear so fun and fresh 🙂
Today i have a Danish dream interview on the blog!
LOVE Maria at Inredningsvis
Paige
May 2, 2017
These lanterns are so pretty!
Paige
http://thehappyflammily.com