


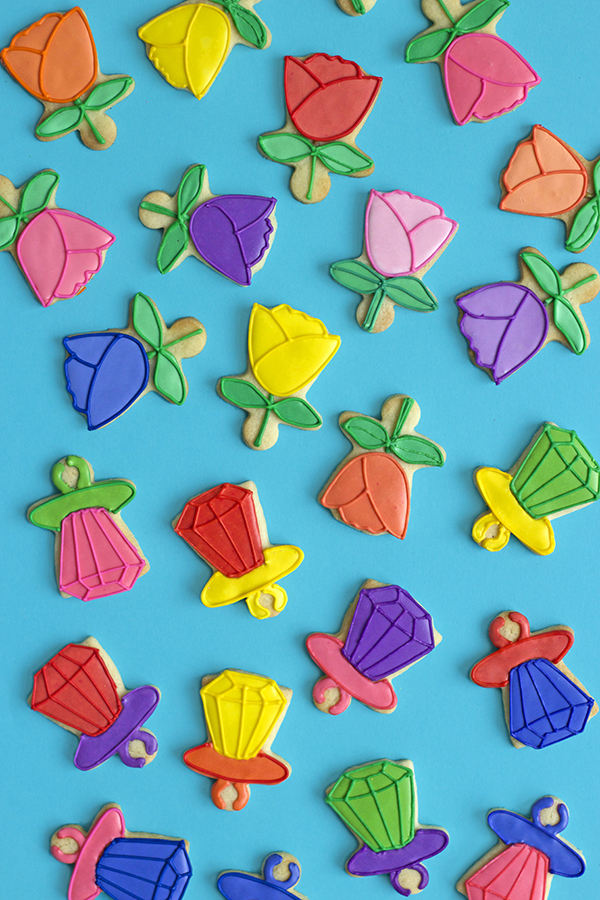
In my book, You Can’t Judge a Cookie by Its Cutter, I take 25 cookie cutters and turn them this way and that, to see what other images I can make from those cutters. It’s a fun game and the results are often so unexpected! This time, inspired by the glorious spring tulips that are popping up all over, I used a mini gingerbread girl cutter to create colorful tulips and bright ring pops. They’re easy to make and fun to eat!
If you come up with any other designs for the mini girl cutter, I would love to see.
Hint: I found a bell!!
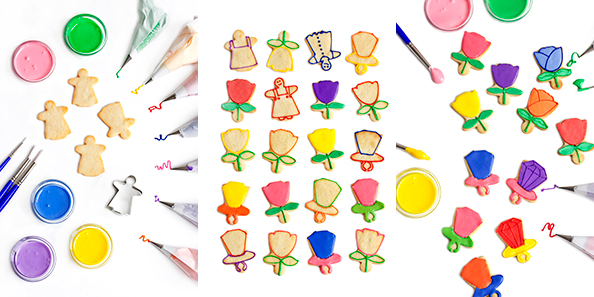
Materials needed: Mini gingerbread girl shaped cookie cutter (usually used for gingerbread, but we made sugar cookies!), sugar cookie dough (my recipe here) prepared, chilled and rolled out, royal icing in various colors (see my favorites here), white food color gel, pasteurized egg whites, plastic or parchment paper piping bags (I use parchment paper), pastry tips #1.5 or #1, small and medium paintbrushes, several small bowls.
Step 1: Make the cookies:
Use the gingerbread girl cookie cutter to cut out shapes from the rolled out dough. Place on a parchment lined cookie sheet and bake at 350°F until the edges are slightly brown, about 8-10 minutes. Let cool completely.
Step 2: Prepare the icing:
Prepare small bowls of icing in the colors you wish to use, which should include green for the tulip leaves and stems. Gradually add small amounts of egg whites to each color, thinning out the icing to the approximate consistency of toothpaste. Add about half of each color into individual piping bags fitted with pastry tips, which will be used to outline the cookies. Add a few more drops of egg whites as well as a few drops of white food color gel to the remaining bowls, so that the icing is now thinned out to the approximate consistency of thick maple syrup, and a slightly lighter color than what is in the piping bags. (You can skip the whitener if you wish, but I prefer this method, which gives the finished cookie more contrast.) This “flooding” icing will be the color you paint within the piped outlines. Be sure to cover each bowl of icing with plastic wrap until you use it, so that a crust does not form.
Step 3: Decorate the TULIPS:
Turn the mini girl cookie upside down. Using the color of your choosing, pipe a line to define the head of the tulip as seen in the second step-by-step photo above. Being careful not to disturb that icing line, pipe on the green stem, squeezing firmly to create a slightly thicker line or you can double the line if you like. Outline the leaves in green.. In a couple of minutes, when the icing lines have set slightly, use a medium or small brush to paint in the flower with the prepared flooding icing. Next, use a small paintbrush and the green flooding icing to paint in the leaves. Let the cookies sit for ½ hour to 1 hour, just until the icing is set. It will not be completely hard, so be careful not to dent it with your finger. Using the corresponding colored icing in the piping bags, pipe the outlines and interior lines of the flowers and leaves, as seen in the third step-by-step image. Let cookies sit several hours or overnight until the icing is completely hard.
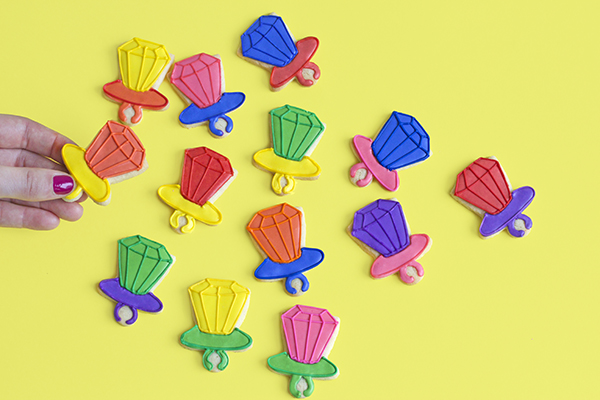
OR Decorate the RING POPS:
Turn the mini girl cookie upside down. Using the color of your choosing, pipe a line around the pop as seen in the second step-by-step photo. Use a contrasting color to outline the base of the ring pop as seen in the same image. Let the cookie sit for a few minutes until the lines set. Using a medium or small brush, paint in the pop area with the flooding icing. Handling the cookie with care, so that you do not disturb the wet icing, use a small brush to paint in the base of the pop. Let the cookies sit an hour or so until the icing is set. It will not be completely hard, so be careful not to dent it with your finger. Using the colored icings in the piping bags, make the detail lines on the top and bottom areas of the ring pops in their corresponding colors. Let the cookies sit several hours or overnight until the icing is completely hard.


Rachel
May 17, 2016
This is so awesome. It looks so simple, yet I would have NEVER thought of this! Your creativity is on point
Anne
May 17, 2016
How creative! This is really amazing. I have never thought of looking at my cookie cutters in a different perspective. Great job!
http://annescribblesanddoodles.blogspot.com
Katie
May 17, 2016
I agree with Rachel, I never would have thought of that either haha they came out so cute! Feeling inspired to go bake cookies now.. ?
Kristi
May 17, 2016
This is so awesome! I would have never thought to do that!
Kristi | Be Loverly