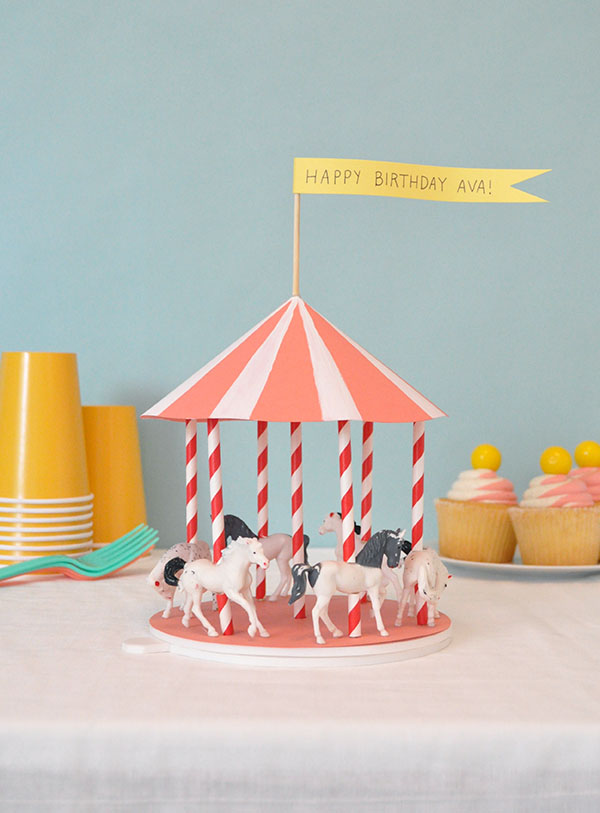
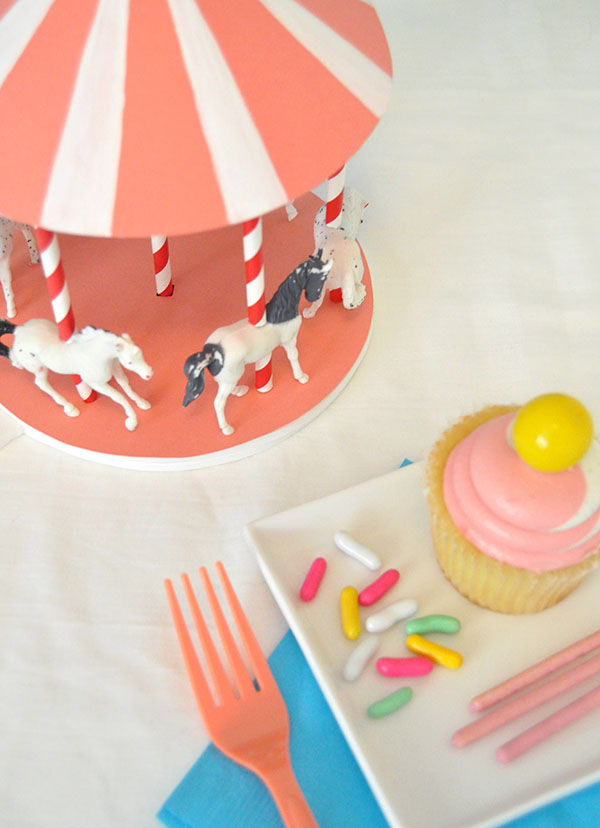
Lately I’ve been super inspired by circuses and carnivals, so when I saw these mini horse figurines I couldn’t help but make a mini carousel to match. This carousel is not only a decorative centrepiece – it actually spins too! If you’re hosting a circus party, there are no shortage of fun projects for you to do: try these cotton candy invitations, circus party hats, & carnival cake toppers!
Supplies: Cardstock, foam core
, paper straws
, wooden skewer
, scissors
, paint
, paint brush
, hot glue gun
, glue stick
, craft knife
, miniature horse figurines.
Step 1: Trace and cut two circles out of card stock. The smaller of the two will be used at the base and the larger will be the roof. When deciding on the size of the base circle, keep in mind how many horses you want to use.
Step 2: Out of foam core, trace and cut two of the smaller circles. On one of the circles include a small tab off the circle (about a 1″ square) and at the circle’s center cut a small X with your craft knife. On the second small circle, cut a small square no bigger than 1/2″ by 1/2″ at the center.
Step 3: On the small card stock circle, cut a 1/2″ square hole in the center to match the foam core circle you just cut. Use the glue stick to attach these two circles together.
Step 4: Cut a slit to the center of large card stock circle. Form a cone roof – try to have the bottom edge of the roof match the size of the smaller circle. Once happy with the cone roof, hot glue in place.
Step 5: Paint stripes on the roof if desired. Let dry.
Step 6: Stick a paper straw into the square hole of the card stock/foam core circle. On the underside of the circle, hot glue around the straw keeping it flush with the foam core. Let dry.
Step 7: Cut the wooden skewer to about 6″ long and stick it into the X you cut at the center of the plain foam core circle. Use hot glue to keep in place. Let dry.
Step 8: Slide the straw onto the wooden skewer. When holding the tab, the top circle should be able to spin.
Step 9: Use hot glue to attach paper straws to the horses’ bellies. It’s important to keep the straw the same length as their legs so the horses can still stand up evenly. I found the best way to do this was to apply hot glue to one end of a long straw, hold it in place on the horse’s belly until dry, and then to cut the straw by lining my scissors up with the very bottom of the horses legs.
Step 10: Use hot glue to attach the horses’ hooves and straws to the carousel base.
Step 11: Cut three full length straws in half to form six shorter straws (or enough for all your horses). Hot glue these straws on the horses’ backs, lining them up with the straws under their bellies. Let dry.
Step 12: Place the roof on top of the straws – trim the straws accordingly so that the roof sits at a height you like. Then apply dabs of hot glue to the tops of all the straws, including the center straw. Place the roof on top to attach and let dry.
Step 13: Some of the horses’ straws might not have fully attached – you can add a little more hot glue one straw at a time and hold in place as they dry.
Step 14: Use the leftover skewer and some card stock to make a miniature flag for the top of the carousel.
Step 15: Use hot glue to attach the skewer to the tip of the roof and gently curl the flag to look as though it’s blowing in the wind.


Erica { EricaDHouse.com }
July 15, 2014
Oh I wish I had an excuse to make this!
Maria
July 15, 2014
What a sweet idea. I must remember this for my niece’s birthday with some wild zoo animals.
Kristin
July 15, 2014
Oooh what a fun idea.
Marta A Bilingual Baby blog
July 16, 2014
This carousel is brilliant! I don’t know how you get all these ideas! Thank you!
Lisa
July 16, 2014
Lovely. Great Idea
L x
http://workingmumy.blogspot.com
Jamie
July 16, 2014
This is cute. Very very very cute.
Georgina
July 21, 2014
I love this idea! It looks fun and cute! Thanks!!