


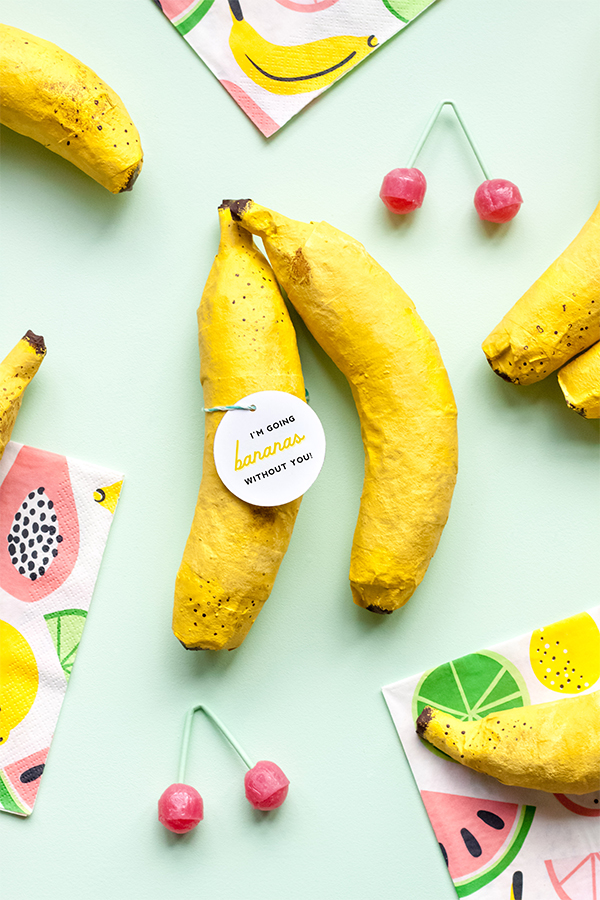
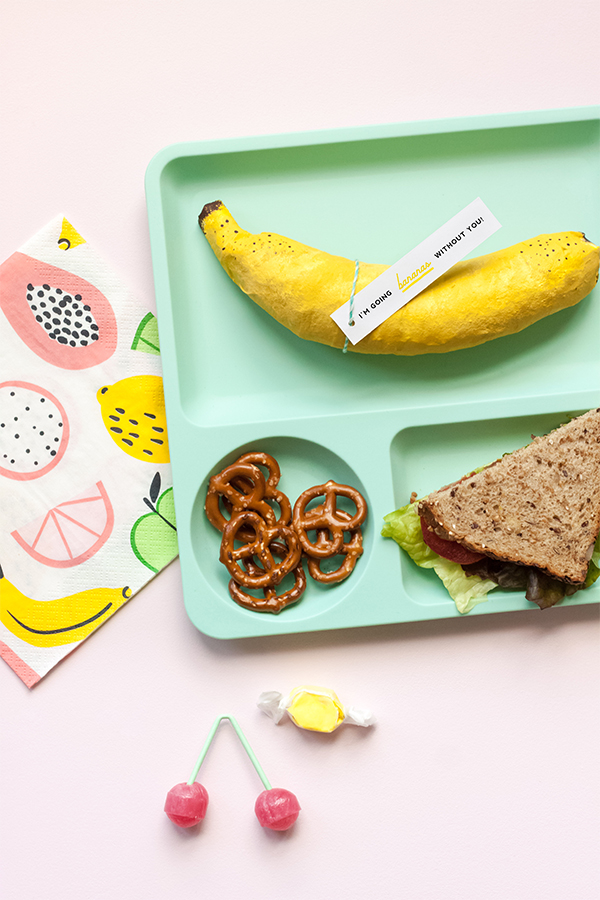
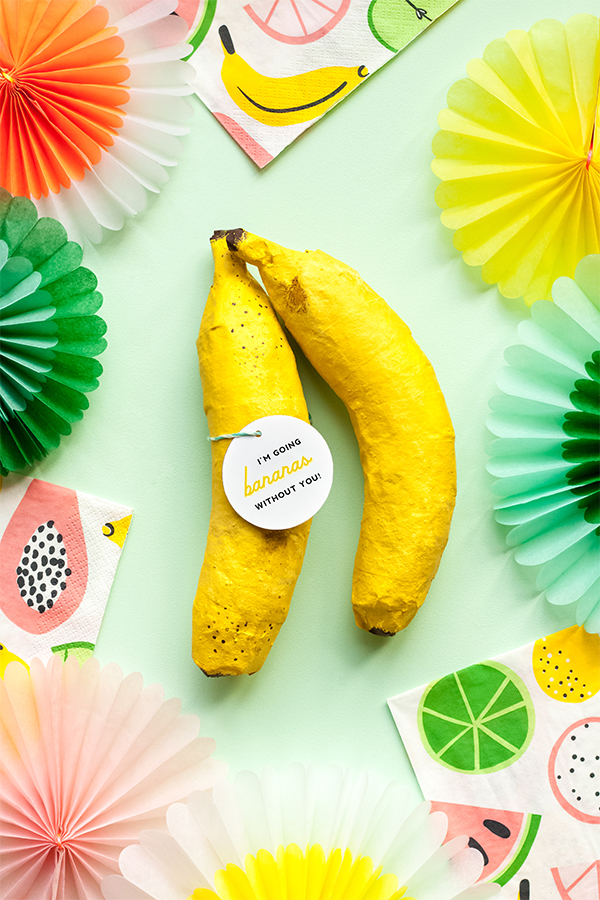
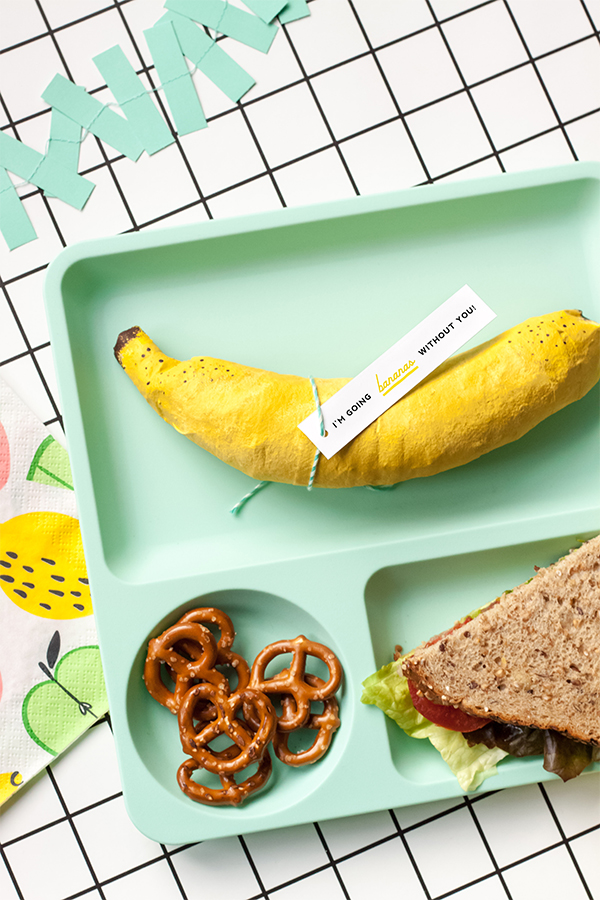
This whole social distancing thing is really making us miss our friends, and it is probably safe to say that we are “going bananas” without them! If you want to spread a little happiness to a neighbor, friend or relative during the quarantine, these banana piñatas are sure to boost their spirits! Fill them with some wrapped goodies, notes, or small toys, and leave them on the doorstep, or stick them in the mail. Don’t forget to grab the printable that says, “I’m going bananas without you!” In the future, these will be fun at a tropical or jungle party, or as Valentines that say “I’m bananas for you” or “I love you a whole bunch!” Kids may even enjoy receiving one with their lunch as a special treat. Read on for the full tutorial.

Materials Needed: twisty balloons, balloon hand pump, clear tape, scissors, newspaper, flour, water, acrylic paint (brown and a few shades of yellow), sponge brush, loofah sponge (optional), wax paper, toothpicks, box cutter, printable tag, string
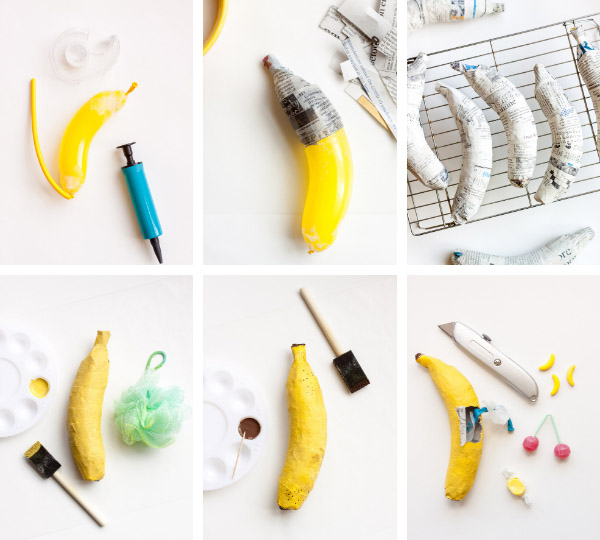
Step 1: Use your balloon pump to partially blow up a twisty balloon to the size of a banana. Tie off the end, leaving a little bit of length on the tip. Use clear tape to make the banana narrow on the ends. Think of it as a balloon girdle! Now tie off the second end of the banana, and cut off any excess balloon to save for another project.
Step 2: Cut your newspaper into 1-2 inch wide strips at various lengths, and mix 1 cup of water with 1 cup of flour to make your paste. Completely dip a newspaper strip in your paste, wiping off any excess, and then begin covering your banana balloon in newspaper. It is easiest to start on the ends by laying strips perpendicular to each other over the top (in an “x”), and using extra strips around the tip of the balloon where it was first tied off, to create a short “stem”. Next, wrap strips horizontally around the perpendicular strips until the entire balloon is covered. Smooth out any bumps so that the strips are plastered as close to the balloon as possible. We recommend at least two layers of newspaper. Allow to dry.
Step 3: Paint your banana yellow, using acrylic paint and a sponge brush. Allow to dry.
Step 4: This step is optional, but it adds nice color variation, and distracts from any newspaper lines in your paper mache! Place a few small puddles of various shades of yellow paint on a piece of wax paper. Dip your loofah sponge in the paint, mixing the yellows a bit, and use the loofah to apply the paint to your banana on all sides. Allow to dry.
Step 5: Use a sponge brush to apply brown paint to the banana stem, and opposite end. It is best to dab the paint off on wax paper so that your brush is not too wet. Next, dip the end of a toothpick in brown paint mixed with a few drops of water, and apply small dots on a side of your banana for a bit of bruising! You may even dip your finger in the brown paint, dab it off a bit on wax paper, and smear some on the banana for some extra dramatic bruising. Allow to dry.
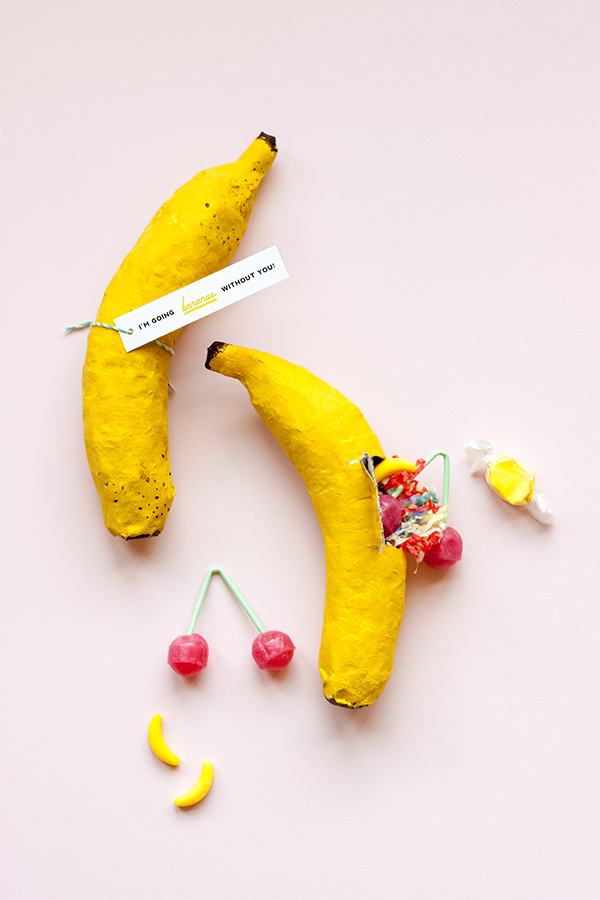
Step 6: Use a box cutter to cut 3 sides of a small rectangle in the back of your banana. Open the little door, and pull out the balloon pieces. Shake the banana out over a trash can to eliminate any flakes of glue from the paste. Fill the banana with the items of your choice (wrapped candy, small toys, notes, tattoos, confetti, etc.), shut the door, and share with friends! Don’t forget to print the tag, and attach using baker’s twine or the string of your choice.
Crafting and photography by Abby Hunter.


Zany.xX?
April 22, 2020
Awww…so cute!I am soo going to try this!
CJ
April 22, 2020
YES! hope this means you’re making a come back
Achhilekh
April 22, 2020
Nice beautiful I liked, thank you
mTecht
April 24, 2020
Yes very good
Elmore Harber
April 25, 2020
I never assume, banana can be used like this. Awesome.
Kirstin
April 26, 2020
These are super cute!
akthakur
May 1, 2020
very nice
rahul
May 2, 2020
Interesting post to read
keshav
May 2, 2020
very nice post i am love with it
Eta saat
May 4, 2020
Very good job
sajid
May 5, 2020
Very nice post, I liked it.
sajid
May 5, 2020
Nice post
Rakesh Kumar
May 6, 2020
Thank you for sharing such a beautiful DIY article.