


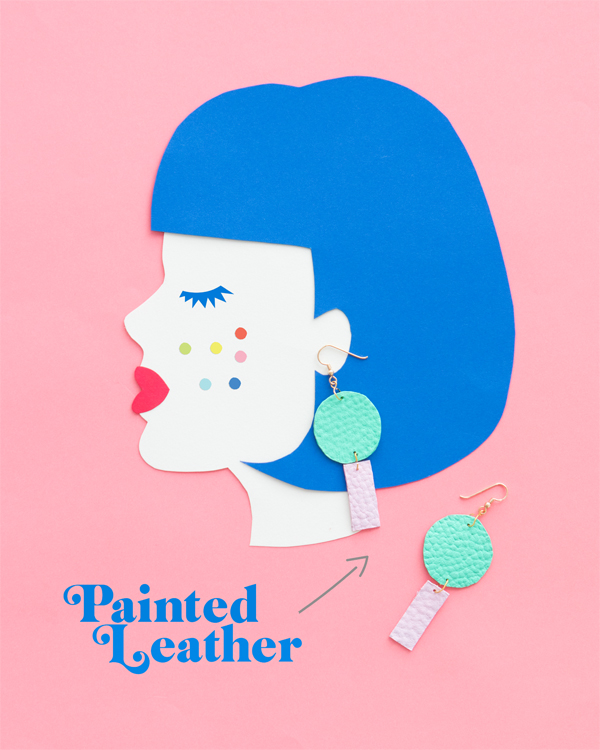
Did you see our previous post about creating your very own statement earrings? We’re LOVING the big earring trend at the moment and so we’ve come up with three more fun and colorful designs! Check them out…


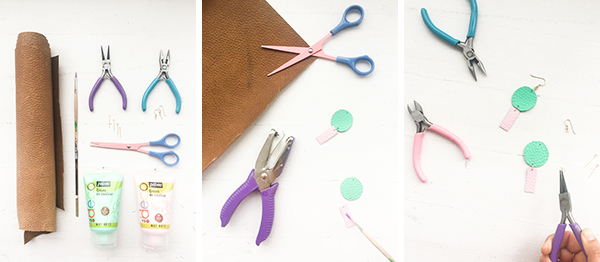
Materials needed: Leather, scissors, 1/16” hole punch, jewelry tools (wire cutters, round nose pliers), eye pins, earring hooks
Step 1: Cut a 1-1/2″ circle from the leather. Make a small hole punch on the top and bottom of the design. Then cut out a rectangle and punch a hole at the top.
Step 2: Using a round nose plier, curl the straight end of an eye-pin so you have a circle. Clip the eye of the pin off. Use this loop to connect the circle and rectangle leather pieces.
Step 3: Curl the straight end of another eye pin so that you have a figure eight. Open the larger curl, and thread through the remaining hole on the top of the circular leather piece.
Step 4: Loop the earring wire through the eye pin. Repeat to create your mate.

Materials needed: Cardboard, scissors, embroidery floss, jewelry tools (wire cutters, round nose pliers, flat nose pliers), 24 gauge jewelry wire, eye pins, earring hooks
Step 1: Cut out a rectangular piece of cardboard 2” by 3-1/2″. Wrap the embroidery floss around the length of the cardboard until you’ve run out of thread.
Step 2: Using a round nose plier, curl the straight end of an eye-pin so that you have a figure eight, with the newly curled half larger than the original. Open the larger curl, wrap around the bunched embroidery floss, then close with a flat nose plier.
Step 3: Remove the cardboard. While holding the eye-pin, gather the embroidery floss into a bundle, then wrap the top of the bundle with jewelry wire to create a tassel.
Step 4: Loop the earring wire through the eye pin. Then, repeat Steps 1-3 to create your earring’s mate!


Materials needed: Shrinky Dink paper, 1/4″ hole punch, scissors, permanent markers, oven, jewelry tools (wire cutters, round nose pliers), eye pins, earring hooks
Step 1: Draw your design on the shrinky dink paper, then cut it out. Punch a hole to hang it from later. Keep in mind that your design will shrink to about 1/3 of the original size.
Step 2: Bake the shrinky dink as directed on the package. You can lay a small piece of cardstock over the top of your design to keep it from curling.
Step 3: Using a round nose plier, curl the straight end of an eye-pin so that you have a figure eight. Open the larger curl, and thread through the hole you made earlier.
Step 4: Loop the earring wire through the eye pin. Repeat to create your mate.


SHOP THIS POST: Yellow Dress, Stripe Dress
Crafting by Naomi Julia Satake
Photography and Styling by Sarah Kate Price


Beckie
February 22, 2017
These are SO amazing! I love the banana ones. Such a lovely idea.
Beckie xo // The Pale Tails
Paige
February 22, 2017
These are so fun! I need to make some of these!
Paige
http://thehappyflammily.com
Natalie
February 22, 2017
Woohoo you made more! I love love love the tassel ones
– Natalie
http://www.workovereasy.com
Indya | TheSmallAdventurer
February 22, 2017
Love these so much – and everything else you do, of course!
Michelle
February 22, 2017
The leather and tassel earrings look wonderful!
https://www.makeandmess.com/