


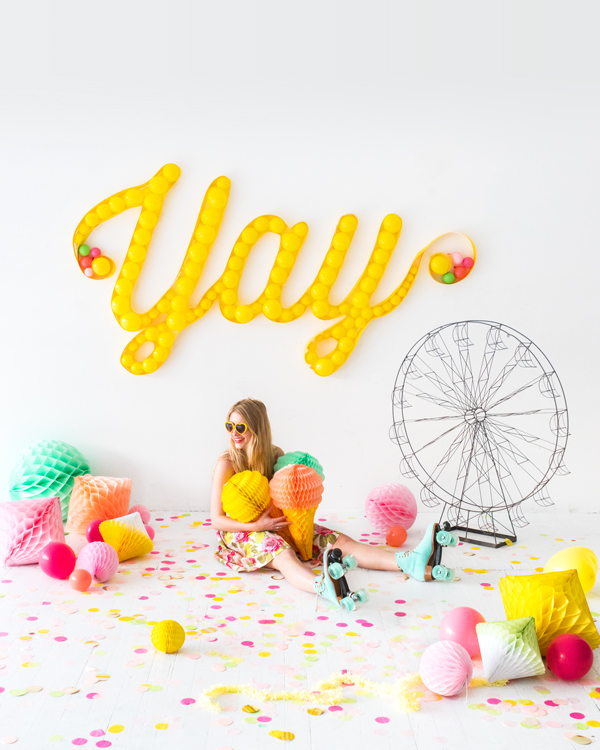
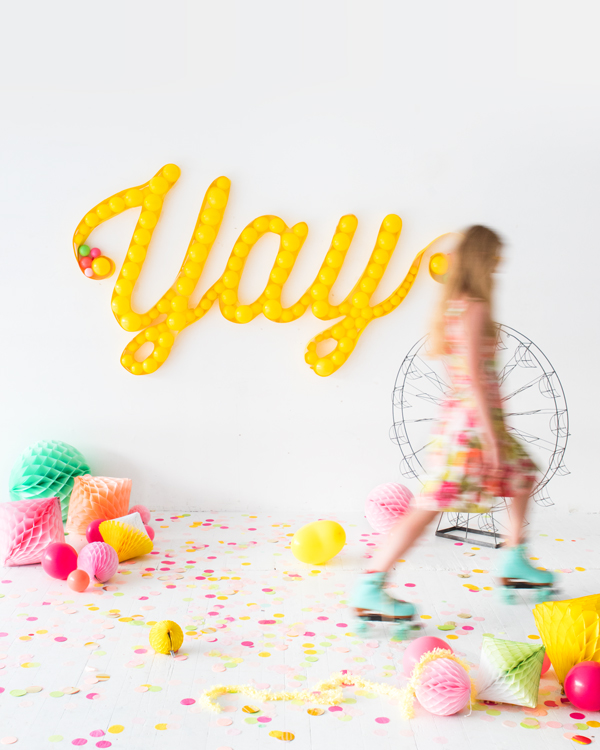
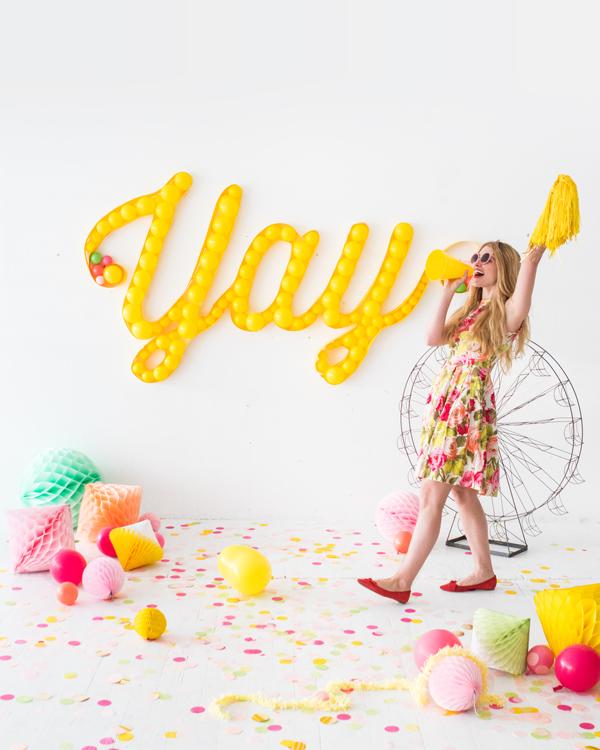
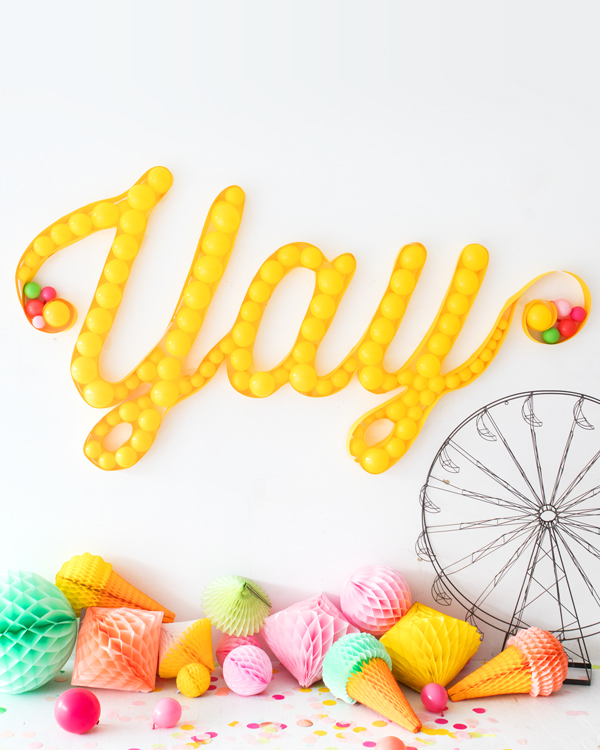
Yay! It’s Friday! Today we have a really fun project to share. It’s a Balloon Marquee! This project would work well for someone’s birthday or wedding decor. We made this differently than some of our other balloon walls by first attaching a frame out of cardstock, then filling it with tiny balloons. The texture of all the balloons turned out really great. See how to make it below!
We used gaffers tape and a really strong double sided tape to make everything secure. It’s really important you don’t use just regular old tape because it won’t work. These adhesives really work well and cause minimal or no damage to the wall (always test first.)
Materials needed: Projector, pencil, cardstock, ruler, x-acto knife, hot glue gun, gaffers tape (in a color that matches the wall), mini balloons, balloon hand pump, double sided Shurtape
Step 1: Search online for a cursive typeface. Download the font and, using a word processor, type your word as large as possible. Project the word onto a large, blank wall and trace lightly with pencil.
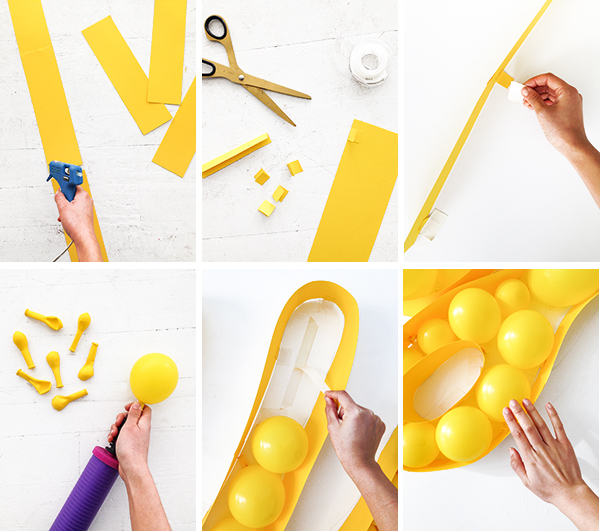
Step 2: Using a ruler and x-acto knife, cut a bunch of 3” strips out of cardstock.
Step 3: Hot glue 6 strips together to form one long strand. Repeat to make additional strands.
Step 4: Cut out small tabs and fold in half (about 1-½” long). You will use these tabs to tape the cardstock to the wall.
Step 5: Stick one end of a tab to the edge of the long cardstock strands with double sided tape. Tape the other end of the tab against the wall with a piece of gaffers tape.
Step 6: Shape the cardstock along the traced outline of the word, occasionally using tabs to keep the strands in place. Once your strand has run out, use double sided tape to attach another cardstock strand for more length.
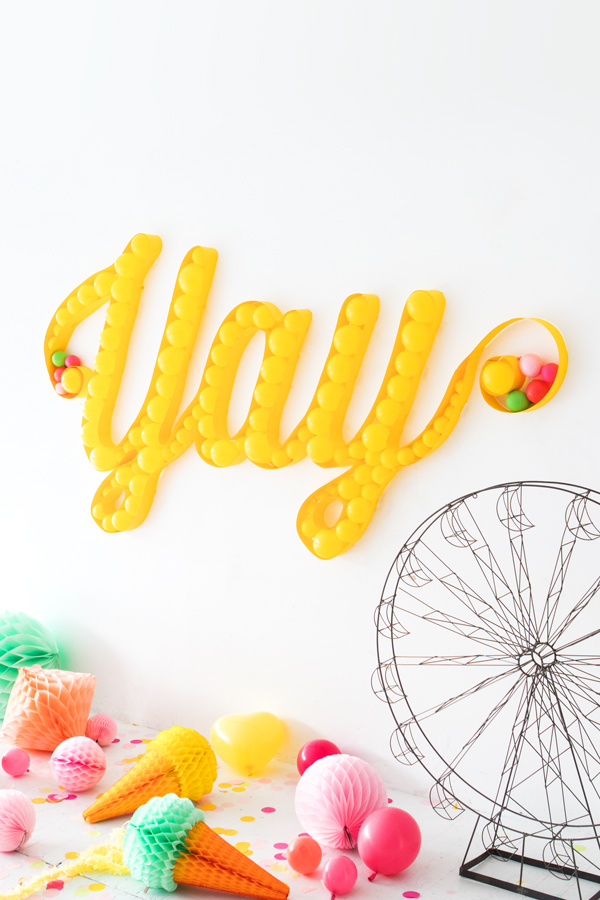
Step 7: Inflate a bunch of mini balloons in various sizes with a balloon hand pump. You want the balloons to have a round shape so they look more like lightbulbs.
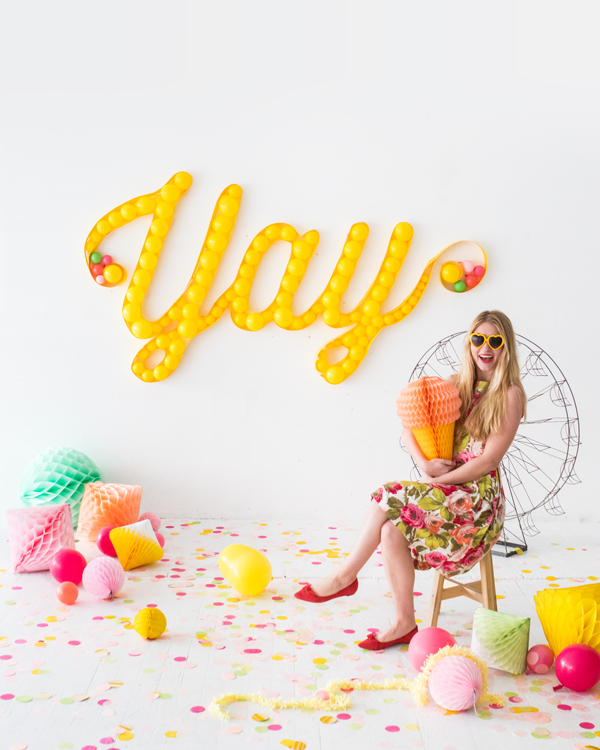
Step 8: Apply vertical lines of double sided Shurtape on the inside spaces of the letters. Peel off the paper backing and stick on balloons. Add small balloons in a few colors to the beginning and ending flourishes of the word. Yay, you’re done!
SHOP THIS POST: Ice Cream Honeycomb, Two-Tone Honeycomb, Diamond Honeycomb, Giant Confetti
Photography & styling by Naomi Julia Satake
Crafting by Justine Pon


Michelle
January 27, 2017
This is an amazing idea, and it looks so cool!
https://www.makeandmess.com/
Sophie
January 27, 2017
I want to make this.
Alexis Towle
January 27, 2017
I’m impressed how resourceful you were in making this. Love the balloon marquee its a conversation piece!
xo,
https://lidsandtricks.com/
Jessica
January 27, 2017
This is awesome! I got a wedding coming up in my family and I might just do something like that x
Jessica — NinetyCo
Anne
January 28, 2017
Great idea! Love the colors.
Blair
January 28, 2017
This is such a cool idea! Love it!
Jane
January 29, 2017
Such incredible balloon decorations – sure to add an extra element of fun and festivities to any party theme! I’s great getting creative and going all out for party themes and decorations. A fun addition to this theme would be dressups in a selected colour range or having a photobooth to capture the festivities!
Hannah F
February 6, 2017
Love this a lot!!!! I love the Ferris wheel prop, where is that from?
It’s from a vintage store!