


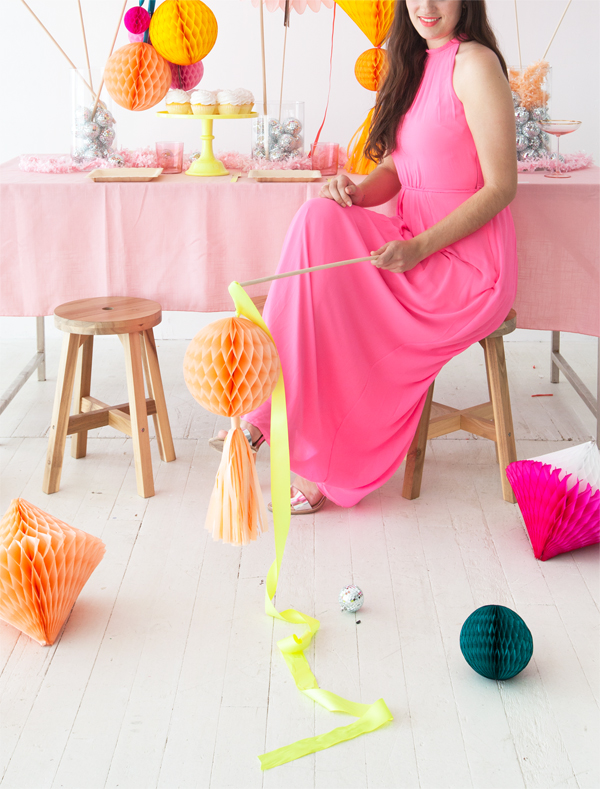
We just got a bunch of new honeycomb in the Oh Happy Day Party Shop and I saw this image styled by Rebecca Thuss and was inspired to make a project around these honeycomb sticks. The make such a beautiful centerpiece that would be perfect for a party or wedding. They couldn’t be easier to make and they pack flat if you need decorations for a party you have to travel to.
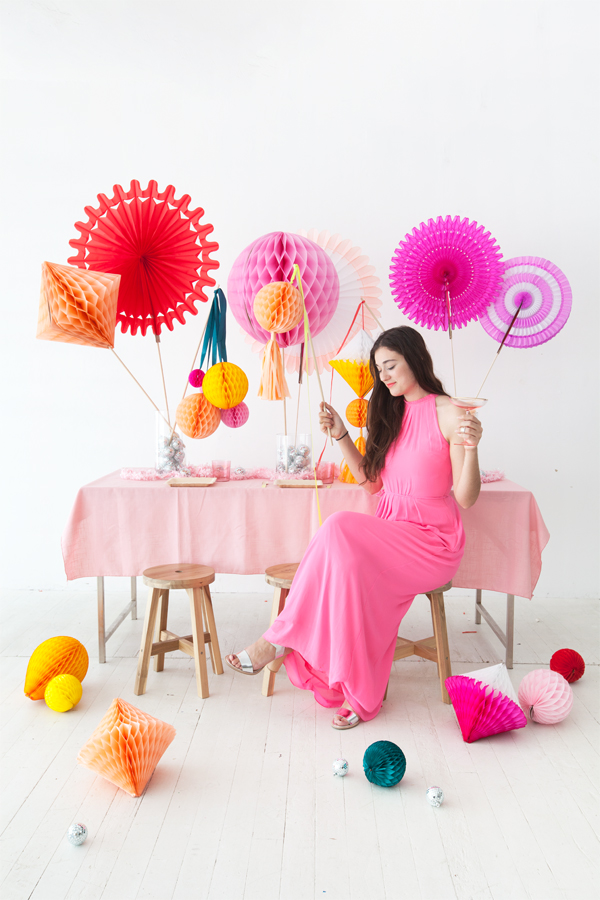
I love honeycombs because they store flat and you can use and reuse them. We just got these pretty dipped color block diamonds in the shop! I’m obsessed! See the whole DIY below!
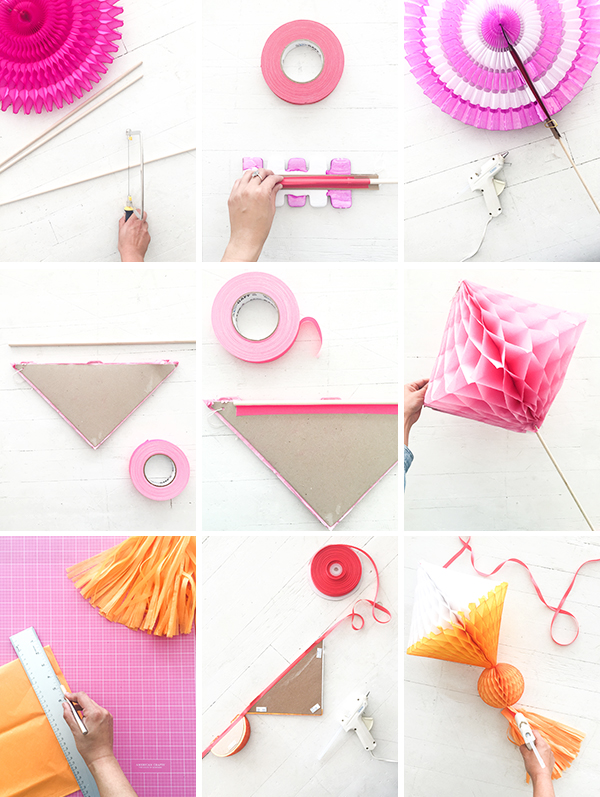
Materials needed: Wooden dowels (3/16″ and 3/8″ in diameter), hand saw, honeycombs and party fans in a variety of shapes and sizes, gaffer’s tape, hot glue gun, tissue paper, x-acto knife, ruler
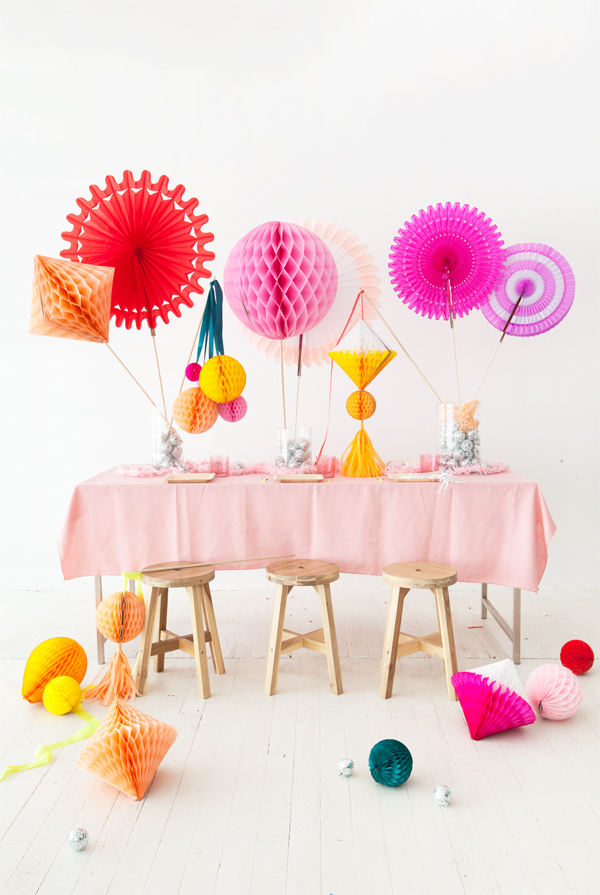
Step 1: Plan out your table layout. We planned our layout for a table 7” long, with three sticks in each hurricane. You’ll want the larger sticks higher in the layout so that they don’t block your guests’ faces.
Step 2: Cut your dowels to different lengths according to your plan. Reserve the fatter dowels for the giant honeycombs and the hanging arrangements, and the thinner dowels for the fans.
Fans
- Tape a 3/16” dowel to one side of the closed fan with gaffer’s tape.
- Open the fan, then apply a bit of hot glue to keep it in place. Hold in place until the glue has cooled. You can use a coated paper clip to hold it together while the glue sets.
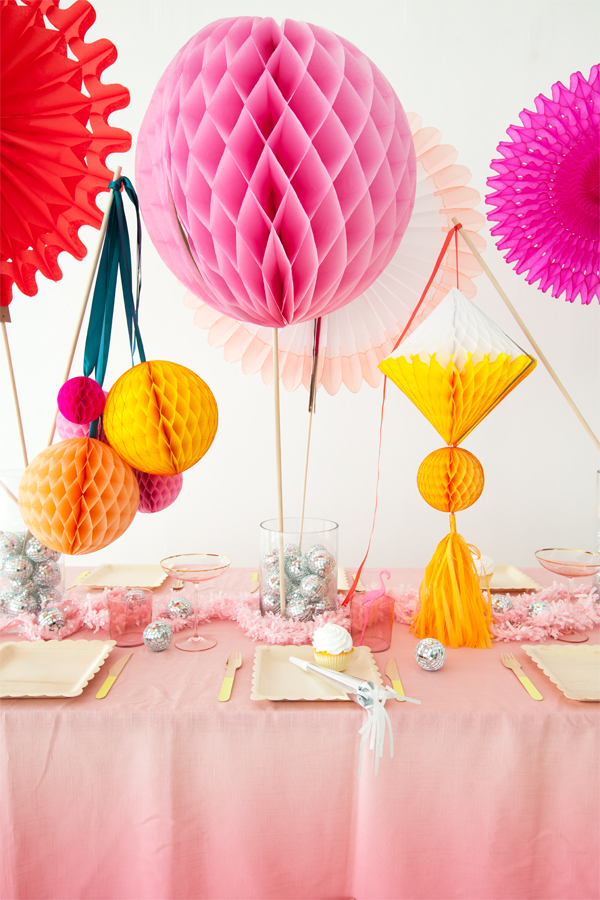
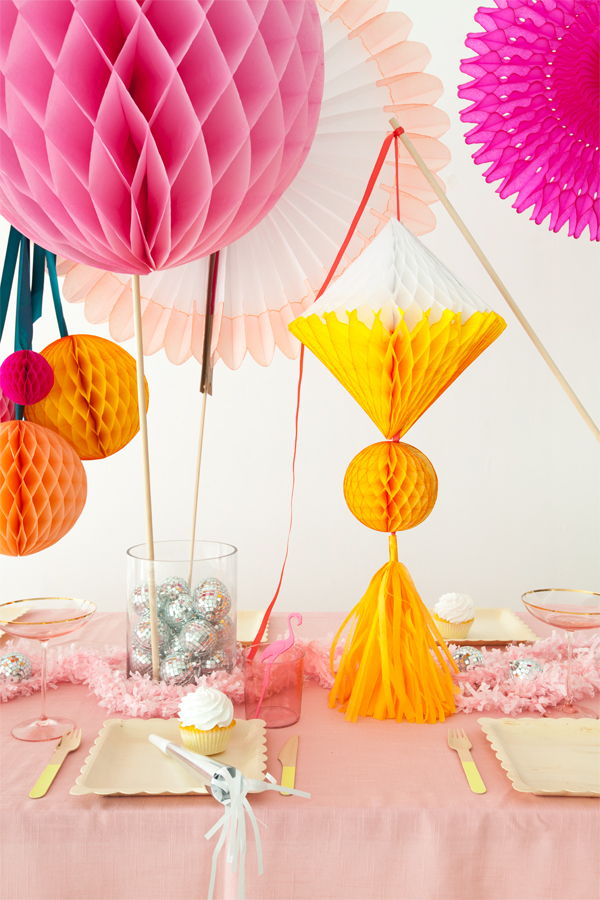
Giant Balls and Diamonds
- With the honeycomb still closed, tape a 3/8″ dowel along the inner edge.
- Peel the backing from the adhesive on your giant honeycomb
- Sandwich the dowel in the center of the honeycomb, and open the fan.
Hanging Tassels
- Cut big, long fringe from your tissue paper using an x-acto knife and ruler.
- With the honeycombs still closed, apply a thin line of hot glue along the inside edge and affix ribbon. Leave a little ribbon hanging on the end. Glue additional honeycombs until you get the length you
- Wrap the fringe around the ribbon on the end. Put a dot of hot glue in the beginning and end of the wrap to hold it in place.
Hanging Ball Bouquets
- With the honeycomb ball still closed, apply a thin line of hot glue along the inside edge and affix ribbon.
- Repeat with other balls until you can make a nice bouquet. Then gather the ribbons and knot onto the end of a 3/8″ stick. To help keep it in place, you can put a dab of hot glue on knot.
Photos and Styling by Amy Moss
Crafting by Naomi Julia Satake


Michelle
September 1, 2016
They’re beautiful, especially the large ones!
https://www.makeandmess.com/
Kari
September 1, 2016
Those are so fun & colorful!
Kari
http://sweetteasweetie.com/make-garlic-marinara-sauce-zoodles-15-minutes/
Bec @ Love That Party
September 1, 2016
I just love honeycombs, they never get old! Love the way you have used them here and the colours are spot on!
party props online india
September 2, 2016
Great ideas..!!
Shari from GoodFoodWeek
September 10, 2016
This table looks amazing. I am planning for my son’s second birthday in a couple of weeks and I really would love to do something like this.