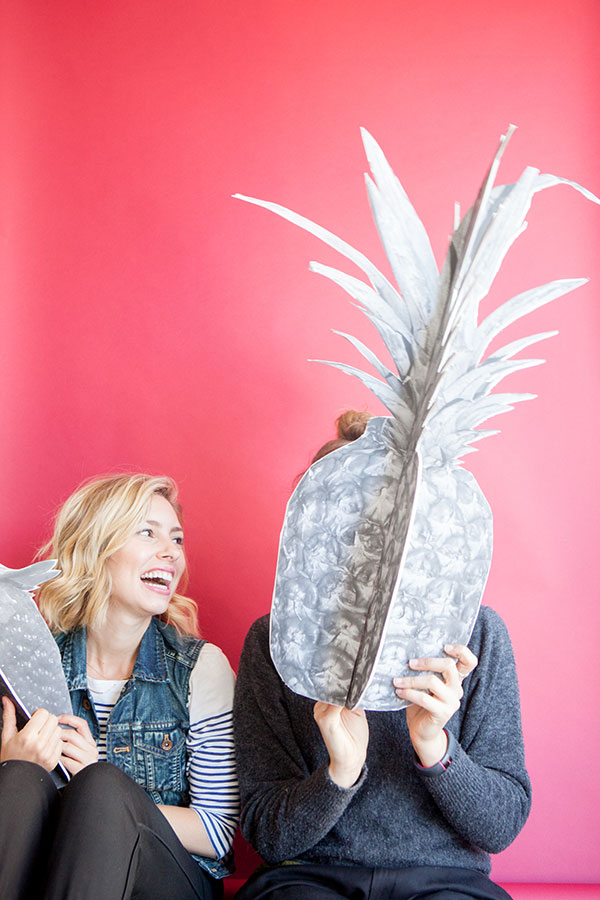
This is a really fun photobooth prop DIY that is easy to do and you could use this technique to make 3-D people or dogs or whatever! HP sent over their new Sprout computer for us to try out and we’ve had a great time using it for a bunch of projects around the studio. The computer comes with an overhead camera that lets you scan 3D items and a touchmat where you can move and write things with your fingers. Plus, the screen is a touchscreen so you can use your fingers to navigate around the computer. It’s like a really easy photoshop replacement. We used it to scan in a bunch of fruits that we turned into today’s DIY. Click through to see all the details!


Materials: Fruit, camera (or even better – HP Sprout!), large format prints (available at any print shop,) scissors, spray glue, foam core, x-acto knife, ruler, pencil, optional: cutting mat (or cardboard)
Step 1: Take an overhead shot of your favorite fruits. HP Sprout makes this SUPER easy – you just push a button and it scans it into your computer.
Step 2: Make sure you have one original version of the image + a mirrored version of the image. Turn these both into PDFs and send them to your local print shop. Print 2 versions of each image (regular and mirrored for a total of 4 prints.)
Step 3: Once you receive the prints, use scissors to cut out the 2 original versions of the prints – leave a white a white border and don’t be too perfect (you’ll be cutting the details in a bit.)
Step 4: Spray the backs of these prints with glue then mount them to a piece of foam core.
Step 5: Use an x-acto knife to perfectly cut out around the image on the foam core. (Make sure you cut onto a cutting mat or old cardboard to save your workspace!)
Step 6: On the other 2 mirrored fruit images, use scissors or an x-acto knife to perfectly cut out around the image. Spray the backs with glue and carefully mount them to the other sides of your foam core images.
Step 7: Use a ruler to draw a straight line down the center of both cut out images. Place an x directly in the center of these lines.
Step 8: Measure the width of the foam core – you’ll need to make incisions this same size so that the pieces can fit together. On one of the images, you’ll be cutting out this width ABOVE the center x. On the other, you’ll be cutting out below the center x.
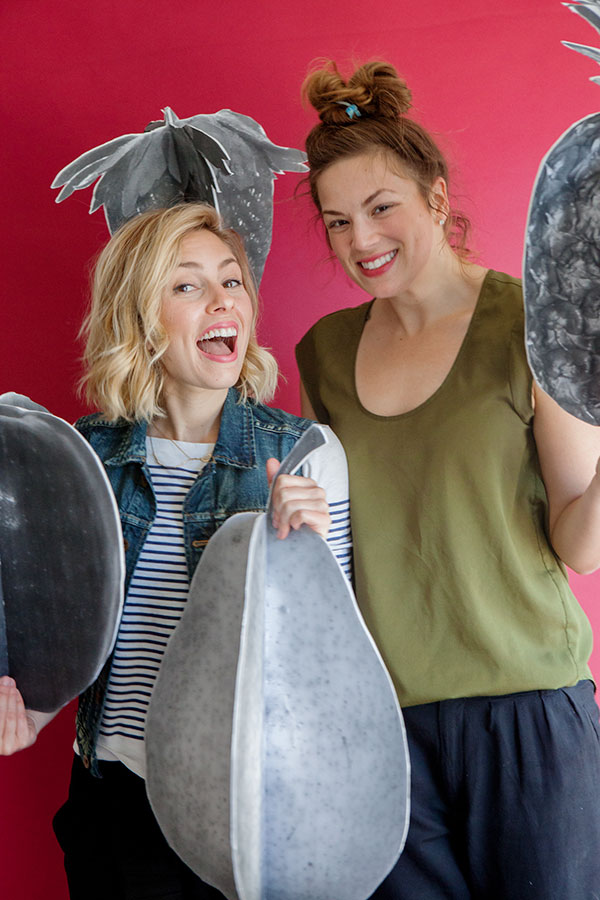
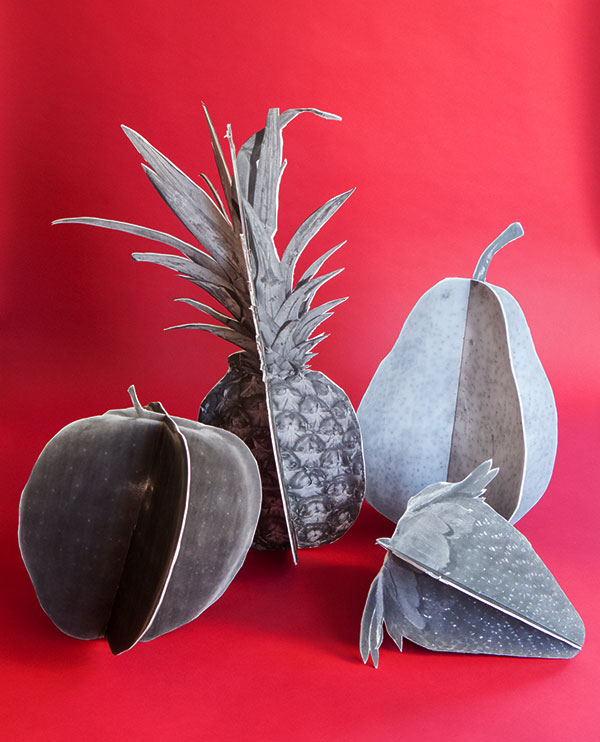
Step 9: Now the pieces should fit easily together like a puzzle. When you’re finished, you can color them in with paint or colored pencils – or leave them black and white for a more graphic look!
Photos by Paul Ferney for Oh Happy Day


sarah
April 16, 2015
These are so rad!! I’m in love. 🙂
Meredithe
April 16, 2015
The HP Sprout looks like an essential item for a studio. What a cool peice of kit.
Poupette
April 17, 2015
I love this idea! Very pretty!
Paige
April 17, 2015
These are literally the best photo booth props I’ve ever seen! So fun!
Paige
http://thehappyflammily.com