This post on photography tips is brought to you by your fellow photo lovers at Shutterfly. They encourage you to capture your memories and share your amazing pictures the way you want with their new Custom Path photo books.
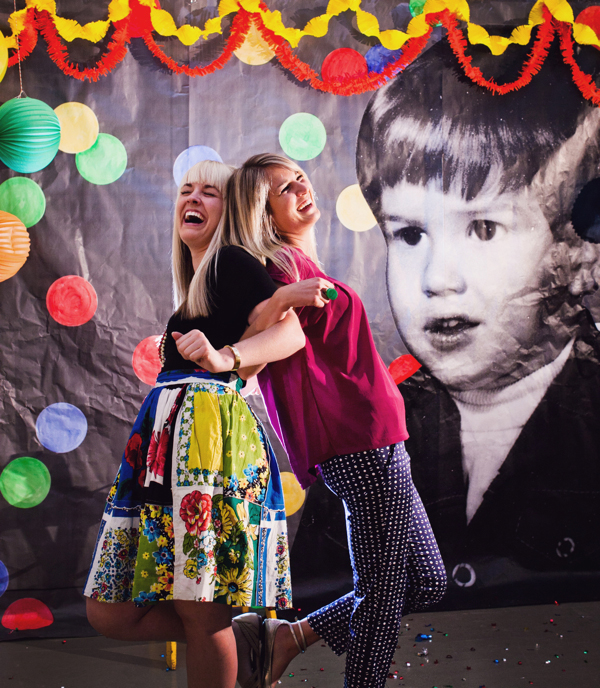
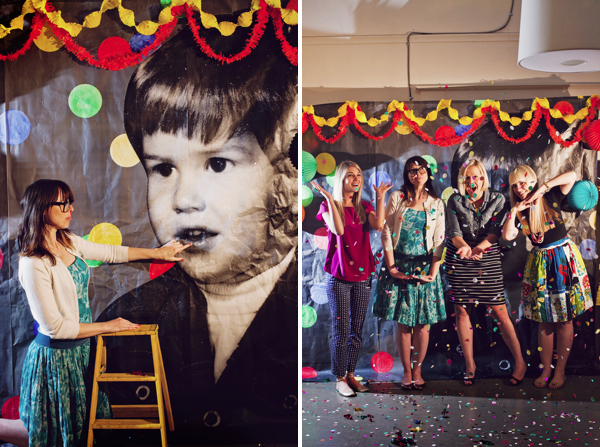
Today is the last post in the Series of Photographer’s Guide to Party Photobooths. I’ve loved doing these so much I think I am going to make the photobooth posts a regular feature on Oh Happy Day! Today’s post we are playing with one of my favorite ideas: the giant copier at Kinkos (see other ideas here, here, and here.) In this project you take a baby photo of the birthday boy or girl and blow it up for a photobooth backdrop. In ours we put giant white circles on the back ground and then painted them in like giant confetti. This would work great for a birthday or even a 50th anniversary. Its a fun way to remember a special occasion and save memories.
How to make A Giant Blow-Up Photobooth
Materials Needed: Baby Picture, Photocopier at Kinkos, Acrylic Paint and paint brush.
Step 1: You’ll need to decide how wide you want your photobooth. Figure how many people you want to fit in and how tall you want it. Then figure out how many sheets from kinkos you’ll need to print off. Kinko’s prints 48″ wide and as long as you’d like since the length comes off a roll.
Step 2: Time to lay out your backdrop. We used Photoshop to do the layout but really you don’t need it and can do a collage by hand then take in the hard copy to have blown up. Get a baby photo that has been scanned. You don’t need anything super high resolution but you’ll need it higher than the photos you’d get off the internet. Once you’ve set your layout up print it out on printer paper or take the file into Kinkos on a thumb drive. You’ll want to keep the design black and white because using a color printer makes the price go from affordable to astronomically expensive.
Step 3. Take your layouts in to Kinkos and have them blown up. Its really easy to do but have the Kinkos employee show you how if you have any questions. It costs 75 cents/sq ft so the whole cost of this was about $47.
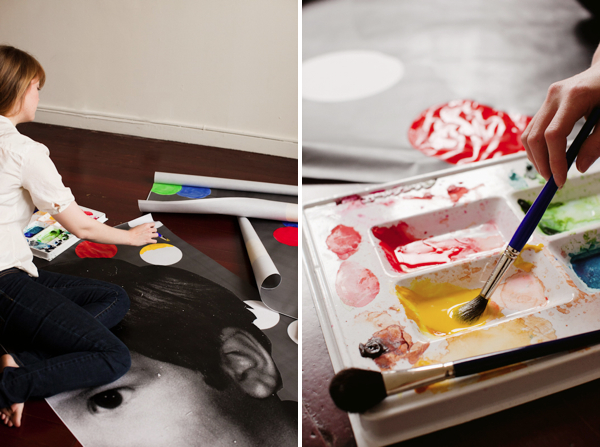
Step 4. You’ll need to trim the border off the photo copies then its ready to paint. We added some touches of acrylic paint to make it a little more colorful.
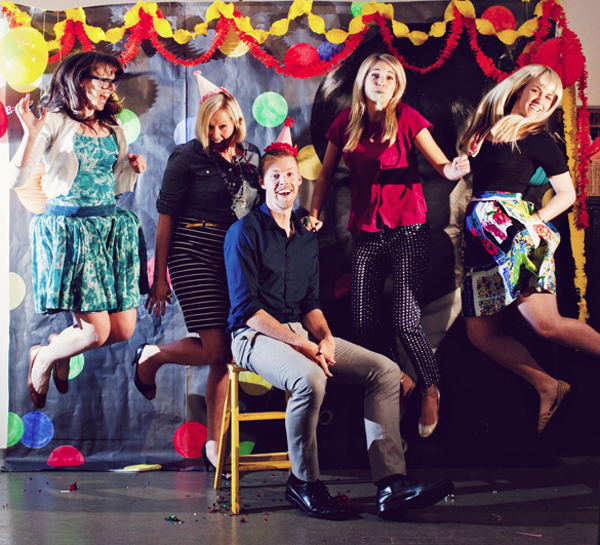
Step 5. Hang your posters with secure tape that won’t damage the walls. Et voilà! Add a photographer and you’re ready for your party!
A special thanks to Shutterfly for sponsoring these photobooth posts. Thanks to Aubrey for the photos, to Alexis Birkmeyer for pulling it all together and to Rebecca Wright for gathering the beautiful people of San Francisco for models.
All photos by Aubrey Trinnaman for Oh Happy Day


Mariana D.
June 14, 2011
I love this idea! Thanks for sharing!
Nicole
June 14, 2011
This idea could not possible be more awesome!!! Now I just to find a Kinkos substitute in Germany…
Rebecca
June 14, 2011
This is adorable – I LOOOVE it. I used your props for a photo booth last weekend, and now have to use this idea, too! 🙂
jillian
June 14, 2011
wow! what a fantastic idea. this is really cool. might have to do something similar for our wedding! xoxo jillian:: cornflake dreams
AmyC83
June 14, 2011
This would be amazing for a baby shower! Use baby photos of the mom and dad and send people their photos in a thank you card!
Kacie
June 14, 2011
I love this! My husband’s 30th is coming up and I just may need to do this!
Kacie
http://www.acollectionofpassions.blogspot.com/
Cat/Sugar Daze
June 14, 2011
So cool!
Sayoko Rutledge
June 14, 2011
Love this! Perfect for my dad’s 60th coming up 🙂
Callista
June 14, 2011
I love the idea of adding ‘confetti’ to the image. It’s brilliant! Now if only I could figure out a way to sneak this into my cousin’s impending wedding . . .
Misha
June 14, 2011
How fun!
April Cole
June 14, 2011
What a wonderful idea!
Hip, hip… hooray for clever crafting :]
Thank you for sharing.
kim
June 14, 2011
Oh my word – I didn’t realize you could photocopy so hugely massive! What be this Kinko’s you speak of, and why aren’t they in Australia? 😉 Also, love the handpainted confetti!
Rachell
June 14, 2011
Oh I love this idea!
How fun and easy.
Clare
June 14, 2011
@ Kim
Agreed. Do you think Officeworks could do something similar?
LuLu
June 14, 2011
What a fun idea. I would have never thought of this and this would even be great for a fun Summer work party I have coming up!
http://www.ACandidLife.blogspot.com
christi
June 14, 2011
Love this idea, but I was so distracted by the top skirt. Is that vintage hankerchiefs or awesome fabric?
chelsea
June 14, 2011
This is really something Jordan. Great concept and just so amazing visually! Can’t wait to see how people use this for their own parties.
Sarah @http://agirlintransit.blogspot.com/
June 15, 2011
What a fun and great idea! I love photobooths.
– Sarah
http://agirlintransit.blogspot.com/
mary @ for a life inspired
June 15, 2011
this is awesome!! how fun, what a great idea!
www.StarHughes.com
June 16, 2011
I love this idea! So creative! Thanks for sharing!
Star Hughes Living
priscilla
June 17, 2011
i’ve been searching for ideas for my mother-in-law’s 90th bday and i think this is it. now we can all have a photo of ourselves with her, when she is smiling.
did that come out wrong?
whatevs, thanks for the idea!
bussbuss
June 20, 2011
This is so clever! I swear you come up with the BEST ideas!!!
I’m thinking of doing this as an inexpensive art piece in my office and dining room. Thanks for the idea xx!
Lily from Birch + Bird
June 20, 2011
What a fantastic idea and so perfect for birthdays of any ages! Thanks for sharing 🙂