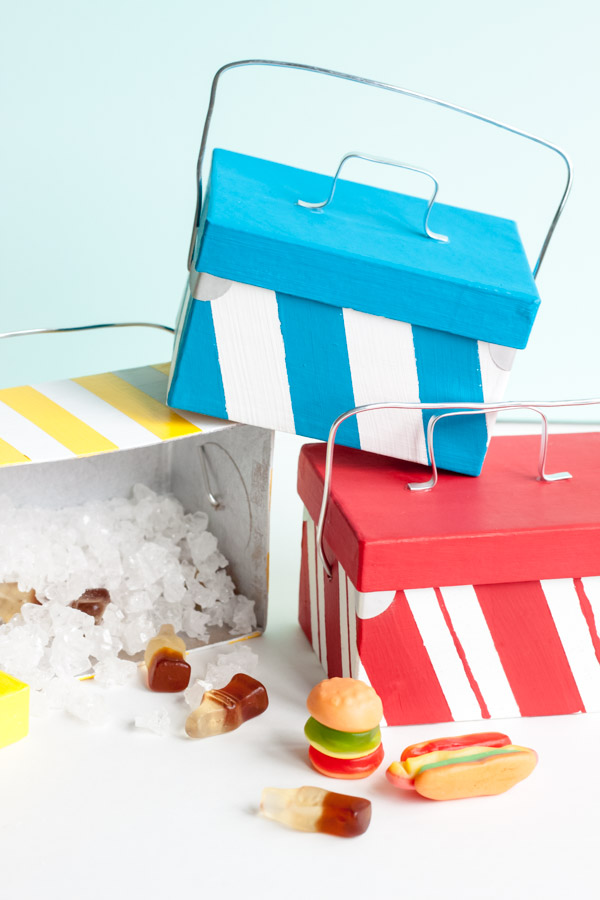
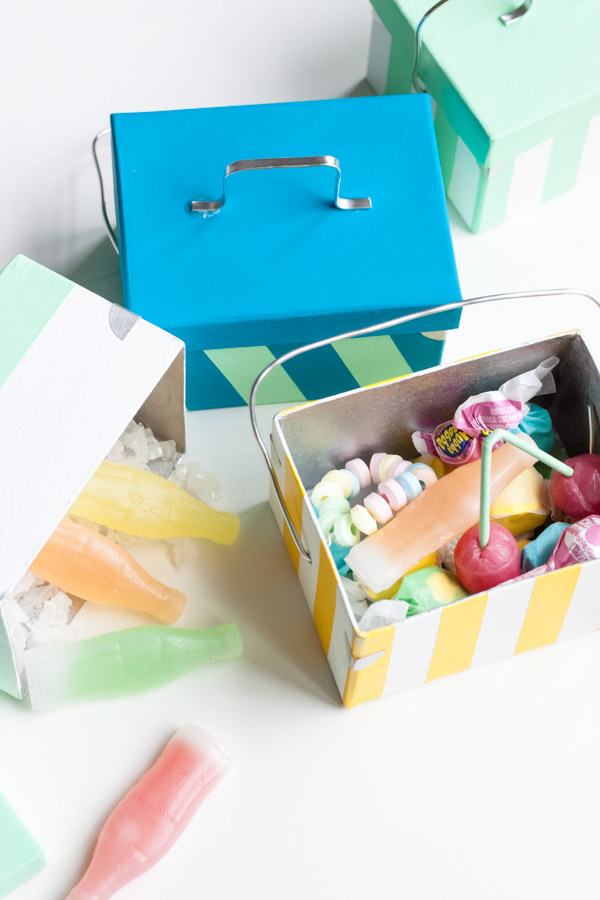
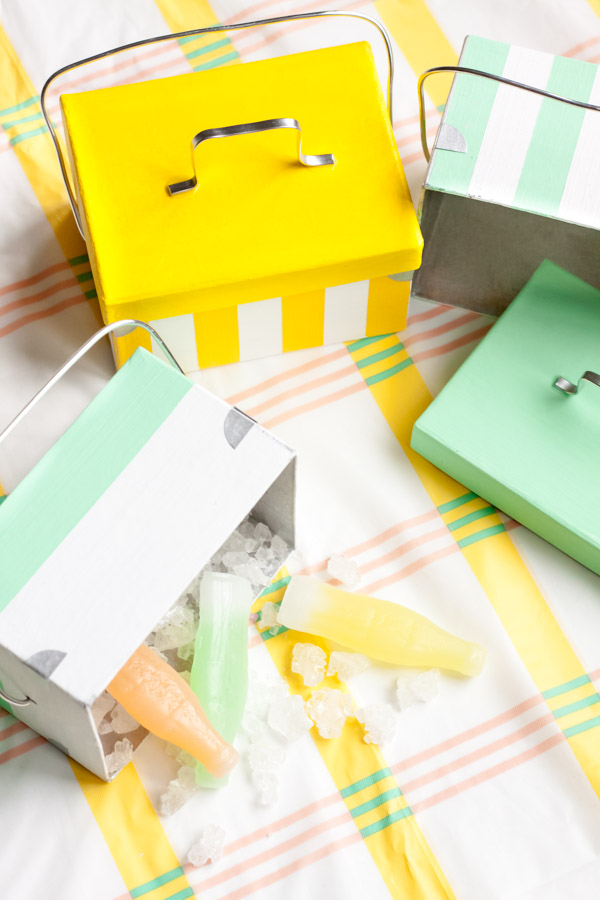
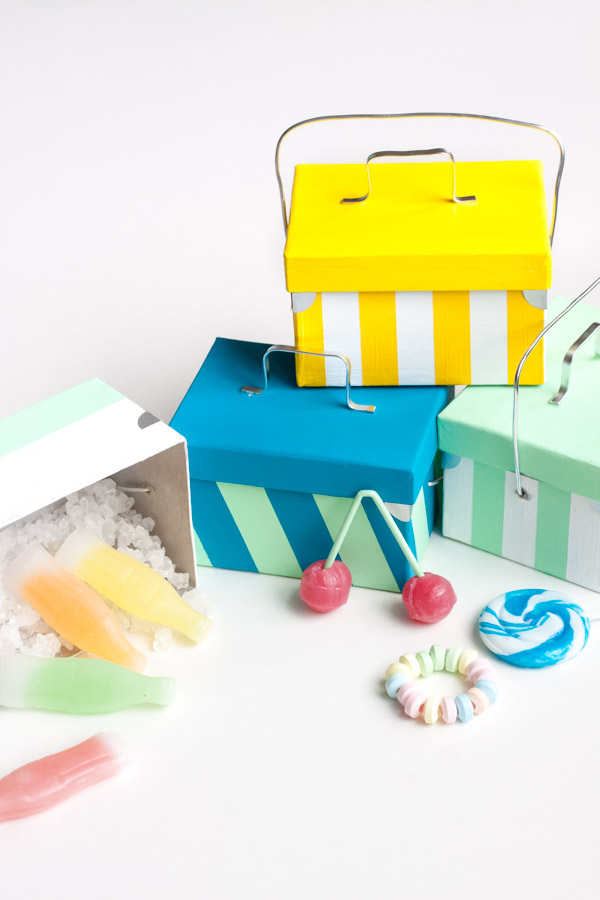
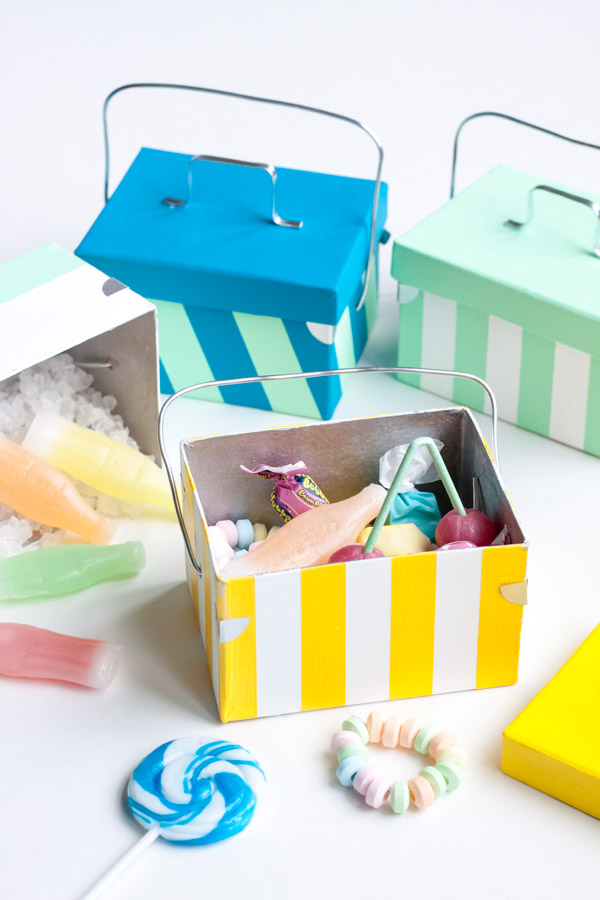
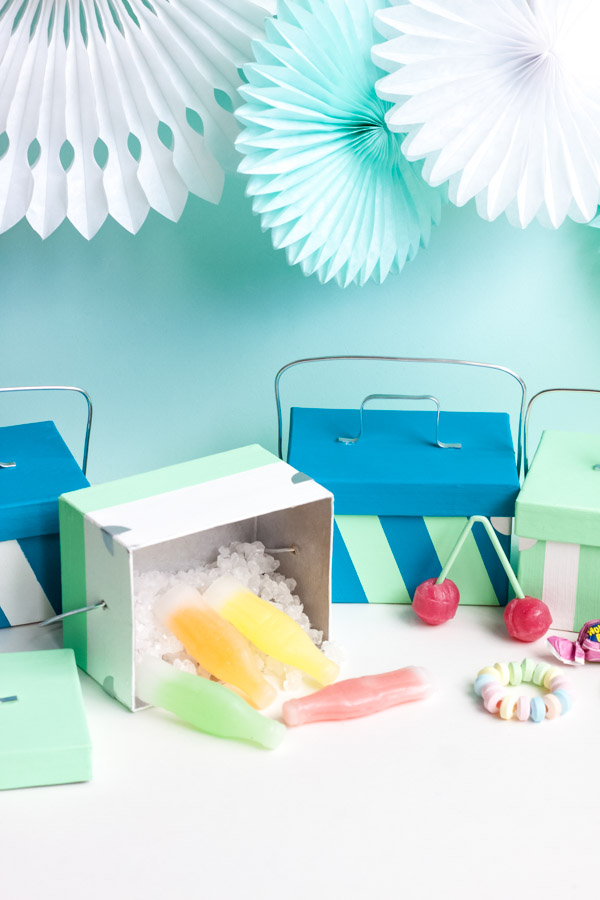
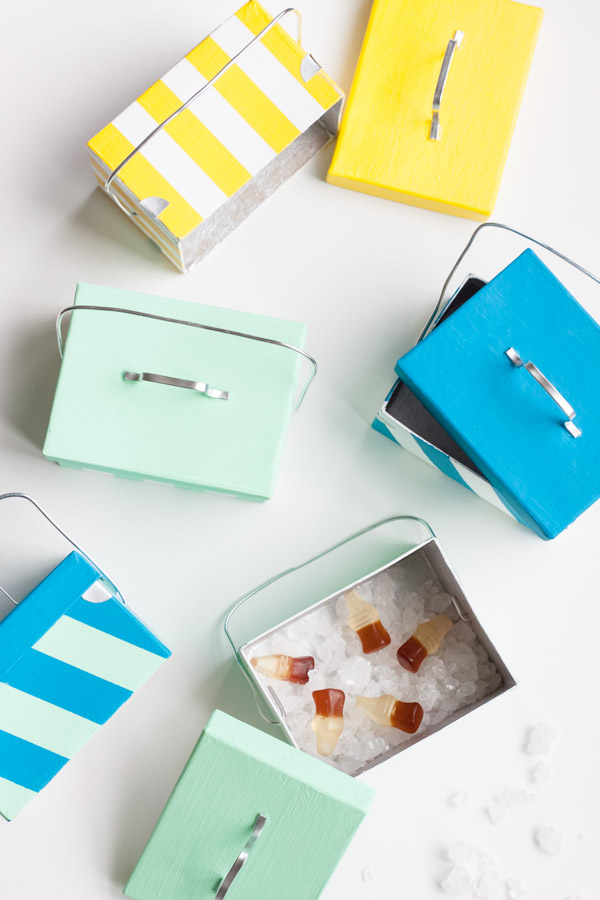
Summer has arrived, and that is definitely worth celebrating! It’s time to whip out the picnic blankets, pool floats, and coolers, and eat all the fruit salad, burgers and s’mores! I can’t wait to invite some friends over for a backyard barbecue (6 feet apart, of course!), and plan to send the kids home with these fun mini cooler favors. They are perfect for a pool party, cookout, picnic, or anything else involving coolers! You can create an appropriate color scheme for your event, and fill them with fun summer candy and prizes. Use white rock candy for ice, and it’s amazing how many candy soda options are available! Let’s get the party started…
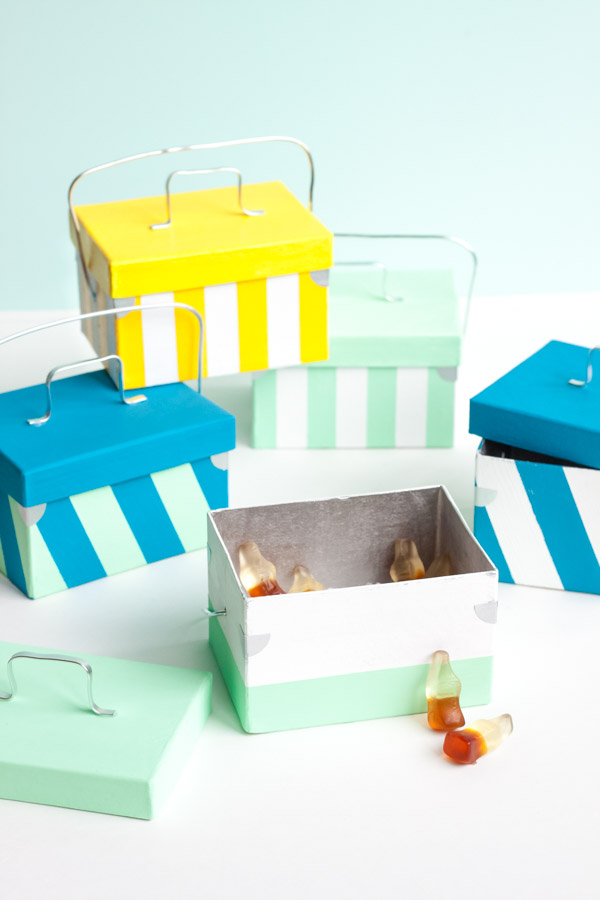
Materials needed: 4 ¼ x 3 ¼ x 2 ½ inch paper mache box, metallic silver spray paint, white sticker labels, painter’s tape, Washi tape (in several widths), acrylic paint (white, and colors of your choice), sponge brush, 12 gauge wire, 1 mm x 4 mm flat wire, wire cutters, nail or awl, tacky glue, scissors

Candy options: mini drinks, soda cans, happy cola, white rock candy (ice)
Step 1: Use painter’s tape to cover the entire outside of your paper mache box and lid. Following the directions on the can of spray paint, spray the inside of the box and lid metallic silver, as well as a couple sheets of white sticker labels. Allow to dry.
Step 2: Use white acrylic paint and a sponge brush to prime the entire outside of the box and lid. Allow to dry.
Step 3: Use the acrylic paint color of your choice to paint the entire outside of the box and lid. This will be your first stripe color, so it is best to do the lightest of your two color choices first. Although, you may do the lid in the darker color. If you plan to do one white stripe, give the box a second coat of white. Allow to dry.
Step 4: Use Washi tape to cover the entire box (without the lid), by lining pieces up right next to each other, so the edges of the tape are touching. You may use two different widths, or slightly slant the tape diagonally, depending on the look you are trying to achieve. Remove every other strip of tape, and press the remaining pieces down firmly. Paint the exposed parts of the box, and allow to dry. Remove the Washi tape, and touch up any spots that may have peeled off with the tape.
Step 5: Use wire cutters to cut your 12 gauge wire to 11 ½ inches, and your flat wire to 3 ¾ inches. Bend the 12 gauge wire into three sides of a rectangle, making sure the top will fit around the long side of your box. Bend the flat wire into a small handle, and use tacky glue to attach it to the middle of the box lid. Next, use an awl (or nail) to poke a small hole on the short ends of your box about an inch from the top. Slip the 12 gauge wire into the holes from the top, and bend the wire up about ¾ inch on the inside of the box to keep it in place.
Step 6: Place the lid on the box, and cut your silver circle labels in half. Place a half-circle on each corner of the box, right under the lid, as seen in the photo.

Crafting and photography by Abby Hunter.


Firoz Khan
July 18, 2020
Such nice post.i like this artwork.very nice post keep it up.
Aahad
July 23, 2020
Lovely Post.I Like your all artwork, keep it up
Evi Yuliawati
July 26, 2020
A very lovely post and it will work very well when being applied. Keep up the good work and keep writing great content.
Jennifer
July 26, 2020
Very cute! Just be careful with unwrapped candy rubbing against the silver-painted interior of the box…
Amarbalecha
July 28, 2020
It’s really nice information in this article on
dean winchester haircut
July 28, 2020
Amazing article! I really like your website.
Rakesh Kumar
July 29, 2020
Wow! it is amazing artwork. Keep us inspiring with your great stuff. Keep up the good work.