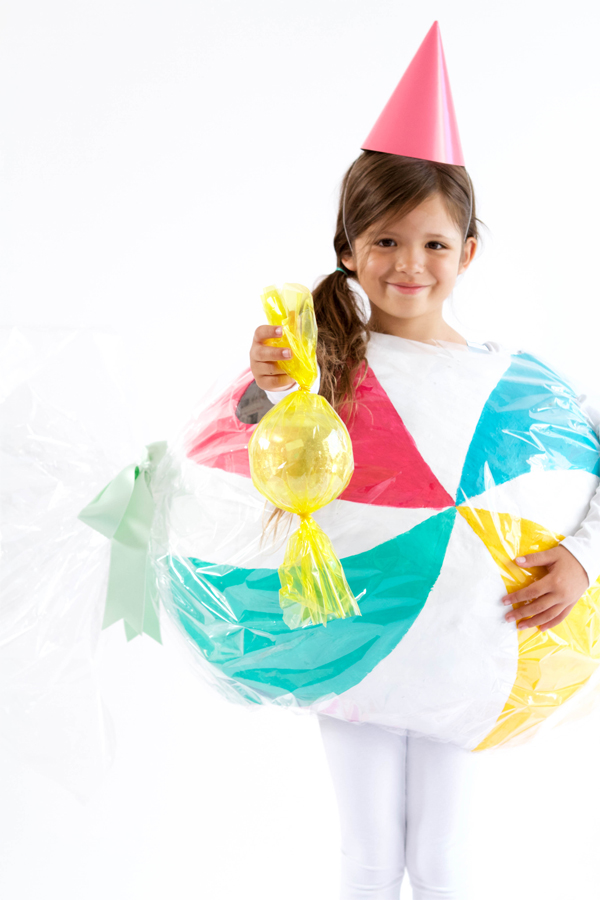
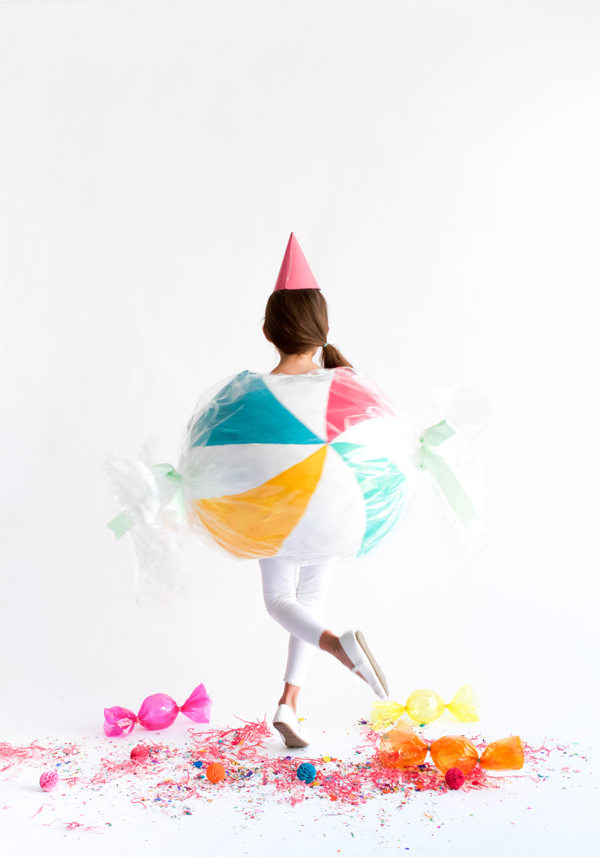
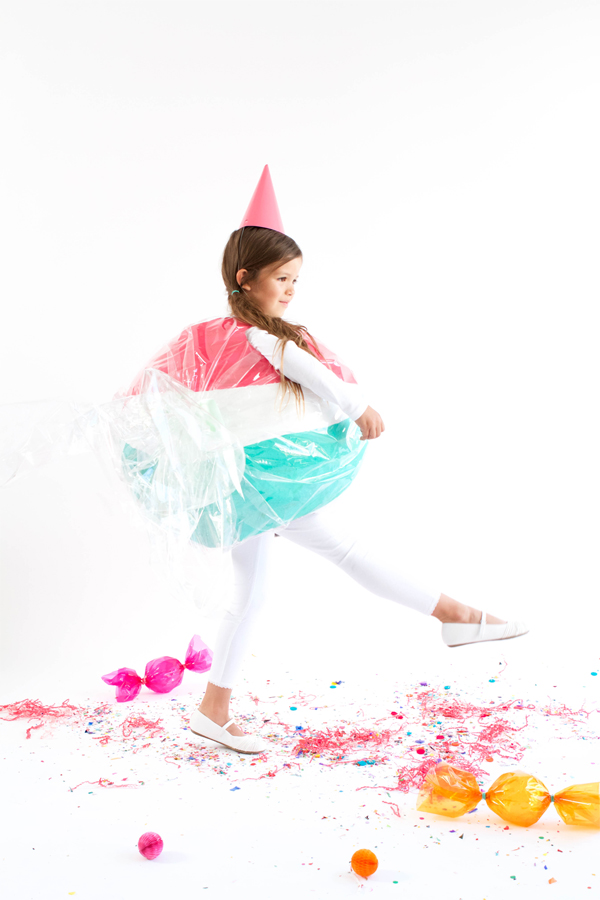
Today we’re sharing another Halloween costume: a bonbon! We painted our paper mâché ball and then added a cellophane wrapper to make a very sweet costume.
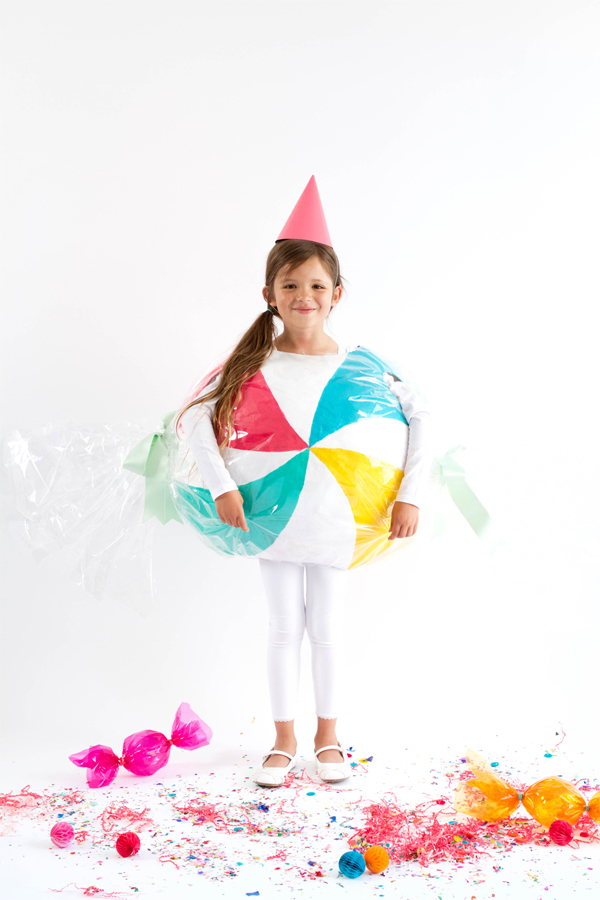
My friend Colleen developed a really cool technique for paper mâché and she helped us do these she keeps the layers very thin so it’s very light weight and then cuts the holes in just the right spots so the arms aren’t restricted . Her notes are below for making the paper mâché
Materials: Newspaper, Flour, Water, Bowl, Small Pebbles, 3′ Balloon, String , White Spray Paint
 , Acrylic Paint, cellophane
 , Thick Ribbon
 , Elastic
Step 1: Inflate balloons, fill with a few pebbles, and tie with string.
Step 2: Tear newspaper into long strips, the strips should be small enough that they don’t wrinkle and fold when placed on the balloon.
Step 3: Prepare the paper maché by mixing equal parts water and flour in a bowl. We covered our balloon a bunch of layers.
Step 4: Soak the newspaper pieces in the mixture, the wetter they are the easier they are to stick to the balloon.
Step 5: Lay the pieces on the balloon making sure to cover every part and as close around the balloon knot as possible.
Step 6: Hang on a line of string to dry. (The pebbles should keep the balloon weighted down.
Step 7: Once totally dry (this could take overnight), repeat steps 4-6 for a second layer. It is important to make a many layers because you don’t want it to collapse when you remove the balloon.
Step 8: Once the balloon has completely dried and sturdy, use scissors to cut a hole near the balloon knot to release the air. When the balloon has completely deflated, remove it from your piñata.
Step 9: Use an x-acto knife or box cutter to cut wide holes in the top and bottom so that it fits over your head and legs. Cut out holes for your arms.
Step 10: Spray paint the sphere white.
Step 11: Use a pencil to trace out the edges of the lines on the candy.
Step 12: Paint in the different colors of the candy.
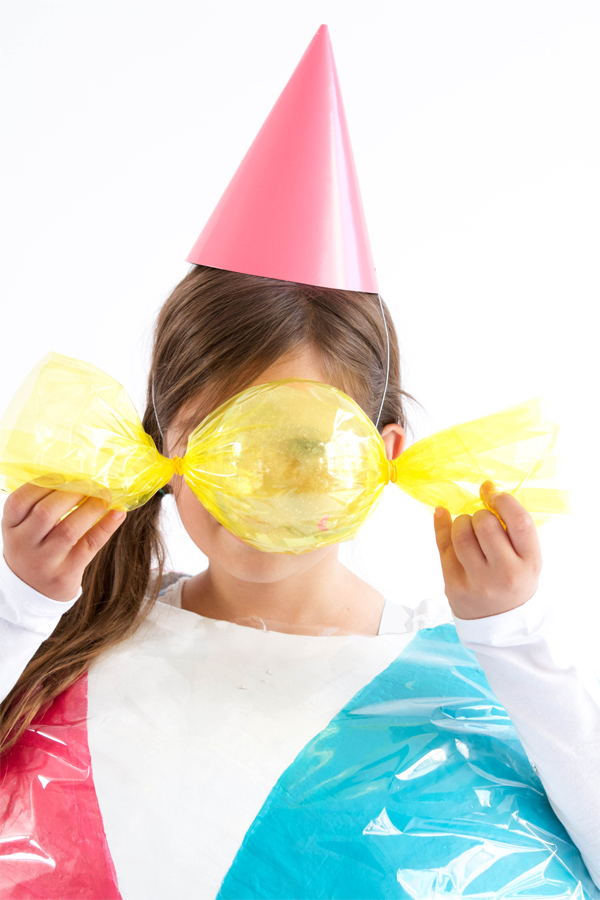
Step13: Cover the sphere with clear cellophane. Tie off the ends with ribbon so they look like candy.
Step 14: Cut holes in the cellophane for the head and arms. Tape the cellophane to the inside of each hole.
Step 15: Wear and party!

Photos by Paul Ferney for Oh Happy Day
Crafting by Colleen Casper
Art Direction by Amy Moss
, White Spray Paint
, Acrylic Paint, cellophane
, Thick Ribbon
, Elastic


Michelle
September 30, 2015
Awesome! I would love to see some costume inspiration for adults as well!
https://www.makeandmess.com/
Heather
September 30, 2015
Ok, this is the CUTEST thing I’ve seen today. Good job guys!
Sarah
September 30, 2015
YES. THIS!!!
Emily || Mama Deer Blog
September 30, 2015
Oh my goodness! This is sooooooo sweet (literally!) – I cannot wait to make costumes for my lil’ one. Happy to be a new follower 🙂
♥ Emily
http://www.mamadeer.com
Paige
September 30, 2015
Oh my goodness! This is too too cute! I love it!
Paige
http://thehappyflammily.com
Valerie
October 1, 2015
This is seriously amazing and so creative!
Lyndsay // Coco Cake Land
October 2, 2015
this is my favourite thing on the internet this week, SO CUTE! oh, to be a plump and vintage-cute looking candy!! 🙂
gabriella
October 3, 2015
This has to be the cutest costume I’ve seen yet. Adorable!
Alexis
October 5, 2015
Oh my goodness – this is the cutest thing ever. Now I need to convince my daughter she wants to be a candy for Halloween.
Arielle
October 11, 2015
I want to do this for myself! I don’t think it will fit, though 🙁