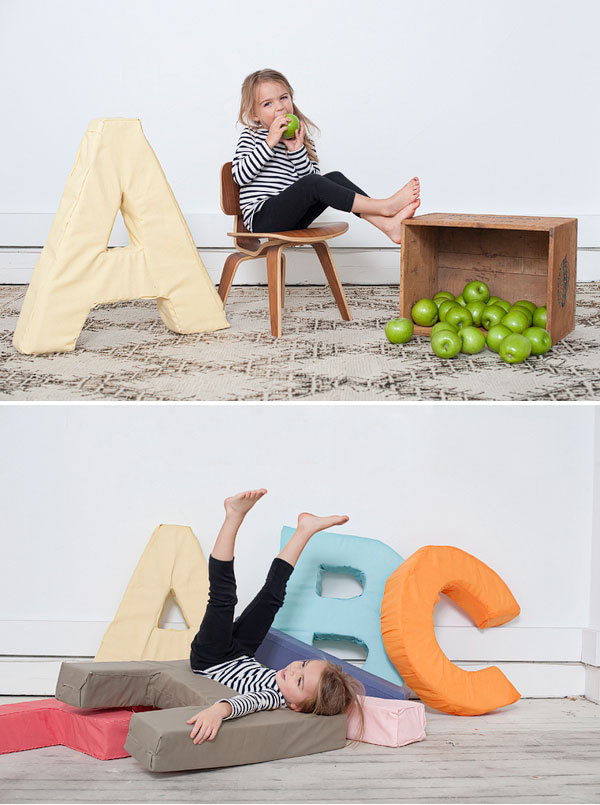
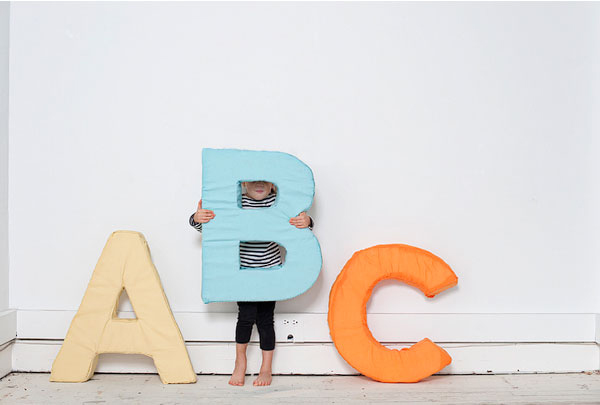
This giant alphabet letter project was inspired by our trip to the Louisiana Museum near Copenhagen. They had a playroom for kids where there were a ton of these giant letter pillows. My kids played with them forever spelling words and jumping on them. I love that they are so iconic and I thought they would be so great in a kids playroom. So we set out to figure out how to recreate them. This project is a lot of work but the end result is so great. I would put this project in the category of furniture making rather than crafting with the time and expense involved. You definitely need some sewing skills. I am planning on adding to the alphabet for birthdays and Christmas until we have the complete alphabet. (Click through for photos and full instructions.)
Click through for photos and full instructions
Materials Needed: 4″ Foam that is 24″ tall (we bought this from a cushion store), Serrated Knife, Marker, Canvas Fabric (estimate after printing out the letters), Sewing Machine, Thread and Needle, Free Downloadable Template (of the whole alphabet). In the end we made 10 letters and the foam was $140.
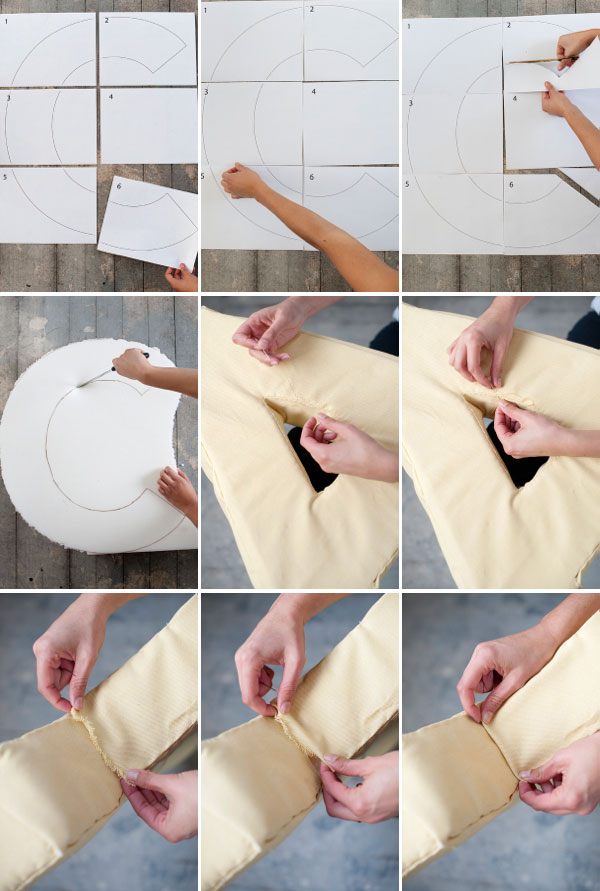
Step 1: Download Template and print out the letters you want to make. Tape them together and cut out the letter to use as a template.
Step 2: Trace the letter with the marker onto the foam and cut it out with a serrated knife.
Step 3: Lay the foam letter onto the fabric and cut out the fabric allowing yourself a 4″ border around all sides.
Step 4: Each letter is different but we started ours by sewing some straight edges on one side then putting the fabric on the foam form. From there we could see how much it needed to be brought in and could pin it in place. For the more complicated edges, like the inside of the letters we would fold the hem under and sew it by hand. Sewing by hand is the best way to get the tightest fit and didn’t take too much longer than sewing it with the machine.
This is a big project but I really love how the letters look. I sort of just wish Urban Outfitters would mass produce them. hehe
Credits and our Talented Contributors:
All photography by Sarah Hebenstreit of Modern Kids Photography for Oh Happy Day
Art Directed by Jordan Ferney
Produced by Ashley Rose Kirschling
Styling by Caitlin Barker
Heroic Crafting by Stacy Wichelhaus
Thanks to little Sophie for modeling


Jen Serafini
November 14, 2012
This is a great idea! Perfect for kids. Love the color choices too!
Gina
November 14, 2012
Really cute… one idea I have done similar to this is for fathers day I took pictures of my kiddo with the letters D A D D Y to spell them on a card for Father’s Day.
Tania
November 14, 2012
So cute! I too wish Urban Outfitters would mass produce them! That said, I might try to attempt my daughter’s initials for her room.
kristina
November 14, 2012
Oh thats awesome! I want a “E”! should really try this!
Kara
November 14, 2012
Very cute idea. And would you mind telling me where you got the striped shirt for the darling model? I’ve been looking for one.
Jo
November 14, 2012
These are amazing, Will def be making one for my little boys bedroom
Colleen Hudson
November 14, 2012
An ELECTRIC serrated knife works great for cutting thick foam! The last time I bought foam (at Joanne’s), the gal at the cutting table used an electric knife to cut off the amount I wanted to purchase… so when I got it home, I dug up MY electric knife (which is used once a year – MAYBE – for cutting meat) – and it worked amazingly well! Now I store my electric knife in my craft room!
Thanks for the great post for these alphabet letters – and the templates! Great job!
Tara of Mad Max and Family
November 14, 2012
These are amazing! My son just started learning the alphabet, and he would love these!
-Tara
http://madmaxandfamily.blogspot.com
Hilary Freeman
November 14, 2012
Imagine my delight to see Little Sophie as the model! What a little doll!
abby
November 15, 2012
These are great! Look super fun to play with too 😉 xx
http://www.little-beast.blogspot.co.uk
Stacy
November 15, 2012
This looks awesome! I just caught the “heroic” part…..I would say it was determined crafting!!!!
Emma
November 15, 2012
I would love to do this with numbers – how did you do the templates?
Thanks
Kids Toys
November 16, 2012
What a fun idea!! I soooo love. Can’t wait to do it for my kids. Thanks for sharing this post.
Adriane /// The A & B Stories
November 16, 2012
Oh my goodness, these are so amazing! I’m officially making one of these for my son 🙂
Gina at willowday
November 16, 2012
First, I absolutely LOVE Louisiana! AND, what fun these would be! Very cute! I somehow missed these yesterday!
Gina at willowday
November 17, 2012
…. I’ve just read your post fully again — I’m sure there are many people who are so happy for your great tutorial but, fully understand & appreciate your humor! (… particularly, as I am sitting here on a Saturday night before a dinner party sewing curtains and wondering why I needed these to be original and make these myself?!…) your Urban Outfitter thought!
This project already had me thinking of denim blocks I sewed for our first born with hand stitched letters — we still have them and I they’re in nice enough condition for both display and setting aside for “one day.” This would be a great similar project! So cute!
kim
November 22, 2012
i love youre blog…its so much inspirations..and love to youre family..really.
🙂 hugs from austria. kinglo