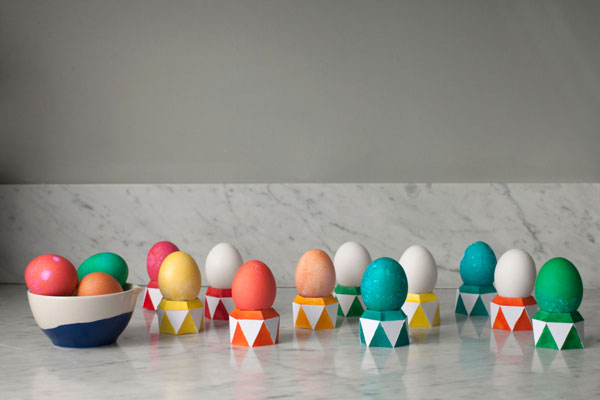
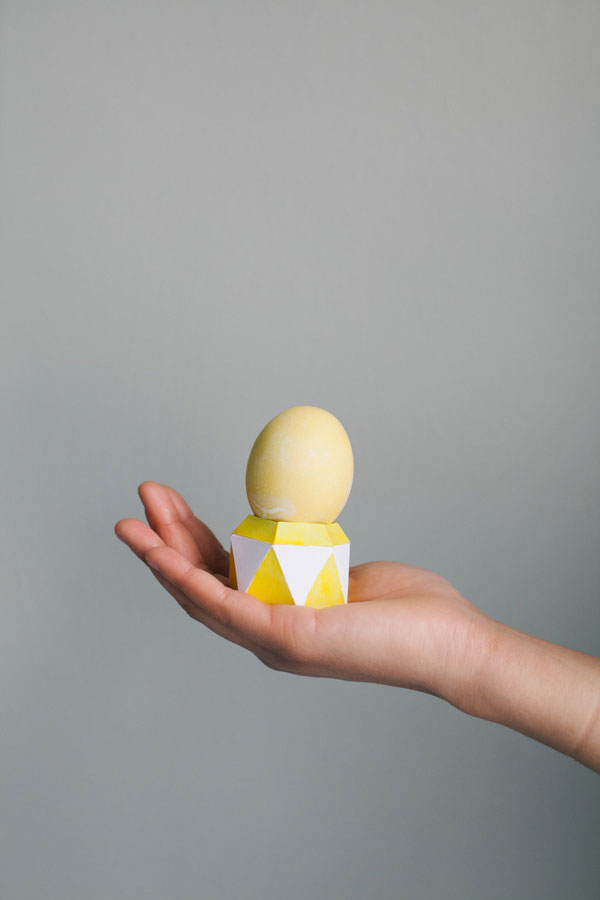
These Faceted Paper Egg Cups are the perfect way to display all your newly dyed Easter Eggs. They’re super easy to make and can be decorated to match the design of your eggs. Plus, because they’re made of paper, you won’t feel guilty throwing them in the recycling bin after the festivities are over. (I think they pair perfectly with Watercolored Eggs!)


Materials: Cardstock,
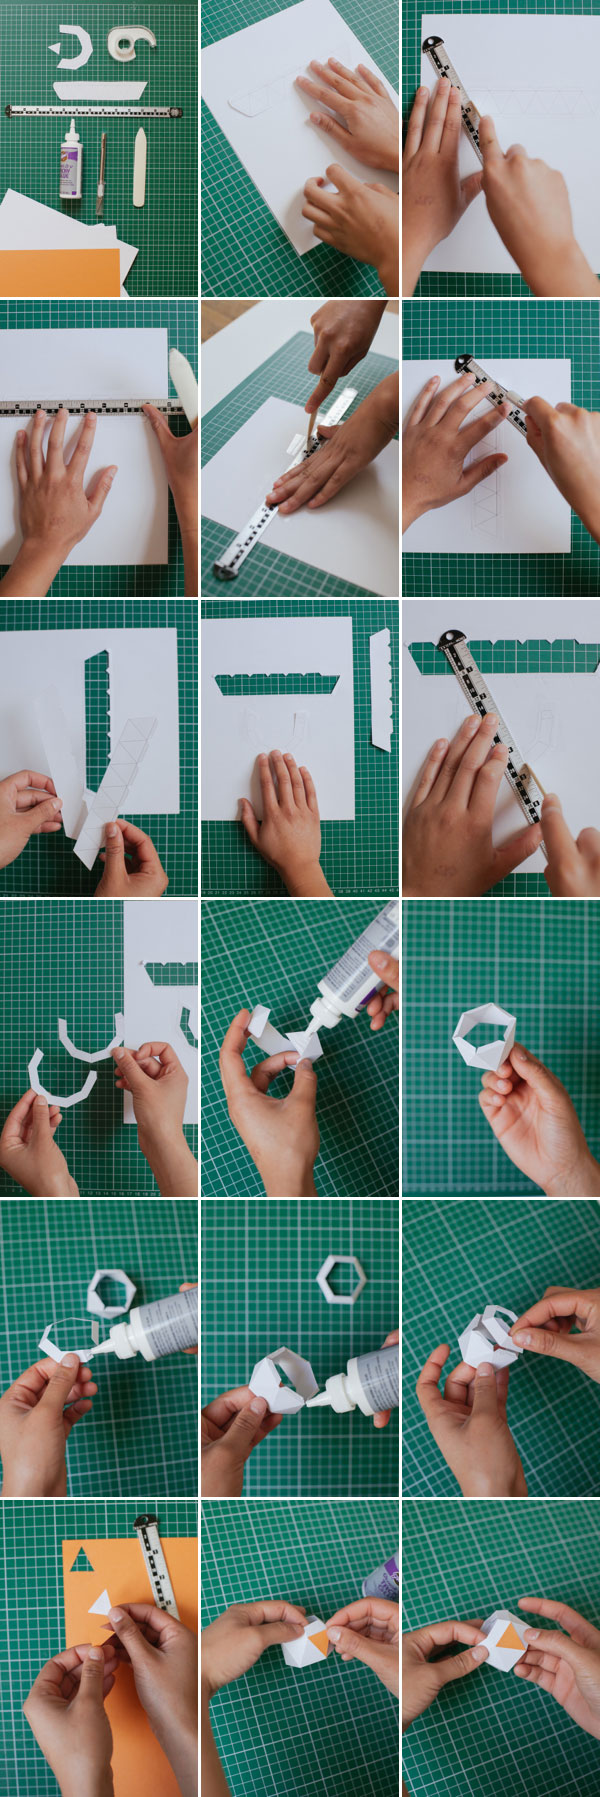
Template, Bone Folder, X-Acto Knife, Quick Dry Tacky Glue
Step 2: Tape down to cardstock
Step 3: Using the bone folder, score inside lines of bottom template
Step 4: Cut around outside of bottom template.
Step 5: Fold along score lines
Step 6: Glue triangle glue tab behind the opposite end.
Step 7: Score inside lines of top template
Step 8: Cut around outside of top template
Step 9: Fold along score lines.
Step10: Glue tab behind the other end.
Step 11: Glue top glue tabs of the bottom piece to the top piece.
Step 12: Let dry, and decorate how you’d like!


Photography by Aubrey Trinnaman for Oh Happy Day
Art Direction by Jordan Ferney
Coordinated by Stacy Wichelhaus
Styling by Caitlin Barker
Crafting by Jessica Heywood
Assisted by Harper Casimiro


SincerelySammie
March 27, 2013
I’m loving this DIY project! What an adorable way to display your gorgeous Easter eggs.
Crisan
March 27, 2013
Thanks God to show me the lights and brought me here. Worship the google search, HOORAH!!
okay, this is maybe too much abbreviate,hehe. I really like the D.I.Y tutorials. This web contains lot of ideas!! Yaaay!! Thank you so much! Greetings from Indonesia 😀
Ha! Hello! We’re so glad you found us!
tournesol
March 27, 2013
I love these, so cute!
Sam
March 27, 2013
Wow! These are gorgeous & would make such lovely table centrepieces – totally turned something as simple as a dyed egg into an extraordinary eyecatching piece!
Your DIY’s are so inspiring for me and my blog!
Sara
March 27, 2013
Hmm, this makes me think about eggs and those tattoo transfers. Never tried it but I’m sure if would work. When my son was small we used to buy the sheets of bug tattoos and put them onto rocks and then set them in the garden. I’m sure there are lots of wonderful ones you could use to easily decorate eggs. The Tattly ones are pretty wonderful!
I’ve never tried transferring tattoos onto rocks, but it’s a great idea! We’ll have to try that sometime.
Jess | brownpaperbelle.com
March 27, 2013
What a gorgeous idea! I wish I’d seen this before I organised my Easter Lunch table settings! Thanks for sharing.
Judi
March 27, 2013
Love them! Will share on my page. We have a spring theme this week.
http://Facebook.com/notjustapaintingholiday
Heidi * Fru Fly
March 28, 2013
Love them! So colorful! Happy easter! Heidi 🙂
Alexandra
March 28, 2013
BIG BIG LIKE!! I really thought we’re done with all of our easter decoration, but now….. If find myself starting again 🙂 Thanks for this great idea and HAPPY EASTER from Germany!
l o v e l y t h i n g s
March 28, 2013
How darling and the photos are so creative. My first thought…napkin rings? and then I saw the step by step instructions.
What a great idea! I guess they could be napkin rings as well. 🙂