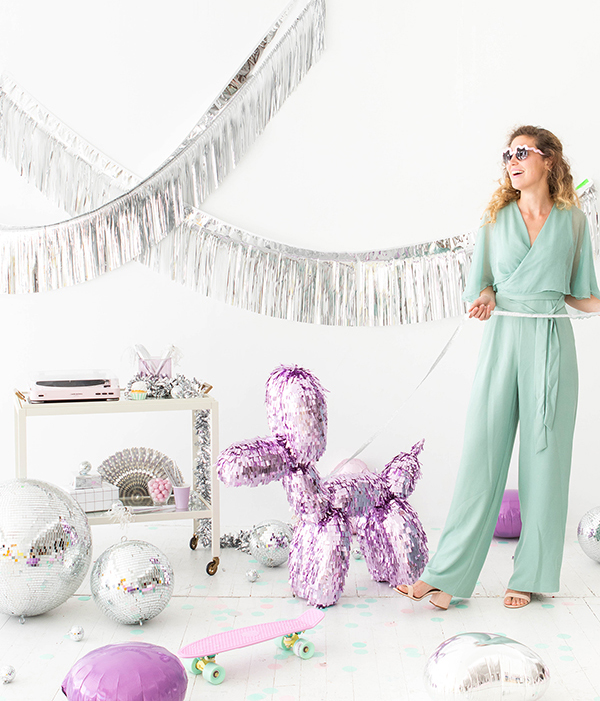
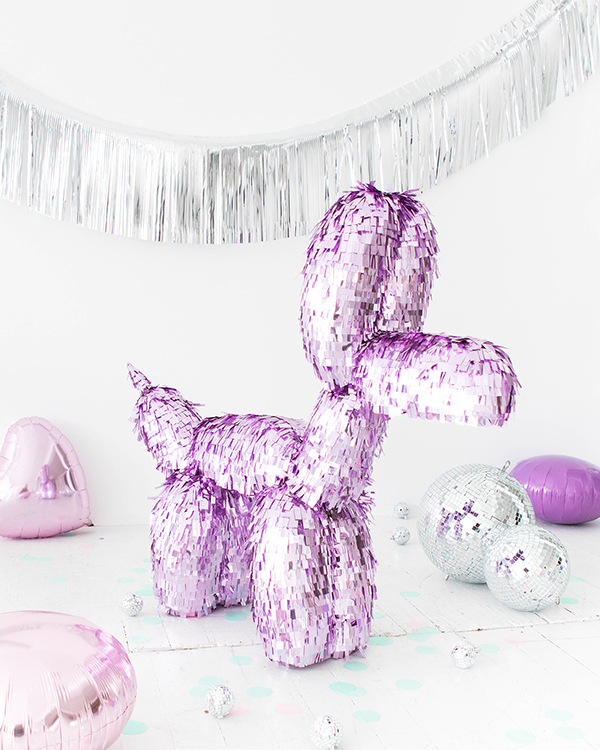
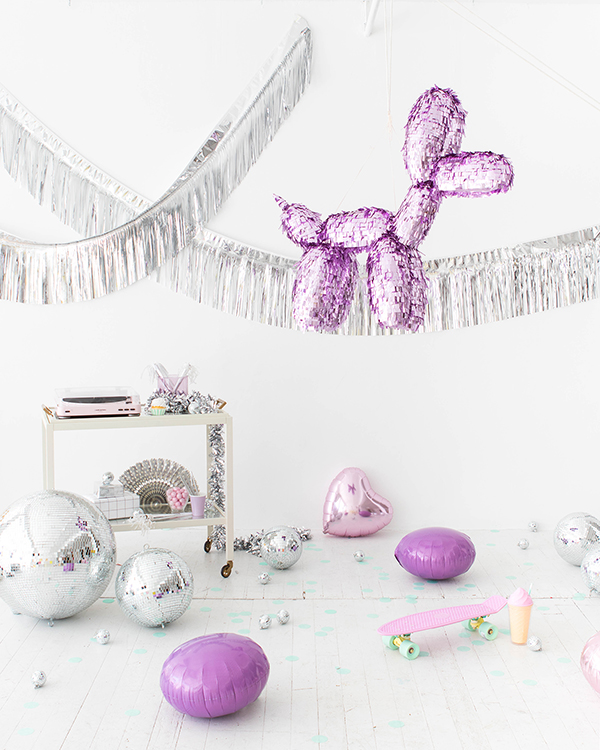
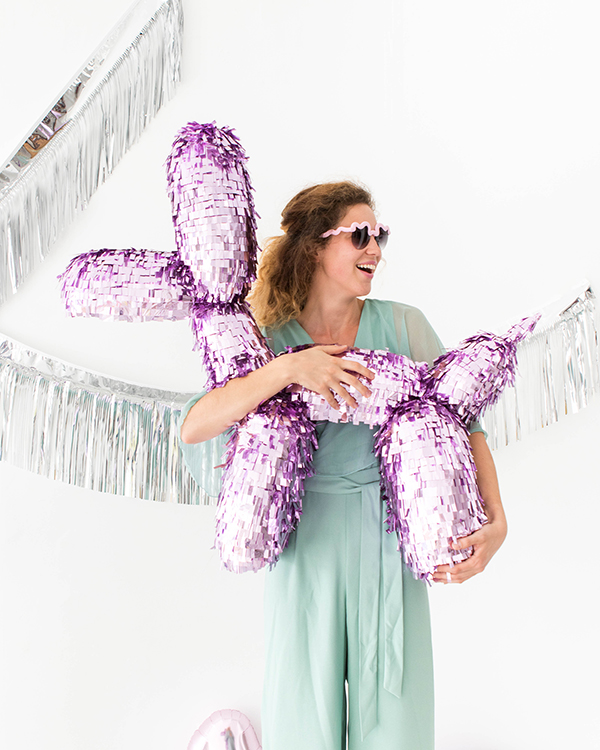
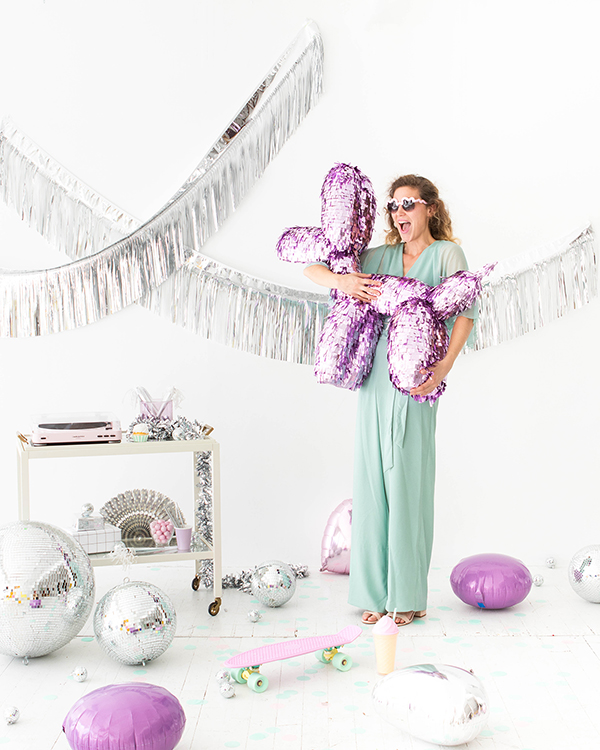
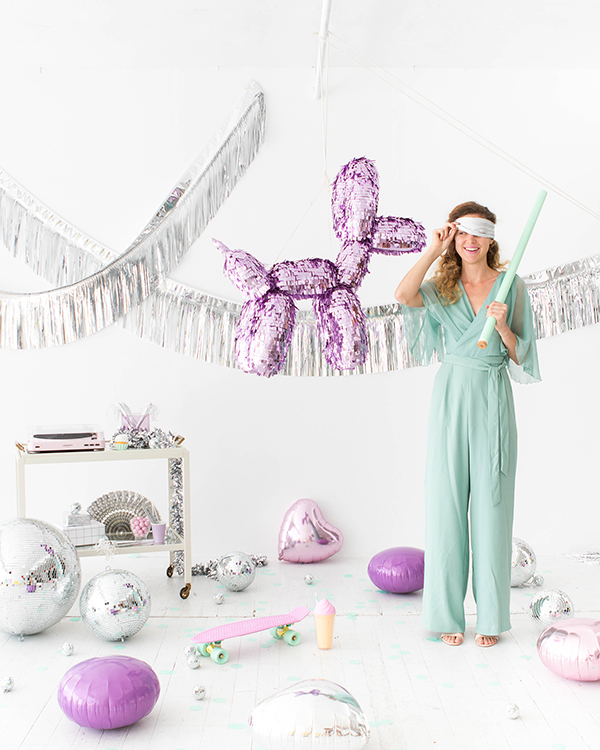
A couple years back I fell in love with Jeff Koons’ mammoth metallic balloon dog at the Whitney. I’ve had it in my head ever since that I must have one of my own. This mylar balloon dog piñata may just be my fix! Hang one up in celebration of Take Your Dog to Work Day (coming up June 23rd)! Or for a very pampered pup’s birthday celebration. Who says you can’t throw your best friend a party?
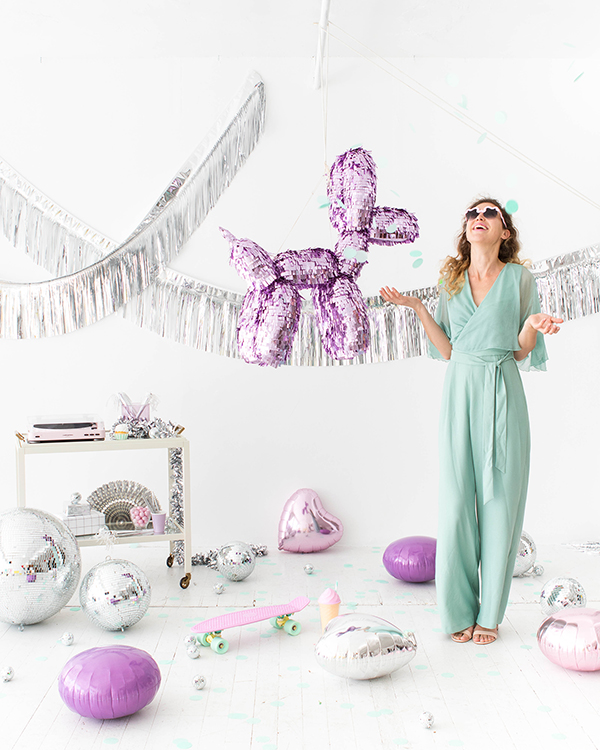
If you’re like me and can’t bring yourself to break this one, make one as fun statement piece at your next gathering — it’s sure to get the conversation going!
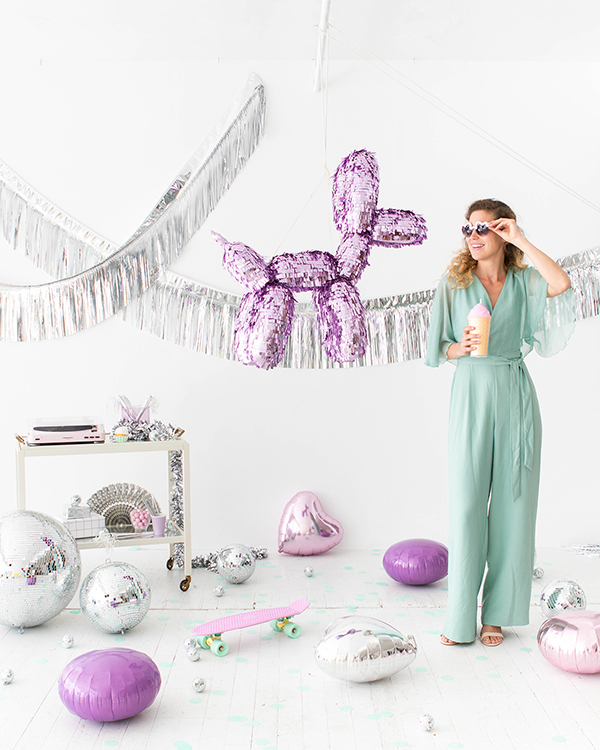
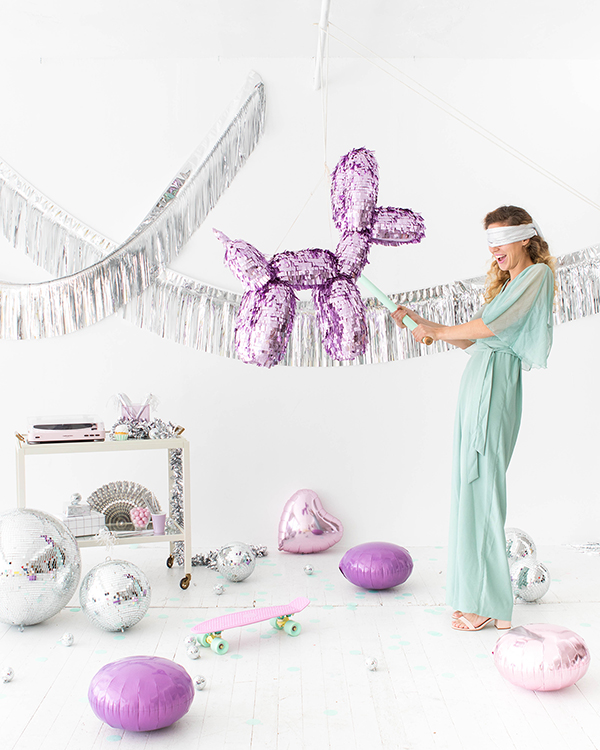
Materials needed: 660Q Balloons, newspaper, flour, water, large bowl, white spray paint, x-acto knife, hot glue gun, twine, pink metallic tissue paper, scissors
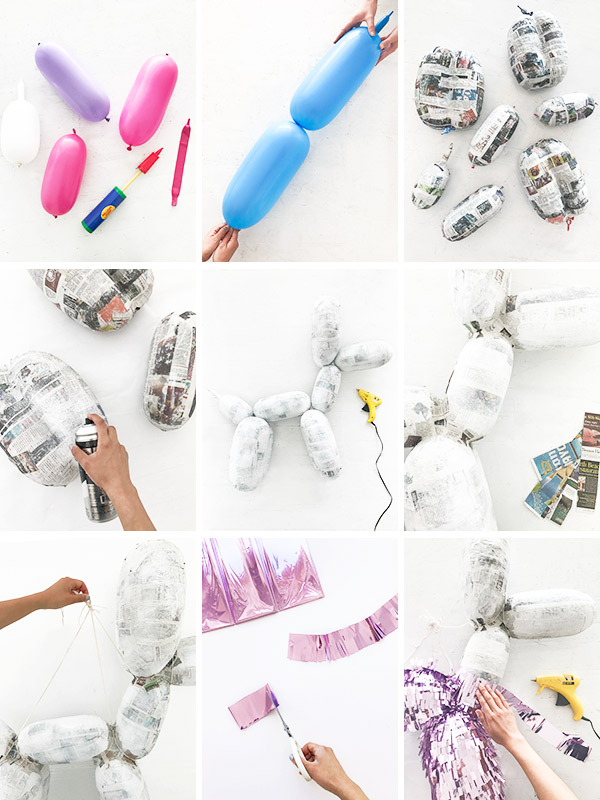
Step 1: Inflate a 660Q balloon to 12” and knot. Repeat for a second matching piece. These will be the face and body of the balloon dog. Inflate a 660Q balloon to 8” for the neck, and a 6” long segment toward the tip of another 660Q balloon, leaving a 2” nub un-inflated for the tail.
Step 2: Inflate a 660Q balloon to near full length and leave it unknotted. Let out some air so the balloon has less tension. Have another person help you with this next step: cinch the middle of the balloon and twist. Bend the balloon so the tail and tip meet and tie together in a knot. The length should be 12”. Repeat for a total of 3 pieces. These will be used for the ears and legs.
Step 3: Paper mache all the balloons segments. We used a 1:2 mixture of flour and water. Paper mache at least three layers, allowing each layer to dry completely.
Step 4: Carefully cut the balloon tails off, deflating the balloons and leaving a paper mache shell. Spray paint each paper mache segment white.
Step 5: Cut a square door into the body of the balloon dog with an x-acto knife. This is where you’ll fill the pinata with treats.
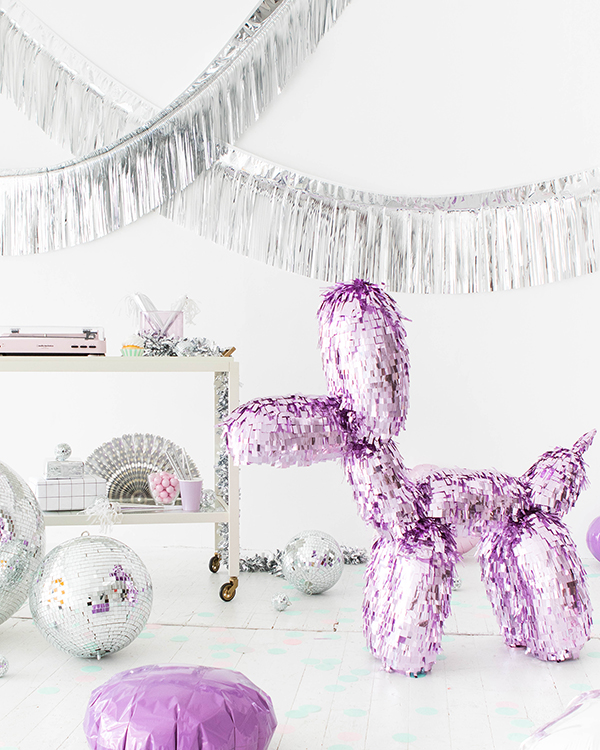
Step 6: Assemble the balloon dog with hot glue, using a photo for reference. Be sure to glue all around the contact points of the pinata for a complete seal. Paper mache around the new joints and let it dry completely.
Step 7: Make a harness for the pinata with twine. Gather all of the strands at the top of the pinata and make a loop to hang it from later.
Step 8: Fringe the balloon dog, starting with the legs and working your way up with pink mylar. Our fringe was roughly 2″ tall and 1 cm wide.
Step 9: Fill your pinata with goodies then hot glue the goodie door shut. You’re all set!
Photography and styling by Sarah Kate Price
Crafting by Justine Pon
SHOP THIS POST: Jumpsuit, Sunnies, Mylar heart balloon, Cup, Metallic Fringe Garland, Record Player, Disco Ball, Giant Confetti




Michelle
June 8, 2017
That dog is absolutely cool, way too beautiful to destroy it in my opinion!
https://www.makeandmess.com/
Kathleen
June 8, 2017
Genius! Love the colour scheme too.
Sophie
June 8, 2017
This is amazing. I love how bold it looks.
http://goldclutter.com
Greta
June 8, 2017
This is a great idea for baby showers.
– Greta
http://www.mintyfrosting.com
Paige
June 8, 2017
This has got to be one of the cutest things that I’ve ever seen on your blog!
Paige
http://thehappyflammily.com
Belle
June 9, 2017
I love Jeff Koons too!! We recently saw some of his work (including the enormous “living” sculpture puppy) at the Guggenheim Museum Bilbao, Spain. I posted about it here, if you’d like to see: http://www.thislifeisbelle.com/home/2017/4/25/spain-pinxtos-fiestas
Nicole
June 10, 2017
Please tell me you might sell these. This is fabulous, and I want one, I just don’t think I’ll have the time to make one while chasing five kids around the house!
Vicky Sullivan
June 10, 2017
This is the coolest pinata I’ve ever seen!
xo,
Vicky
http://www.aspiringsocialite.com/