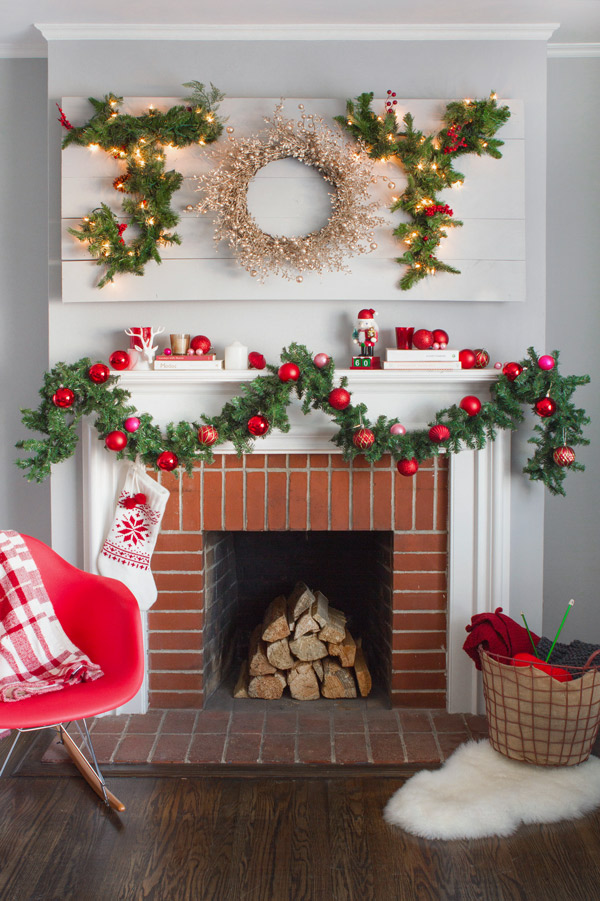
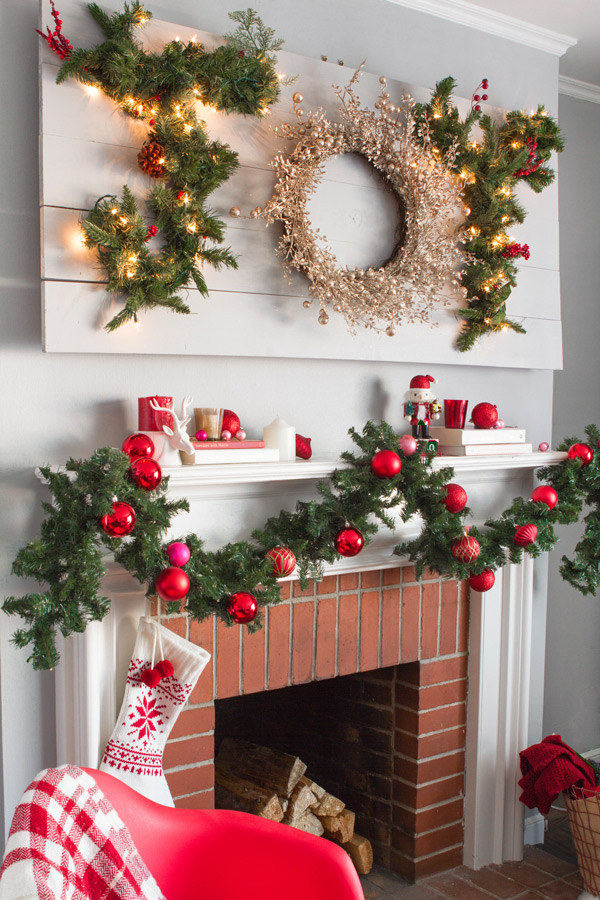
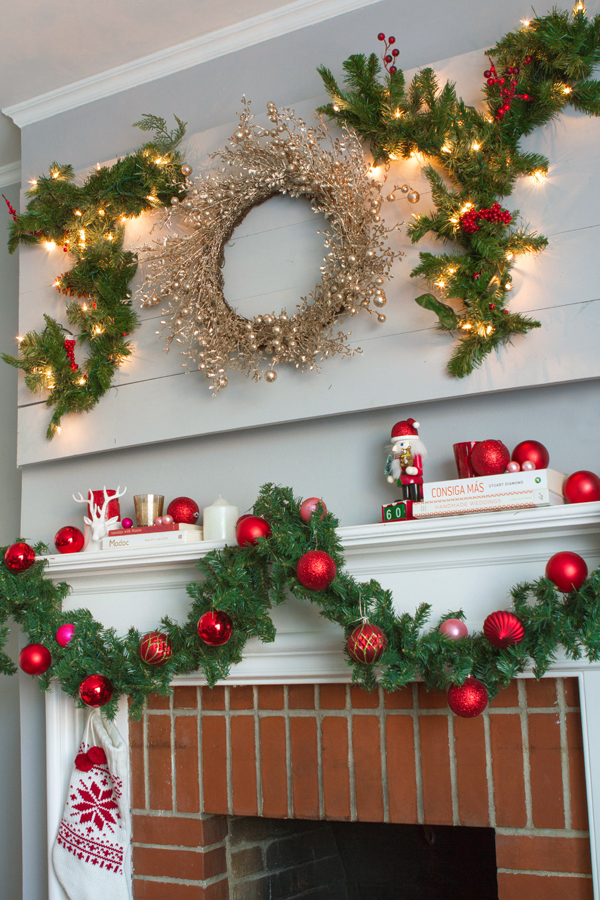
We’re long-time fans of Martha Stewart Living’s collection at The Home Depot. Their holiday line is always so perfect! Last year, we were inspired to make these pretty present toppers using their ornaments. This year, we decided to try out a bigger DIY. The steps were a little more labor intensive, but the end result is stunning…
A big wreath like this is great for a mantel or large blank wall. The idea comes from Martha’s series of how-to videos on holiday decorating. It’s really nice to see someone doing a DIY in person before trying it out for yourself! There are a bunch of great video DIYs for the holidays like this on her website, make sure you check them all out here!
Materials: 5 1×6″ pine boards, 2 smaller 1″ pine boards, paint, “Joy template,” drill, 1/8″ drill bit, 1/4″ drill bit, Winslow Fir Garland, 22-gauge wire, 22″ Gold Wreath with Berries, MSL Micro lights (optional)
Step 1: Paint all of your pine boards to match the wall you are going to hang the sign on. Lay the 5 long boards side by side (long side), creating a panel. Place the 2 shorter boards across the five on either end. Screw them in 11 1/2 inches from the ends.
Step 2: Place the “Joy” template on the front of the panel. Use a 1/8in drill bit to drill holes in the corresponding circles on the template, through the paper and panel. These allow you to wire the garland and wreath in place. Use a 1 1/4in bit to do the same with the larger corresponding holes in the template. Drill through the paper and panel. These holes are for the electric wires and garland.
Step 3: Unscrew and remove the top board and place the garland in the large holes, leaving 42in hanging at the front left for the J and 36in hanging at the front right for the Y. Reattach the top board.
Step 4: Following the arrows on the template, place the garland along the holes to create a J and a Y. Feed a 12in piece of 22-gauge wire through the holes and around the garland. Twist the loose ends underneath the panel to secure. Thread the electrical plug through the large hole, as shown on the template. Fluff the garland.
Step 6: Place the wreath on the center of the board. Feed a 12in piece of 22-gauge wire through the indicated holes around the top of the wreath and through to the back. Twist the loose ends underneath the panel to secure. Repeat at the bottom and on either side.
Step 6:Plug in to illuminate the garland. If you’d like to light all three letters, add microlights to the wreath!
This post is sponsored by Martha Stewart Living at The Home Depot.
Crafting by Andrea Ramirez


Emilia
November 6, 2015
This is such a great idea! I love it!
Planning on making this for my mantel this year.
Thank you for another great DIY 🙂
Bella
November 6, 2015
Great idea! I will have to try making one closer to Christmas
http://xoxobella.com
Paige
November 6, 2015
This sign is seriously so gorgeous! I would love to be able to recreate it this holiday season!
Paige
http://thehappyflammily.com
Michelle
November 6, 2015
This looks stunning, and it’s amazing how much work you put into it!
https://www.makeandmess.com/
Penny Rose
November 7, 2015
A fabulous idea, I think we will definitely be making this ?
Bri
November 8, 2015
Beautiful!!
Annie Abbey
November 18, 2015
So cute and sweet! I love this idea!!! I am finally getting my plans together for our holiday decor but it is so hard to narrow down when there are so many good ideas like this one out there!
Xoxo
Annie
http://www.somethingswellblog.com/