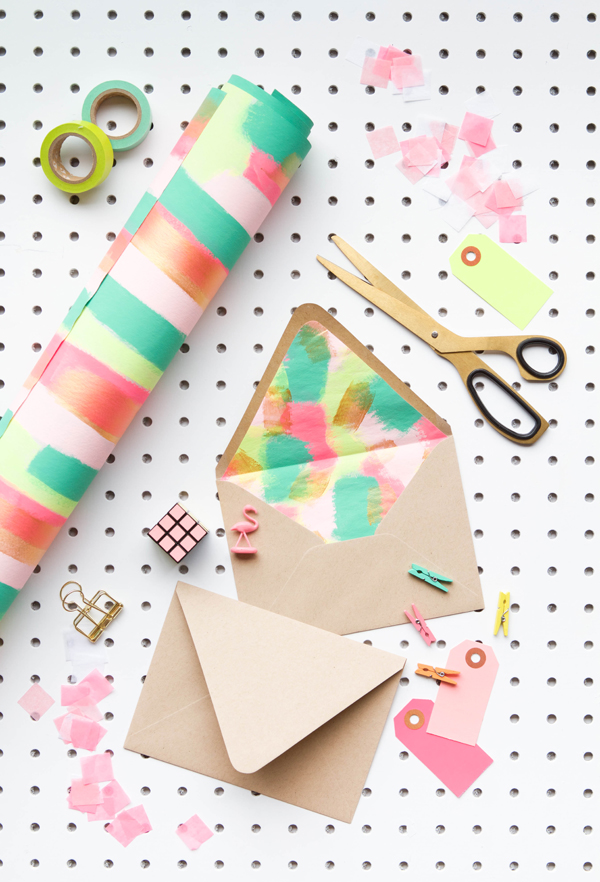
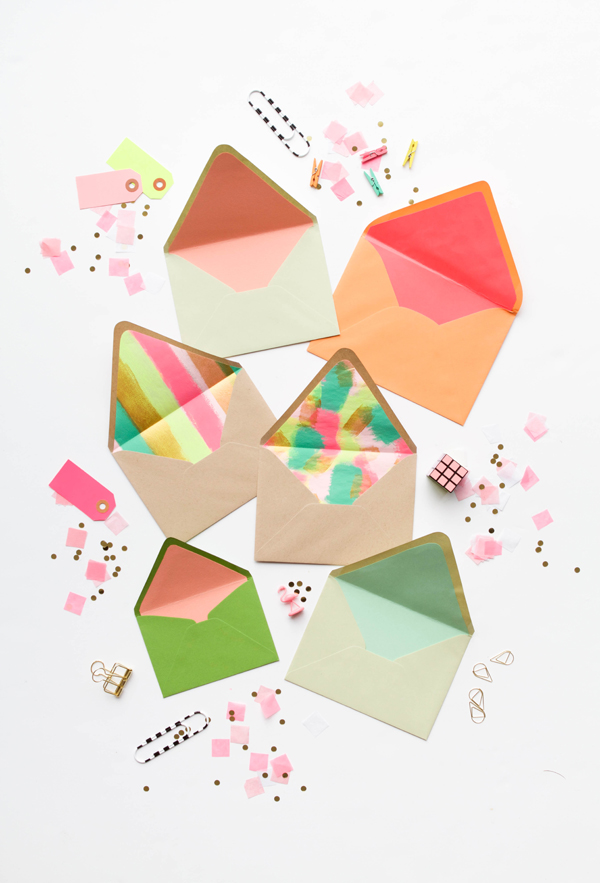
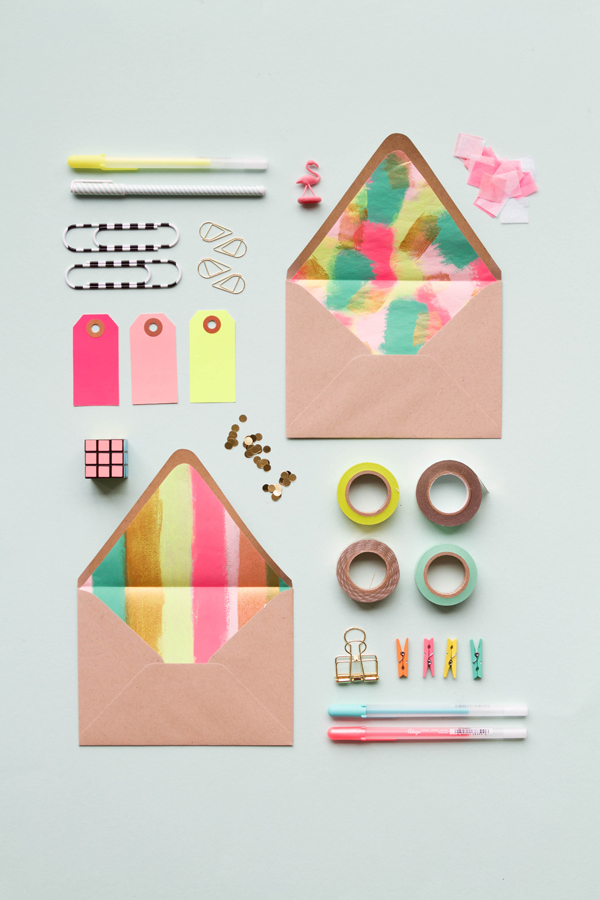
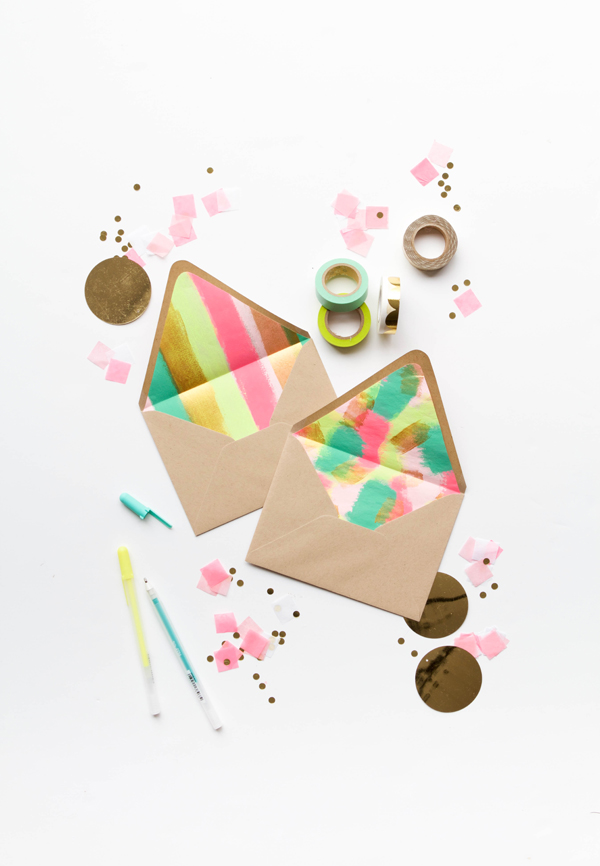
Here’s a sweet and simple way to brighten someone’s day. These DIY paper liners can be customized to fit into any envelope. All you need is some fancy paper and 3 extra minutes to make your snail mail a million times prettier!
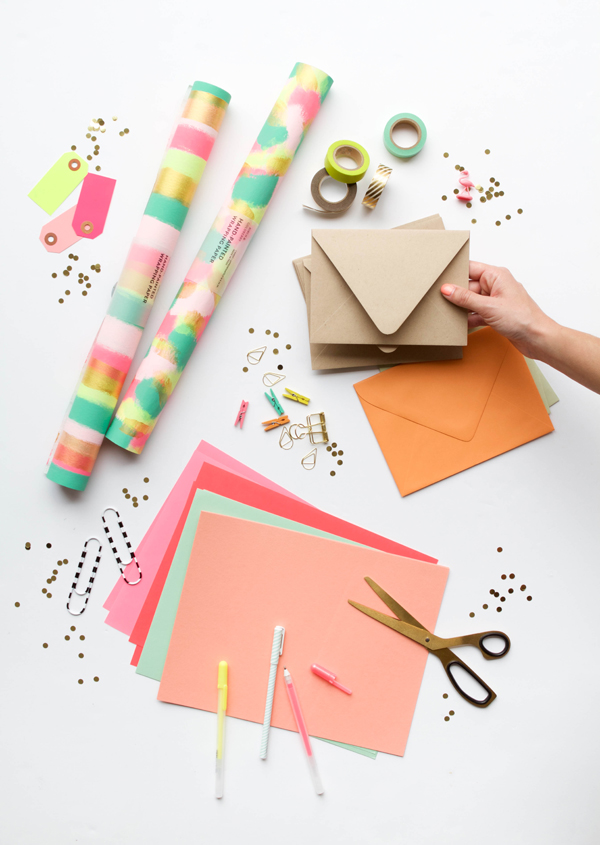
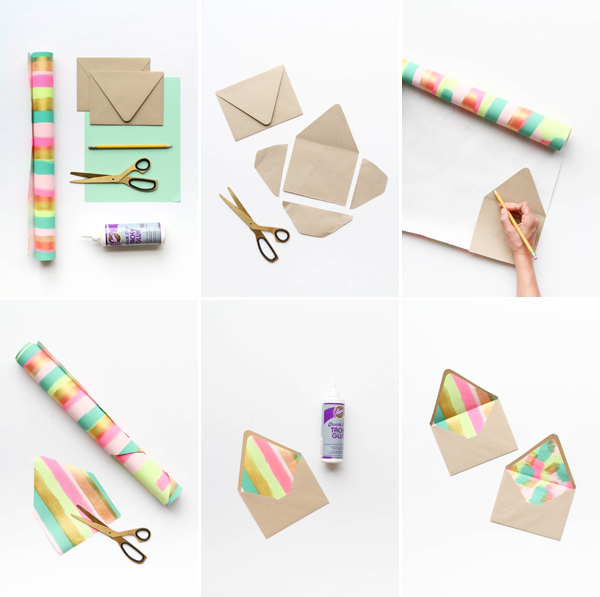
Materials: Pretty paper (we love these!), envelopes, pencil, scissors, glue
Step 1: To create the insert template, take an envelope apart and trim down the sides by about .5″
Step 2: Trace the template onto your roll of paper.
Step 3: Cut out the insert from the paper.
Step 4: Make sure your insert fits into an envelope. Then glue it inside.
Step 5: Once the glue dries, fold the envelop back down to create a crease.




Anne
September 17, 2015
This is a really cool idea! I love it and I like how it creates a sudden color surprise when you open the envelope.
Rachel Ang
September 17, 2015
This is freaking pretty!! So much love for it!!
Rachel x
thehappybits.blogspot.com
Heather
September 17, 2015
These are super cute!
Amanda
September 17, 2015
I’m been trying to learn how to do this for so long, and this tutorial is easy and cute. Thanks!
Amanda | thedeerandthewolf.com
Paige
September 17, 2015
These liners are gorgeous!
Paige
http://thehappyflammily.com
Trina
September 17, 2015
Yay! I’ve been meaning to do something like this for a while. This is perfect! I also want to try lining envelopes with fabric.
SABA
September 19, 2015
Fantastic idea! Lovely envelopes! x
Ann
September 21, 2015
I love the element of surprise that lined envelopes offer. Really adds to the excitement of receiving snail mail!
Jessie
September 24, 2015
Papersource sells a template set to make your own liners as well!! And they have an amazing double sided tape dispenser in a small size which makes it a breeze!!I think it’s icraft brnad for the tape dispenser. I love giving a little pizazz to my envelopes!