Full-disclosure: I have a ridiculous amount of craft punches in my possession- in almost every geometric shape and size! They’re just so handy for speeding up elements of the craft process.
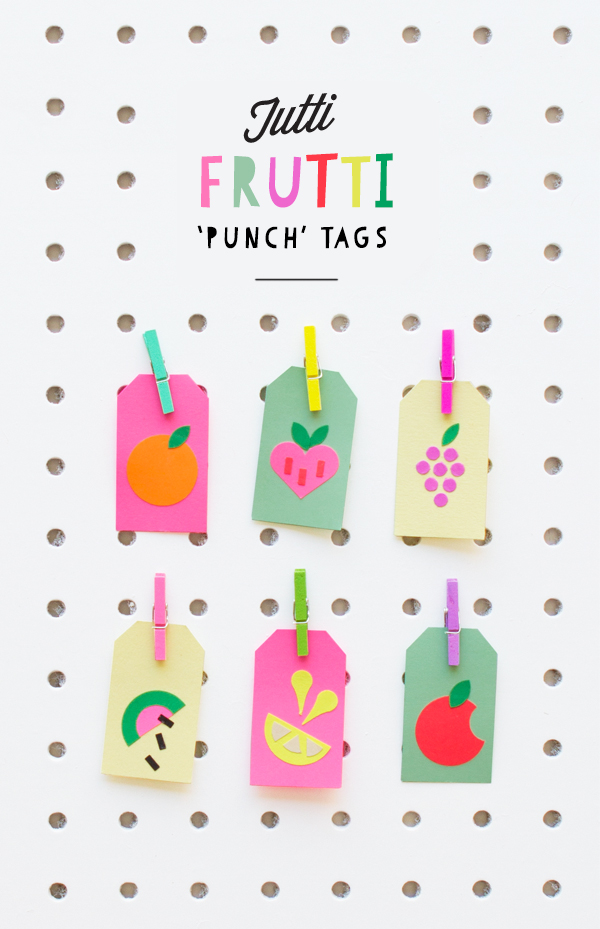
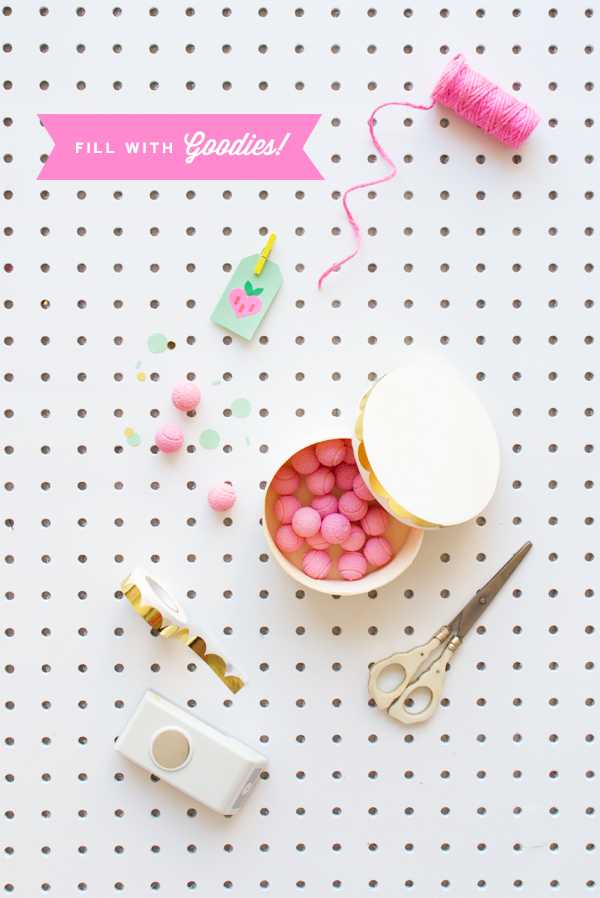
Inspired by my collection and a combination of some gorgeous fruity colored craft card, I set out to discover what kinds of mini paper fruit I could create with my punches. I turned them into gift tags that look super-cute when used to embellish round wooden gift boxes that I decorated with a variety of patterned washi tape and colored twine. I then filled with the boxes with some colored candy…
This project is mostly really simple, but some of the smaller shapes do prove quite fiddly when trying to glue them down to the card. Be patient! I think the end result was well worth it!
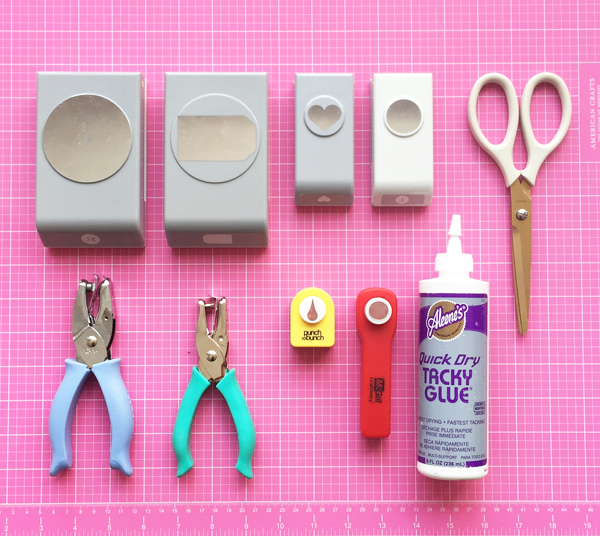
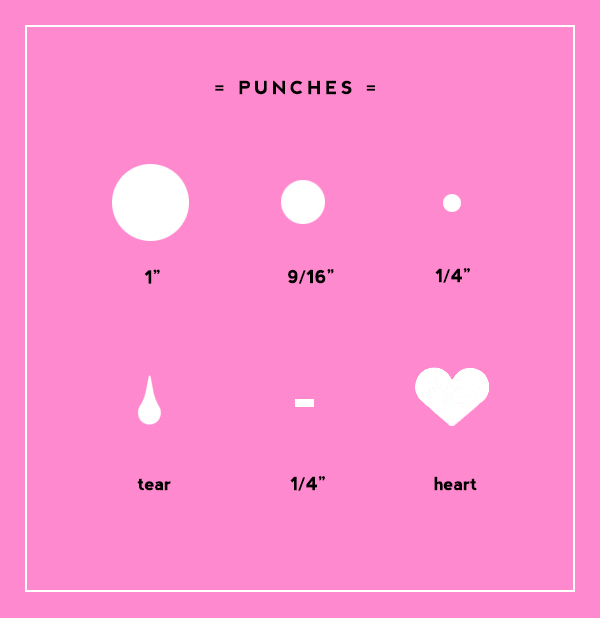
Just as a guide, I will let you know the exact punches I used. Don’t fret if you don’t have the exact size of punch, a similar size will most likely be ok!
Tools: Punches – 2.5″ circle, large tag
, heart, 1″ circle
, 1/4″ circle
, small teardrop
| 9/16″ circle (or similar) | glue | scissors
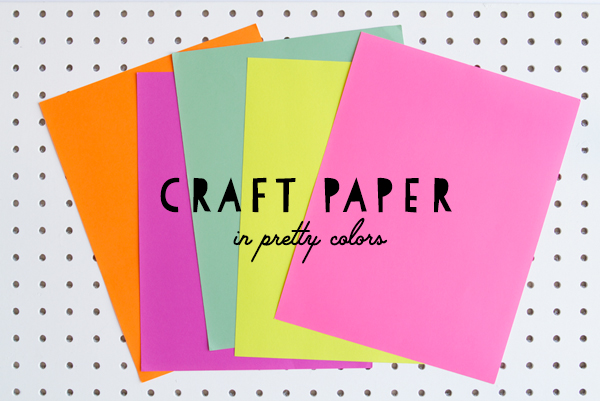
Materials: Assorted washi tape (I’ve used scallop foil tape, green stripe and mint green), round wooden boxes, assorted candy, colored craft paper in pink, red, orange, mint, green, yellow, purple, cream and black. If you would like to color-match exactly to my own project, you can purchase the Tutti Frutti Cardstock Craft Kit in the Oh Happy Day shop. It contains 3 sheets each of the exact colors I’ve used!
Most of the shapes in the fruit use a basic punch and are self-explanatory and easy to re-create from viewing the diagram I’ve provided above, but a couple do require a few additional steps. See below.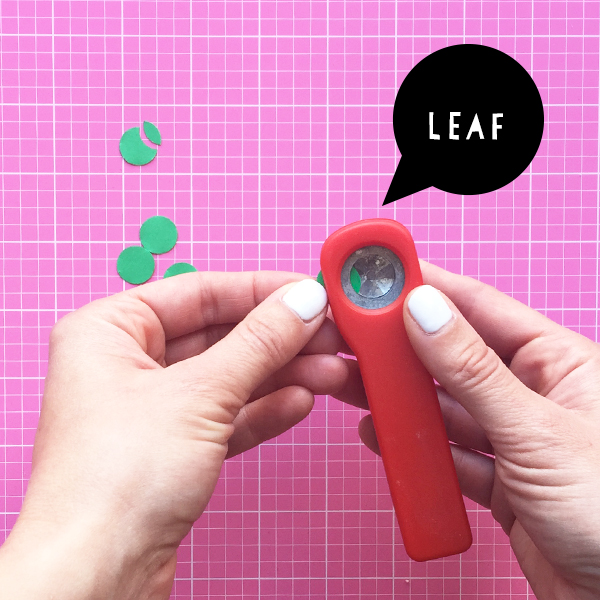
I’ve used a leaf shape in a number of the fruit. To create it, I used my 9/16″ circle punch on some green paper. I then re-inserted part of the circle back into the punch to clip out the leaf shape.
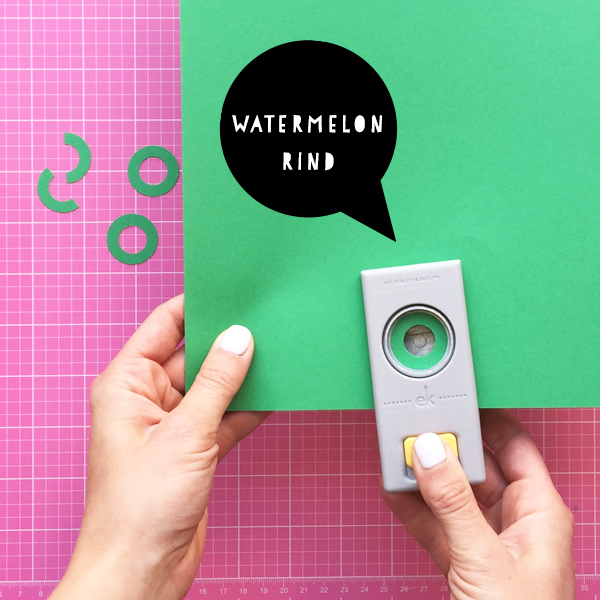
To create the watermelon rind I first punched out a 9/16″ circle in the green paper then I positioned the 1″ punch around the round hole and punched again creating a donut shape. I then used scissors to cut the ‘donut’ in half.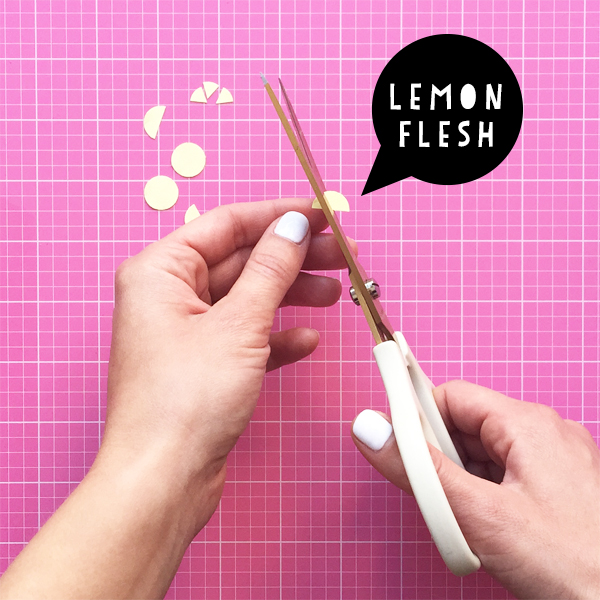
To create the three pie segments of lemon flesh I punched out a 9/16″ circle in cream colored paper, and then cut it in half. I then cut the semi-circle into thirds.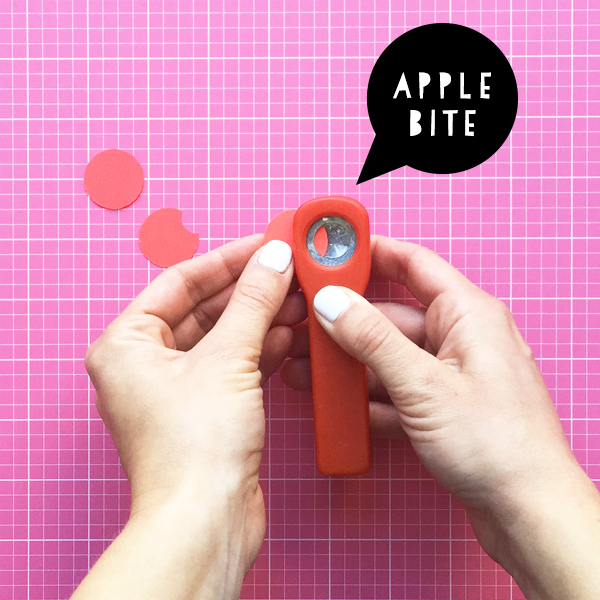
To create the apple bite, I simply cut a ‘bite’ segment out of a 1 inch circle using the 9/16″ circle punch.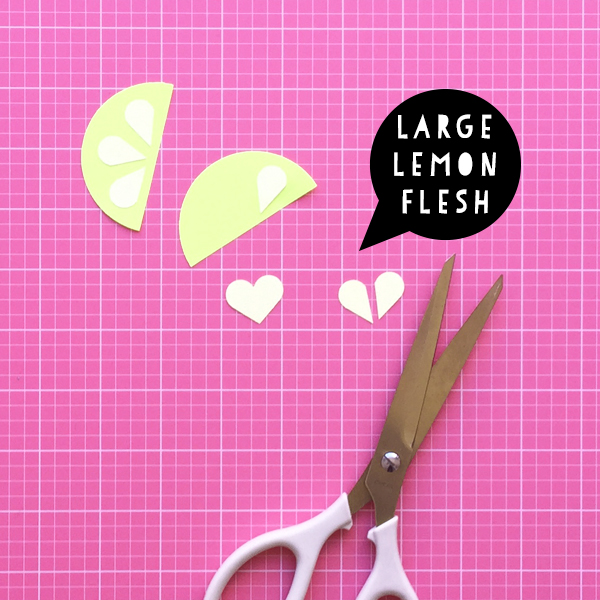
If you want to create a larger lemon shape that you can use as a tag all on it’s own, I’ve found a neat trick for creating the flesh bits. First of all, create your lemon slice by cutting a 2.5″ circle in half. Then punch out a couple of heart shapes and cut these in half. Use three of these for the segments of your lemon. Easy as pie!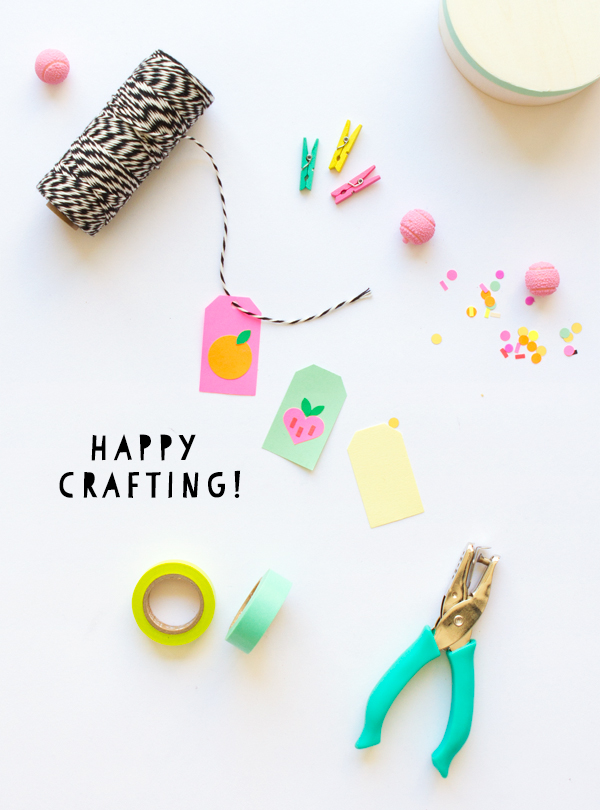









Anne
August 4, 2015
Same here! I have always kept most of my “punch” cut-offs (as long as they still look pretty) and make use of them as confetti and colorful box stuffers. Now I know where else I could use them. 🙂
DIY Watercolor Pattern Paper
Bella B
August 4, 2015
Oh my goodness these are just adorable!
http://xoxobella.com/
Denise Beckand
August 4, 2015
What a lovely idea, I really like the punch recipes!! The punch is multifunctional
Paige
August 4, 2015
These tags are so cute! I love how they turned out!
Paige
http://thehappyflammily.com
Three Cheers + Co.
August 4, 2015
So cute! Love the punch recipes!
Angeline
August 5, 2015
So cute! Can’t wait to try this 🙂
Anna of The Analog House
August 5, 2015
Such lovely colors and great for summer parties!
xo Anna of The Analog House
http://theanaloghouse.blogspot.com/
Sabrina Nunes
August 7, 2015
Best DIY Tutorial EVER!
xoxo