


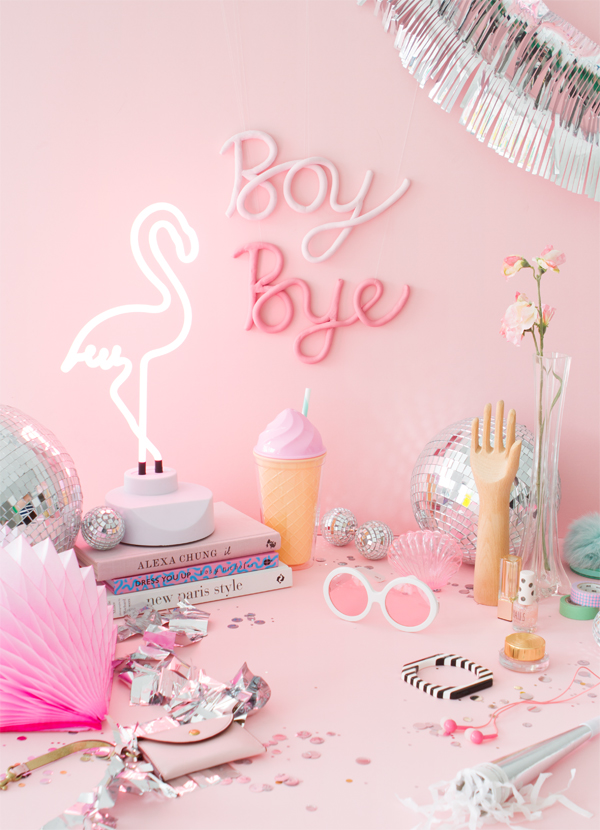
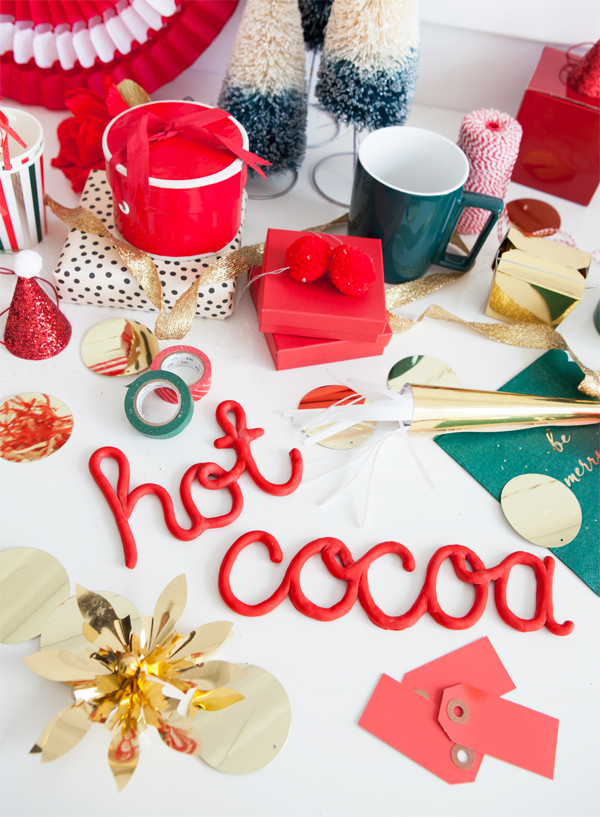
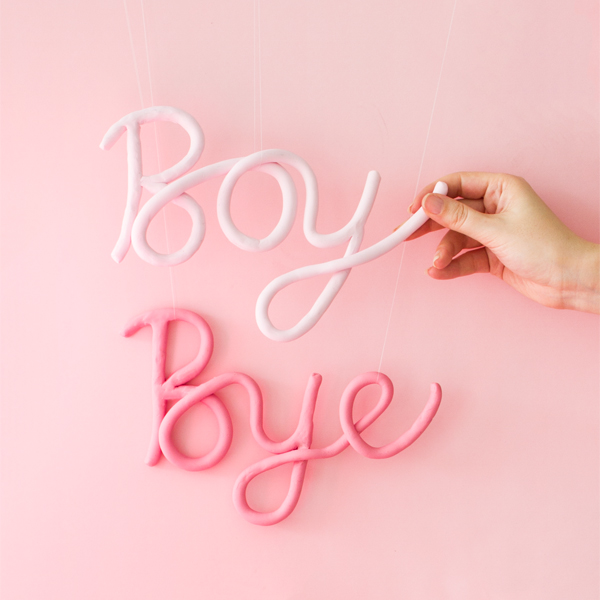
I used to play with Sculpey or FIMO clay when I was a kid. I loved making beads and keychains. Today we’re bring it back for a fun idea that can be used for an event or permanent decoration for your house. I love that it is 3-D so you can lean the words up against things (like for a table centerpiece at a wedding.) Amy and our team have styled them up in three different ways. See below!
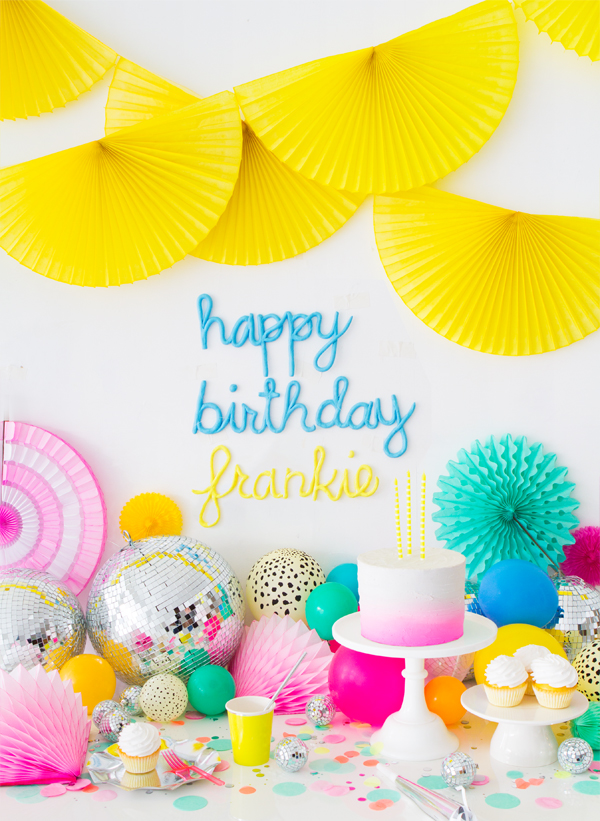
If you aren’t familiar with Sculpey it comes in a huge array of colors and you can mold it to whatever shape you like. When you bake it, it becomes hard. This project is really simple and even an older child could help with it. I love that you can make personalized signs so easily.

Materials needed: Sculpey III, wax paper, x-acto knife, oven, acrylic paint, paint brush
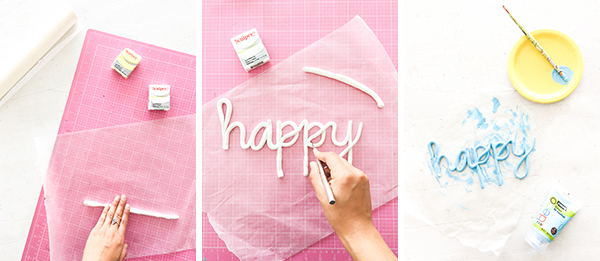
Step 1: Plan what you want to say! Write it out in the script that you’d like to use so you have something to refer to.
Step 2: Roll out the Sculpey on a clean surface and mold it to the shape of your script on a sheet of wax paper. Use an x-acto knife to make the sharper curves. Smooth the surface with your fingers.
Step 3: Bake the finished script for the amount of time specified on your package. This varies from brand to brand. When done, remove from heat and allow to cool completely.
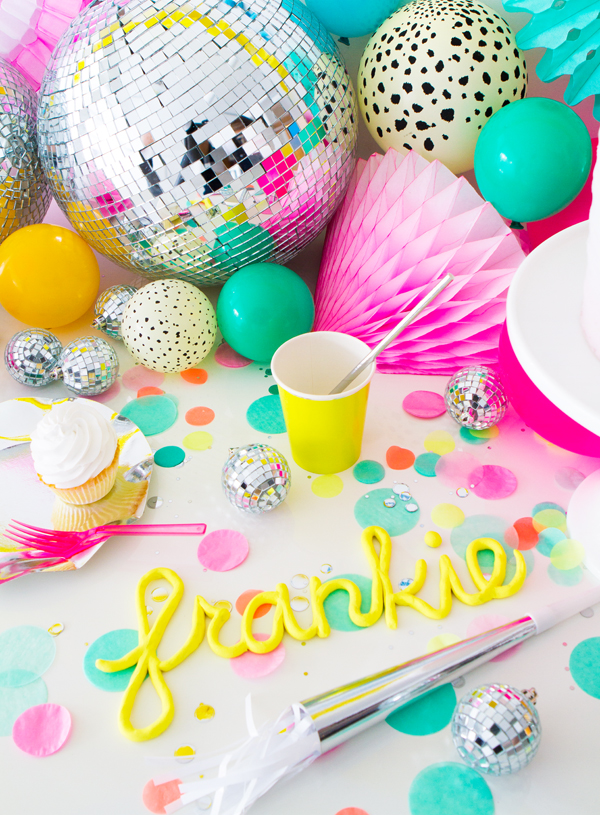
Step 4: If you used plain Sculpey, you can paint the baked script with acrylic paint for a little extra color. Let dry, and display at your next party!
SHOP THIS POST: Fan Garland, Safari Balloons, Medium Disco Balls, Mini Disco Balls, Metallic Party Horns, Straws, Neon Cups, Ice Cream Tumbler, Flamingo Neon Light, Star Banner, Mini Santa Hats, Green Mugs, Scissors, Washi Tape, Large Sequin Confetti, Gift Tags, Striped Fan, Gold Ribbon
Photos and Styling by Amy Moss and Sarah Kate Price
Crafting by Naomi Julia Satake and Justine Pon


Katie Weltner
October 31, 2016
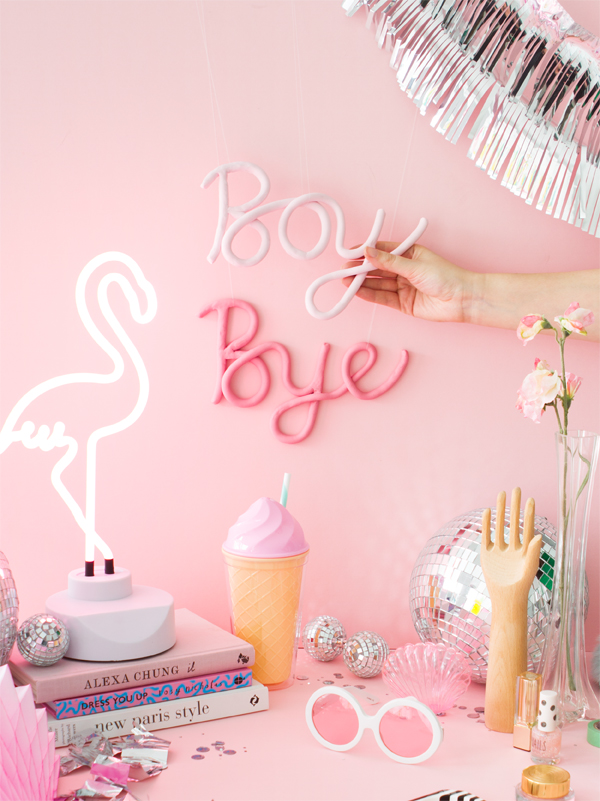
Very nice! How did you apply it to the wall so cleanly??
I was wondering the same thing! It looks like fishing wire…
Tori
November 1, 2016
Oh, so cute! This is a brilliant project. Thanks for sharing!
Michelle
November 1, 2016
I work so much with Fimo, mostly making jewellery. This idea is awesome!
https://www.makeandmess.com/
Jentou
November 1, 2016
Hot Cocoa bar at the next party!