


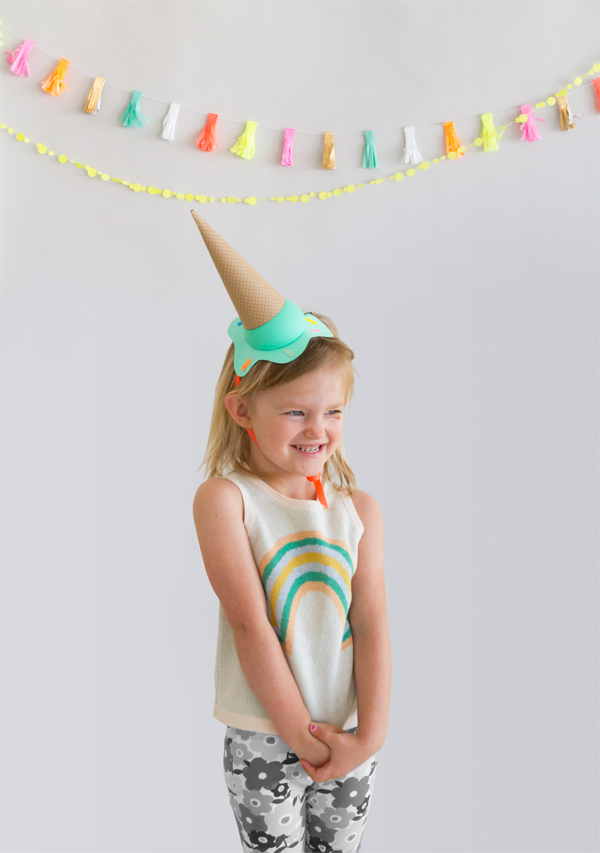
I know we’re barely through Spring yet but is it too early to start thinking about Ice-cream? Here’s a cute party hat concept for your celebrations in the the warmer months ahead…


Materials Needed: Printable cone template, printable splatter template, 8.5” x 11” cardstock (in brown, teal, light yellow, and light pink for the ice cream; green, blue, light teal, yellow, neon pink, and orange for the sprinkles), scissors, thin satin ribbon (ours was 3/8″ wide), hot glue gun, 3-1/4” styrofoam half-sphere , acrylic paint (in matching teal, light yellow, and light pink), paint brush, Aleene’s Quick Dry Tacky Glue
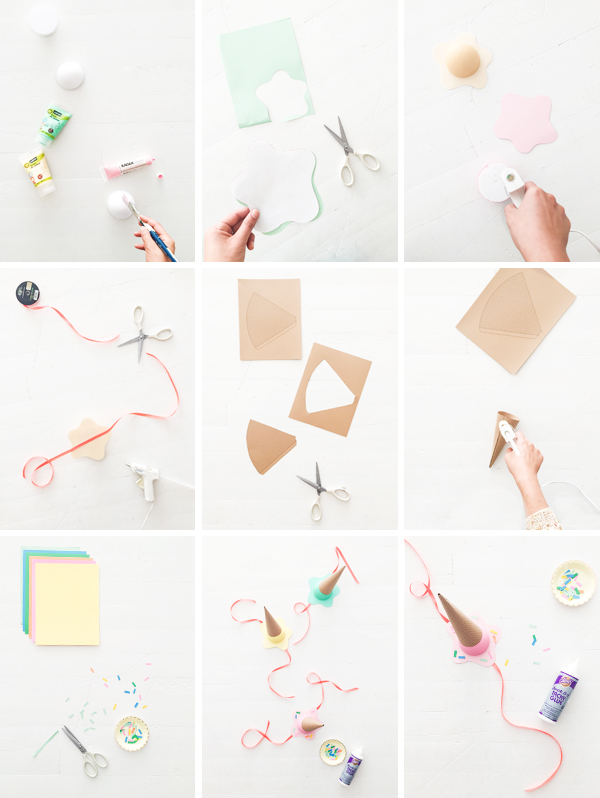
Step 1: Apply acrylic paint to the curved side of the styrofoam half-sphere. The paint will soak into the styrofoam, so expect to do two layers! Make sure the paint color matches the cardstock as closely as possible. Let dry completely.
Step 2: Print the printable splatter template on the matching 8.5” x 11” teal, light yellow, or light pink cardstock. Cut out the design.
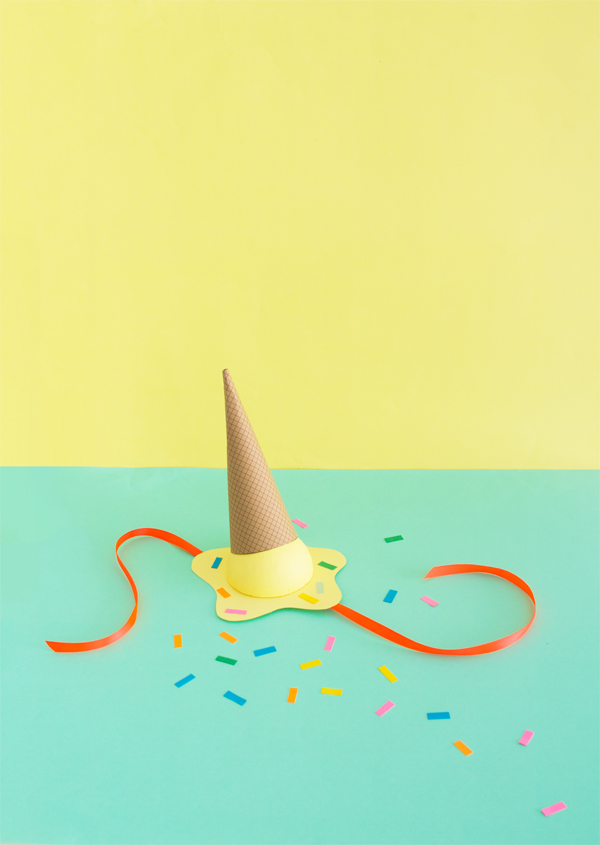
Step 3: Once dry, apply hot glue to the flat end of the half-sphere and adhere it to the center of its matching splatter-shaped cardstock.
Step 4: Cut a piece of satin ribbon from your spool. For most guests, 3-1/2 feet of ribbon should be long enough.
Step 5: Flip your party-hat-in-progress over and hot glue the satin ribbon to the flat side. Make sure to apply glue all the way to the edge of the cardstock so the hat will contour to the head when the ribbon is tied!
Step 6: Print the printable cone template on the 8.5” x 11” brown cardstock. Cut out the design.
Step 7: Curl the cardstock into a cone shape. Apply hot glue to the tab and hold together until the glue is cool.
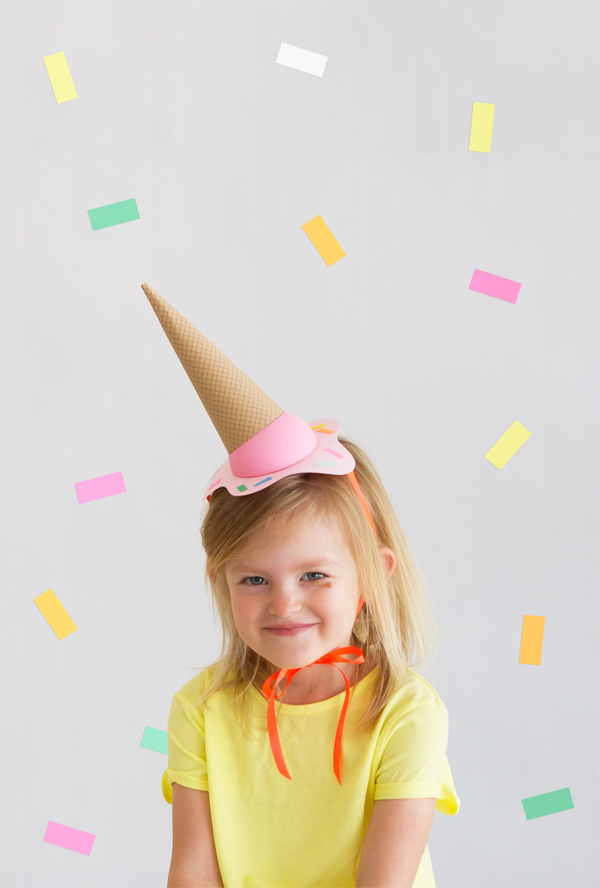
Step 8: Apply hot glue to the inner rim of the cone and quickly and carefully place it slightly askew on the half-sphere. Hold the cone in place with a little downward pressure for 5-10 seconds. Your ice cream cone is ready for toppings!
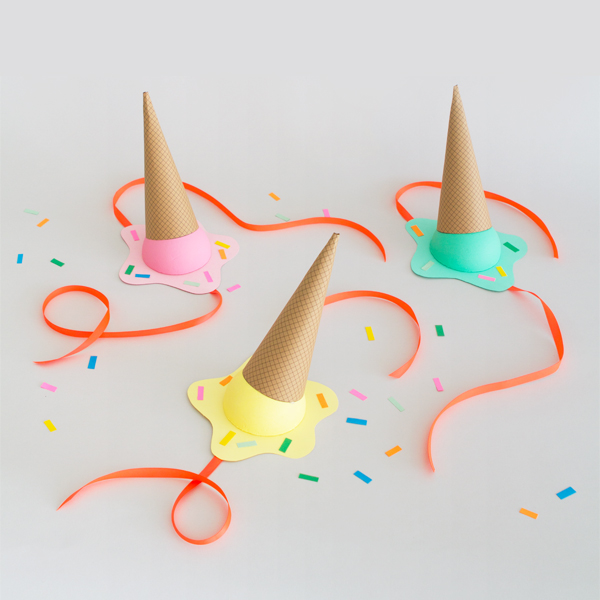
Step 9: Take the remaining cardstock reserved for your sprinkles. Cut thin strips about 1 cm tall and 4 cm wide from each color.
Step 10: Apply a thin line of tacky glue to each sprinkle, and lay them onto the brim of the hat in a somewhat random fashion. We put somewhere between 8-10 sprinkles per hat.
Step 11: Try on your hat, take an ice cream break — and repeat!
Crafting by Naomi Julia Satake
Special thanks to little Maggie from JE Models!


Julia
April 5, 2016
These are so freaking cute!! I couldn’t help but need to comment. Keeping this in the archives for when I have my own kiddos.
Julia
April 5, 2016
These are so freaking cute!! I couldn’t help but comment. I will have to save these in the archives for when I have my own kiddos!
Daphne @ Be Frenchie
April 5, 2016
Wow Amy, it’s so cool & funny. What a wonderful idea for a kids birthday with ice cream stand. I precioulsy keep it, thanks a lot !
Cintia
April 5, 2016
Amazingly cute!!!
http://soldenochedecocrochet.blogspot.com.ar/
Paige Flamm
April 5, 2016
These hats are so cute! I’m obsessed!
Paige
http://thehappyflammily.com
Kari
April 5, 2016
THese are too adorable!!!
Kari
http://www.sweetteasweetie.com
Michelle
April 5, 2016
This is so utterly cute!
https://www.makeandmess.com/
Jas
April 6, 2016
Haha these are so adorable, I love them.
Jas x
Jas Poole Blog
Anne
April 6, 2016
Oh dear, how lovely! I’m a sucker for anything ice cream so this is worth noting. Perhaps the next birthday party? 🙂
http://annescribblesanddoodles.blogspot.com
Jordan
April 6, 2016
Love this! What a cute party hat that looks amazing too. I wouldn’t mind wearing one myself!
yolanda
April 12, 2016
I love it !! Adorable cute !!