


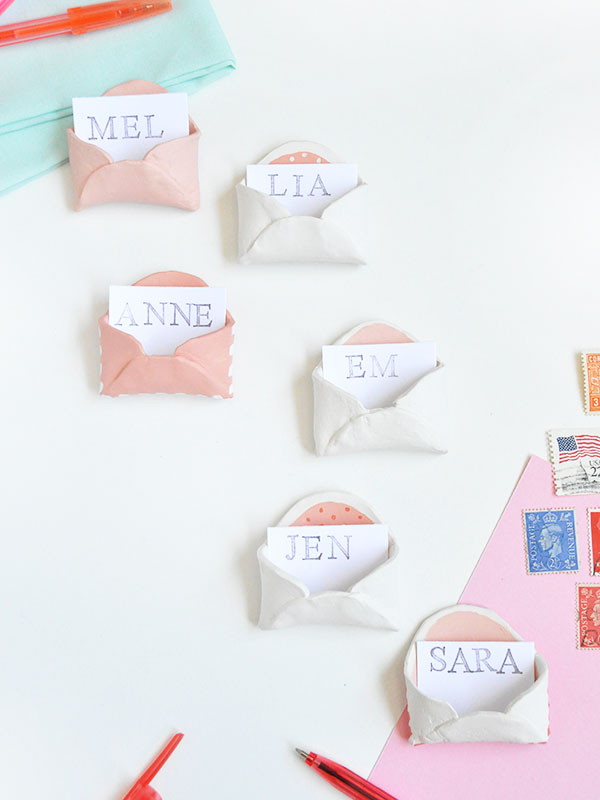
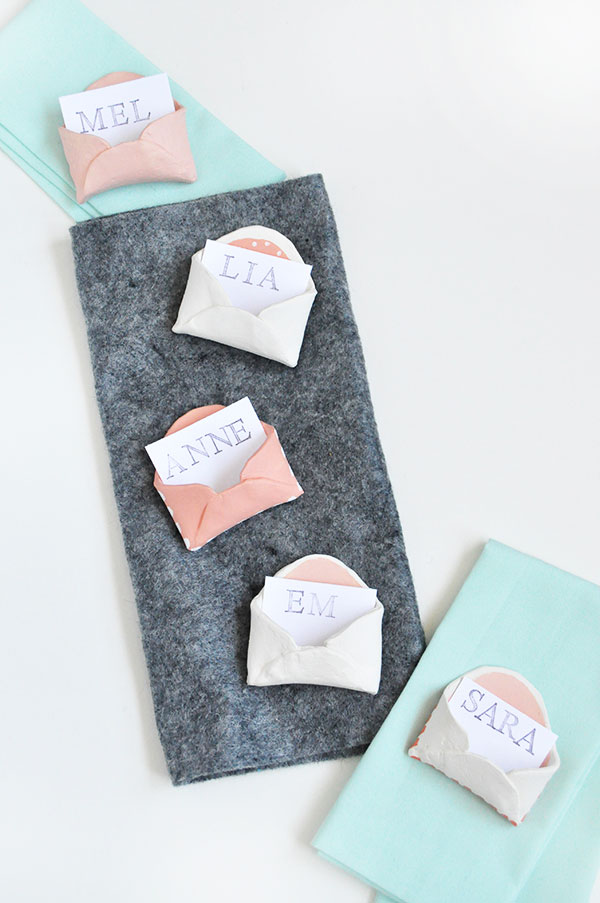
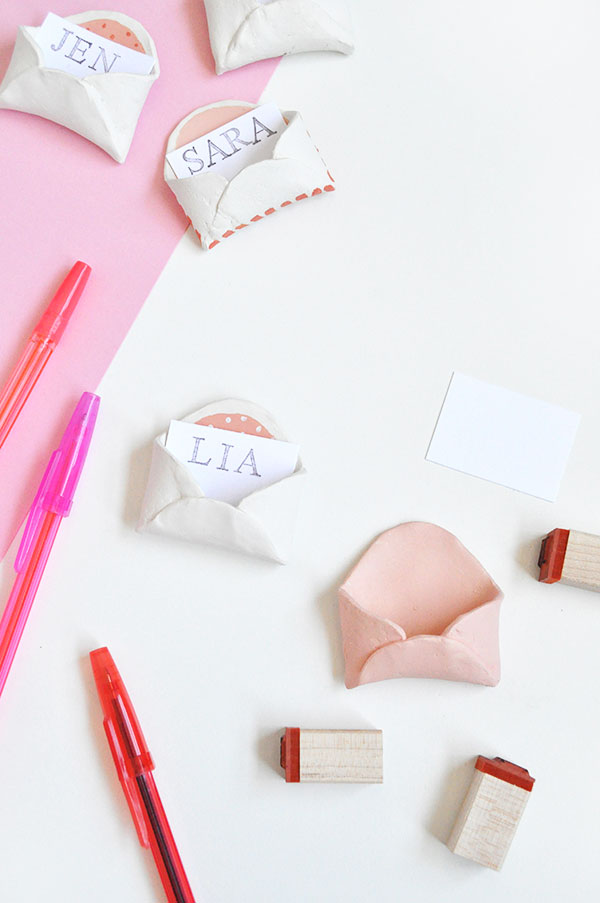
I’ve been having a lot of fun working with air dry clay recently – there really are an infinite number of things you can do with it! These place card holder envelopes were made using clay – such an easy project, no sculpting abilities required! They’ll be perfect for your next dinner party or bridal shower.
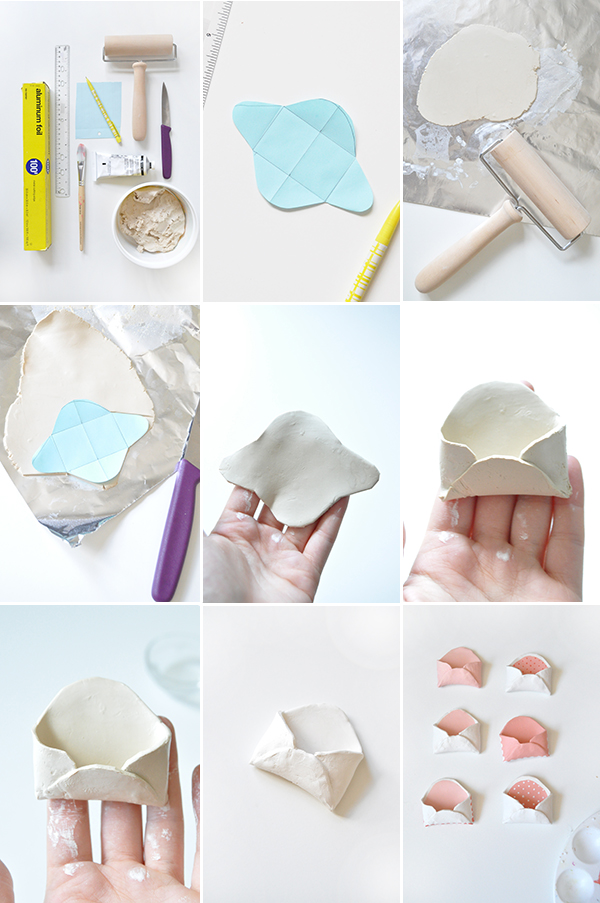
Supplies: Foil/wax paper, ruler, paper, pencil, paint
, paint brush
, roller/rolling pin, knife, air dry clay
Step 1: On the paper, draw an envelope template. You can make the size custom for your needs – my template had a center rectangle of 2″ by 1 1/4″, and the top/bottom flaps extended out 3/4″ and the sides extended 7/8″.
Step 2: On the foil, roll out the clay to a thickness of 1/8″.
Step 3: Place the template onto the clay and use the knife to cut around it.
Step 4: Gently remove from the tin foil and smooth any rough edges with your finger dipped in water.
Step 5: Fold the two sides in, and then the bottom flap on top.
Step 6: Press the overlapping pieces together and use a little bit of water to smooth any roughness.
Step 7: Let dry completely.
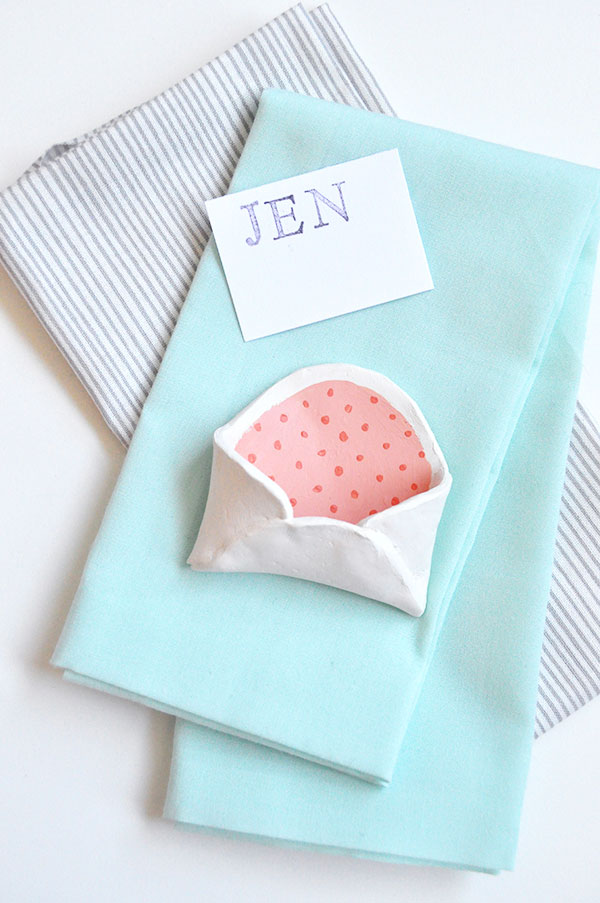
Step 8: Paint the envelopes as desired, and cut small pieces of paper for the place cards inside.


Heather
August 17, 2015
This is such a great idea! Good one Kathleen.
Malissa
August 17, 2015
Well these are just the cutest things I have ever seen!!!