


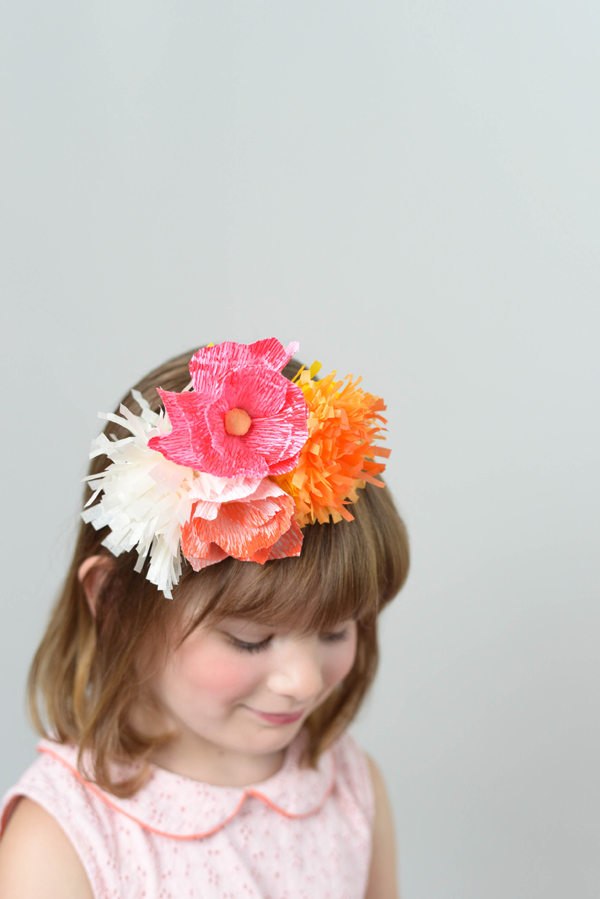
We’ve made a few versions of these party hats over the years, but they’re still one of our favorite DIYs. We love that they’re a little over-the-top and that they look like a giant pile of flowers on top of someone’s head! The DIY is really simple: we used basic paper flower techniques then mixed things up with different colors and textures. We even painted some crepe paper to add in another layer of detail. These would be really cute for a summer garden party or tea party. Make sure you click through below for detailed instructions…


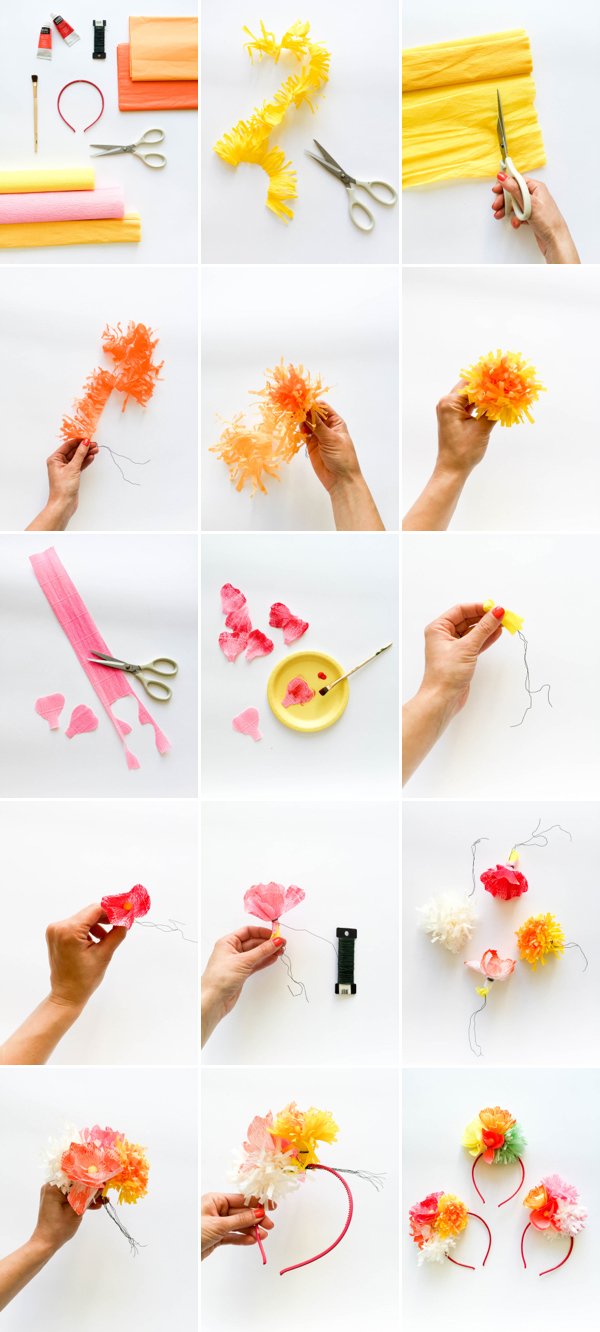
Materials: Crepe paper, tissue paper, scissors, floral wire, paint, paint brush
, headbands
For the chrysanthemums:
Step 1: Take a fold of crepe paper or tissue paper and cut off a 4″ section. (If you want the flower big and puffy do a 6″ section.)
Step 2: Take the fold and cut along one side about 3/4 of the way through making thin strips of fringe.
Step 3: Cut long sections of wire about 10″ long and short sections of wire 3″ long. If you are making a lot of flowers then cut all the wire at one time for the process to go a lot faster.
Step 4: Fold the long piece of wire in half. Begin wrapping the petals around the center and pinching it tight around the base.
Step 5: Continue wrapping it around until you are happy with the fullness.
Step 6: Wrap some small wire tightly around the base. Wrinkle and fluff the petals with your fingers.
Basic Rose Instructions
Step 7: For the petals, take the fold of crepe paper and cut off a 4 inch section.
Step 8: Take that section and cut it in half the same direction as the grain. (Crepe paper has a grain and this will matter later on.)
Step 9: Cut out a petal shape so that the grain of the crepe paper goes from the top to the bottom. It should look like there are lines running from the top of the petal to the base. (Choose the shape of the petal depending on the type of flower you want to make.)
Step 10: Lightly paint the petals so you can still see the grain of the paper. The ends of the petals should be darker.
Step 11: Cut long sections of wire about 10″ long and short sections of wire 3″ long.
Step 12: Take a scrap piece of crepe paper and wrap the wire around the middle twisting it very tight so the paper can’t slip out.
Step 13: Scrunch it in a ball.
Step 14: Then take a square of crepe paper (in whatever color you want the center of the flower to be) and wrap it around the scrunched up ball twisting it at the bottom. Now you’re ready to add the petals.
Step 15: Take the petals and with both thumbs stretch the crepe paper so it makes a nice curved petal. This is where it will matter what grain the paper is going in so that it stretches right. To go quicker you can even do this to a small stack of petals at the same time.
Step 16: Taking the center of the flower begin placing the petals around and then pinching it and holding it at the base. When you are happy with the fullness of the petals take a small piece of wire and tightly wrap it and twist it to secure it in place. When you are done you should have a nice simple flower.
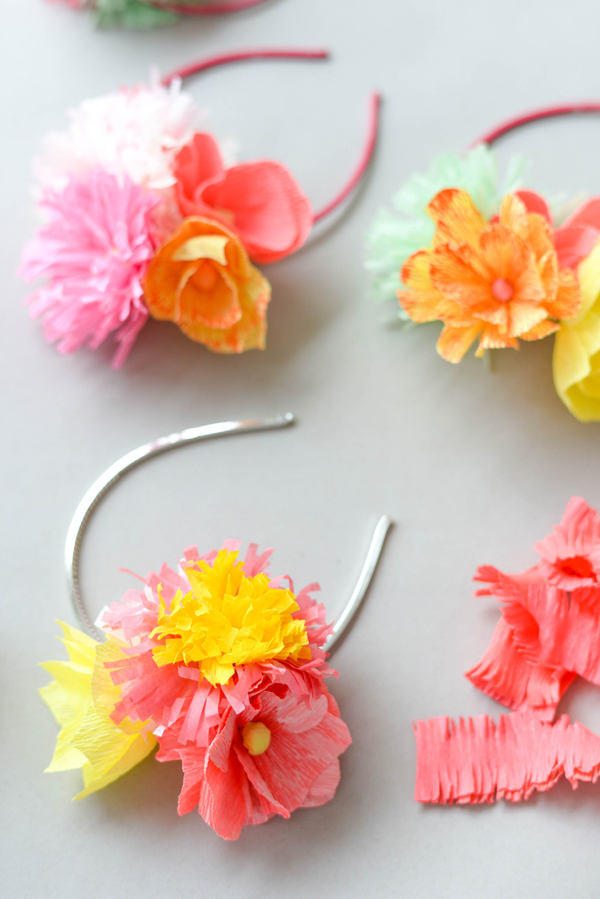
Attaching the Flowers to Your Headband
Step 17: Gather the flowers you want to use together in one hand until they look pretty.
Step 18: Hold the flowers tightly together at the base and pull the wire taught.
Step 19: Take the headband and wrap the wire tightly around it until secure, trimming the extra wire if needed. Once it is assembled you can adjust the composition to your liking.

Photos by Sarah Hebenstreit for Oh Happy Day


Bella Bucchiotti
July 29, 2015
You are so talented. These are adorable!
http://xoxobella.com/
Andrea Bustos
July 29, 2015
Very cute!
Paige
July 29, 2015
These headbands are so cute, and perfect for a little girls birthday party!
Paige
http://thehappyflammily.com
Drumles Den Haag
July 29, 2015
Wow, that’s so creative. Just lovely to make for a wedding or another party 🙂 Really cute 🙂
Gina
July 29, 2015
Those are just too cute! If only I had some nieces and not just 4 nephews. Maybe if I get some more neutral colors and blues I can still convince them to join me in making and wearing them…
Beauty Follower
July 30, 2015
Oh so cute… i would wear the one with the silver headband!
http://beautyfollower.blogspot.gr/
Elsie Pop
July 30, 2015
These are fabulous! What a cool idea! xx
Sophie
July 31, 2015
These are so cute! I love them and want to make them x