


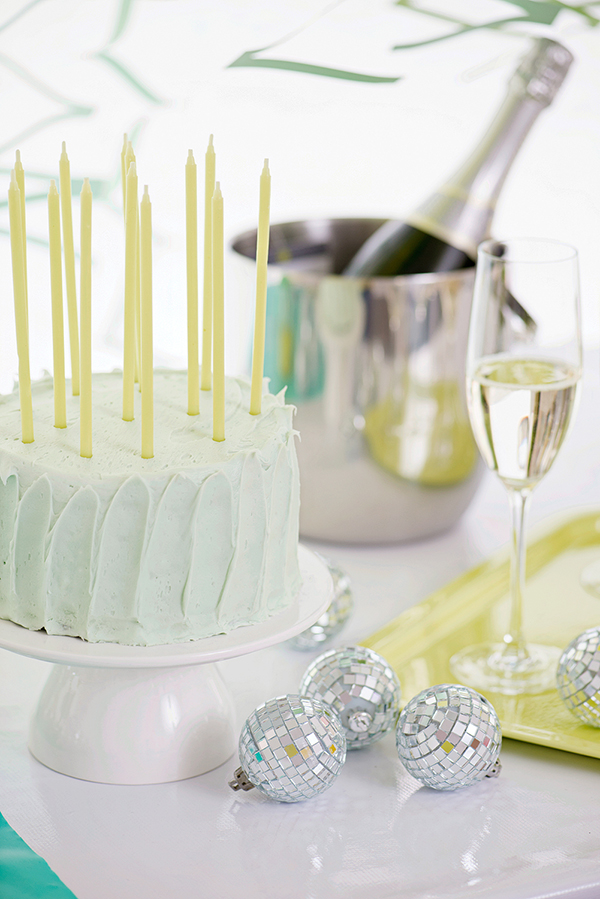
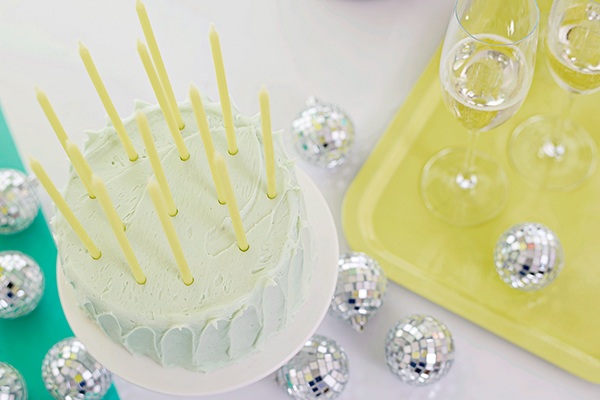
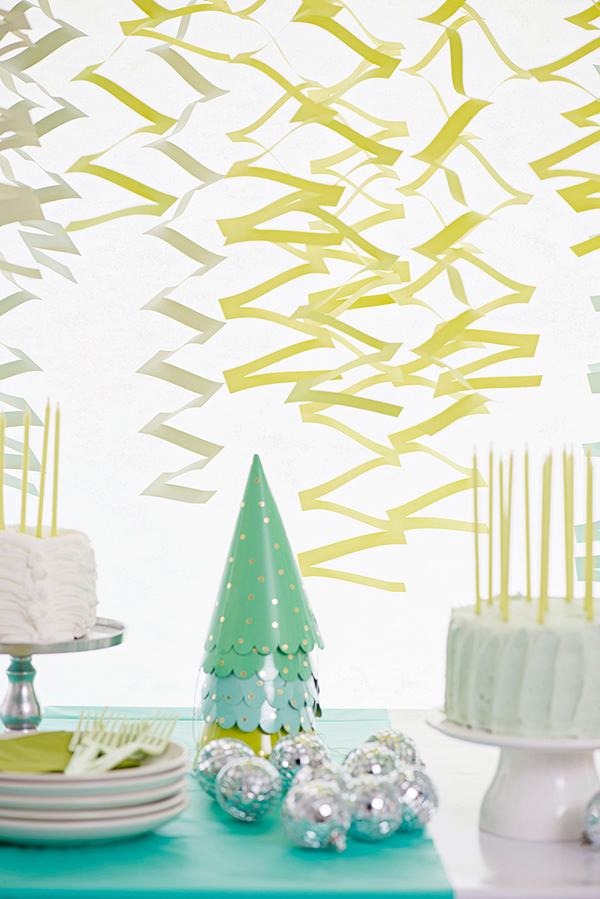
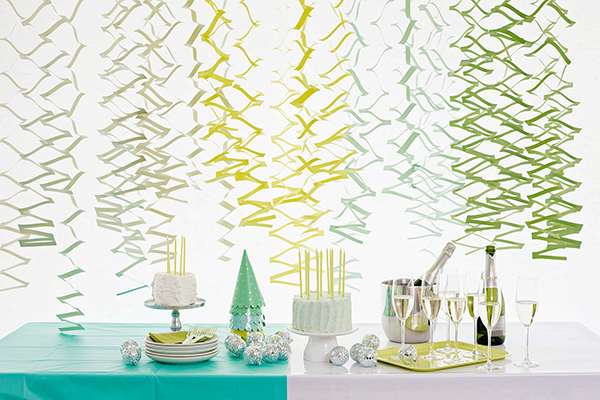
I’ve made different versions of this project over the year but I wanted to make a glam version for a grown up party. These decorations could not be easier. All you need is paper and scissors and you’re set.


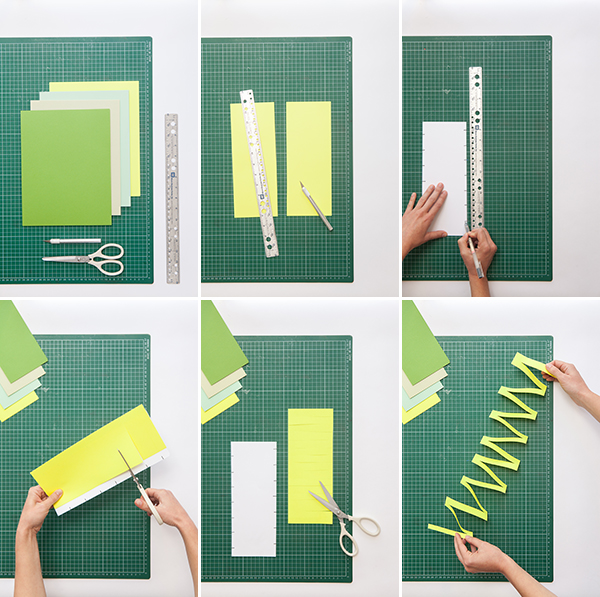
Materials: Colored cardstock, ruler, cutting mat
, x-acto knife
, http://shop.ohhappyday.com/products/martha-stewart-all-purpose-craft-scissors
Step 1: Cut a piece of paper in half so that you have 2 long rectangles.
Step 2: Use one of the sides (or a piece of paper in a different color) to create a cutting template. Use a ruler to make a 1″ mark on the first side. From there, measure 2″ from the first and make another mark. Continue along the entire side of the paper.
Step 3: Turn the template over and 2″ from the initial side and make a mark. The marks on the second side should fall directly between the marks on the first side.
Step 4: Use your template to cut a straight line towards the other side (Make sure you don’t cut all the way through.) Repeat along each mark on the template.
Step 5: Once all the cuts are made, pull the cut paper apart. It will create a long garland. Repeat with other pieces of paper and tape the ends together when you’re done!
Photos by Sarah Hebenstreit for Oh Happy Day


Kristi
June 9, 2015
I love how simple these are!
Kristi | Be Loverly
Amy
June 9, 2015
i love this post! LOVE the whole thing…colors and styling. Zig zag garland = genius! 🙂
Heather
June 9, 2015
This is so perfect.
Paige
June 9, 2015
That garland is so fun! I’m going to have so much fun recreating these crafts for my kids birthday’s this summer!
Paige
http://thehappyflammily.com
Terrell
June 10, 2015
Beyond obsessed with this!! This is such a helpful tutorial 🙂 Love love love your site!!!