


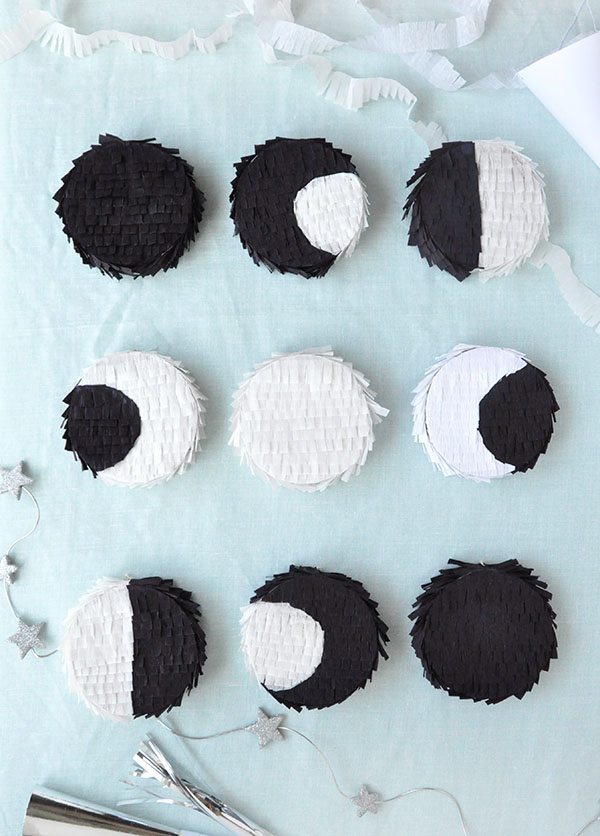
I’ve been loving the moon phase trend that’s been happening lately! I can’t help but turn my favorite things into piñatas, so these mini moon phases were born. Wouldn’t it be fun to hold a celestial party on the night of a full moon?


Supplies: Black and white crepe paper, scissors
, thin cardboard, scissors
, pencil, tape
, glue
, string
, candy/treats.
Step 1: Trace and cut circles out of the cardboard – the ones pictured have a diameter of about 4″. You’ll need two circles for each moon phase. Cut cardboard strips 1″ wide.
Step 2: Tape the strip around the circumference of a cardboard circle.
Step 3: Depending on the length of the strips, you may have to tape strips together to wrap around the whole circle. The end result should look like the image below. If filling with candy or treats, do so now.
Step 4: Tape the top cardboard circle on. Cut a length of string and tape securely onto the side of the piñata.
Step 5: Draw the moon phases onto each cardboard piñata. It helps to do a search on “moon phases” – pick whatever style you like best. When drawing, don’t forget that the side with the string is the top of the piñata.
Step 6: Cut a chunk of black crepe paper about 1″ wide and fringe. Repeat for white crepe paper.
Step 7: Starting from the bottom, apply horizontal lines of glue within the section you are covering and apply the crepe paper, overlapping the line and outside edge slightly. Let dry.
Step 8: Trim back the overhanging black crepe fringe to the pencil line you drew and from the outside edges, as shown below.
Step 9: Glue on the white crepe paper, again overlapping onto the black crepe paper and outside edge slightly. Repeat steps 7 and 8 on the back. Let dry.
Step 10: Trim the white crepe paper from the outside edge and so that you end up with a smooth curved line where the white and black meets. (Steps 7 to 10 are hardest on the phases that include curves – the solid and half/half phases are much quicker and easier.)
Step 11: Apply fringe to the sides of the piñata, making sure to match the white and black to the front and back.


heather
April 7, 2015
These are amazing. I’m obsessed!
maggie
April 7, 2015
These are so gosh darn cute. Love dat moon!
maggie
http://www.shopean.etsy.com
Christine
April 7, 2015
I thought they were googly eye piñatas from the first image haha! This would be so cute for a classroom!
Christine
http://www.DimesandDonuts.com
Eveline
April 8, 2015
Wow a celestial party sounds brilliant, especially with the whole moon cycle present!
Hannah S
April 8, 2015
Love it! Such a cute way to decorate.