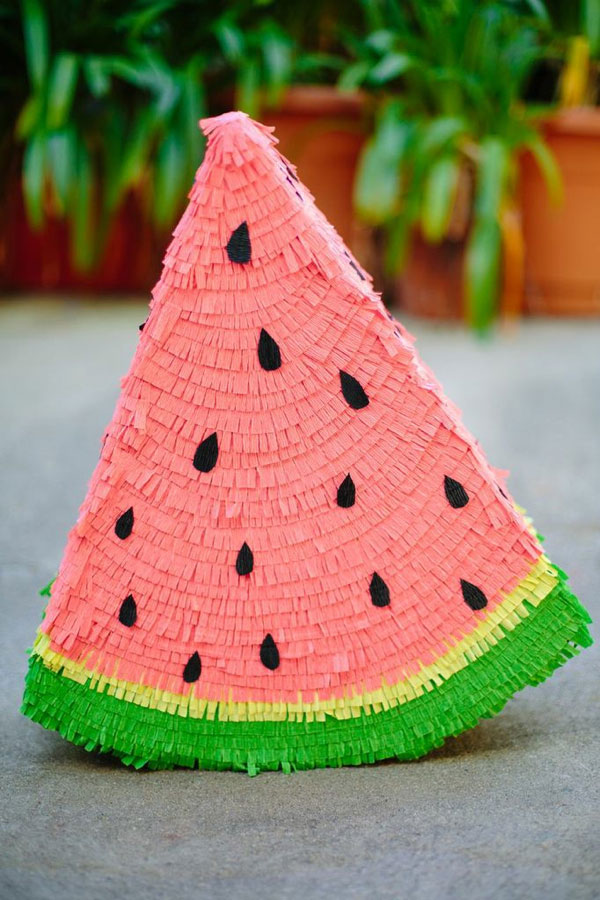
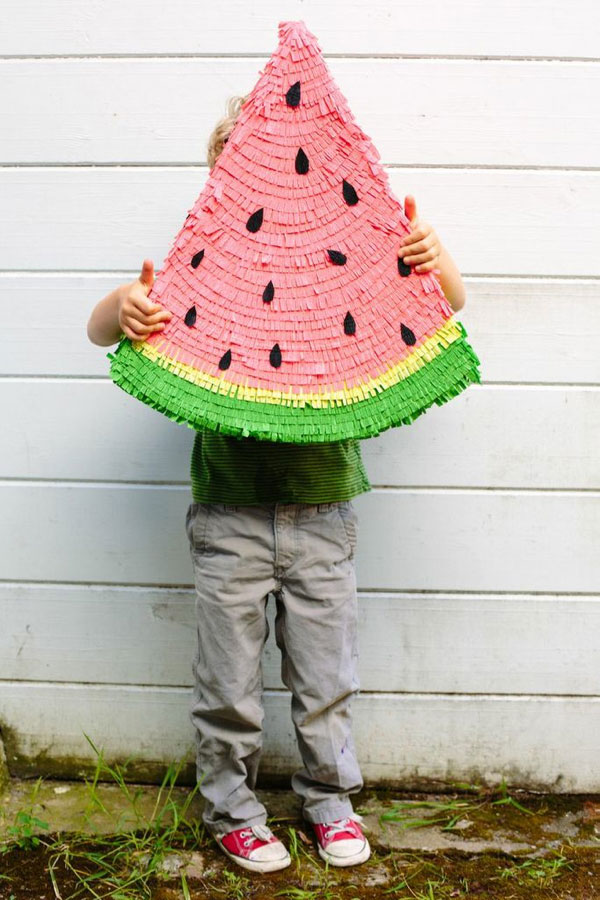
I don’t know about you, but we’ve been eating a lot of watermelon around our house lately. It’s such a huge part of our summer, so I couldn’t resist making one in pinata form. This one turned out so pretty, I don’t think I could break it! Instead, I’ll be using it as decoration for our next party (or maybe even for the 4th of July!) It would also be really cute paired with a few other summer treat pinatas, like Ice Cream Cones or Popsicles!
Click through for instructions.
Materials: Crepe Paper, Cardboard, Scissors, Tape, Glue, Pencil, X-Acto Knife, Quick Dry Glue
Step 1: Gather two pieces of cardboard of equal size and draw the shape of a watermelon slice on each.
Step 2: Cut out the shapes.
Step 3: Cut several 6″ wide strips of cardboard to make the sides of the watermelon slice.
Step 4: Fold the cardboard incrementally to allow it to bend along the curved bottom of the watermelon slice.
Step 5: Tape the folded strips of cardboard to one watermelon slice shape to create the walls.
Step 6: Tape the second watermelon slice shape to the top of the walls.
Step 7: Cut the crepe paper into 3/4″ strips.
Step 8: Cut the fringe out of crepe paper.
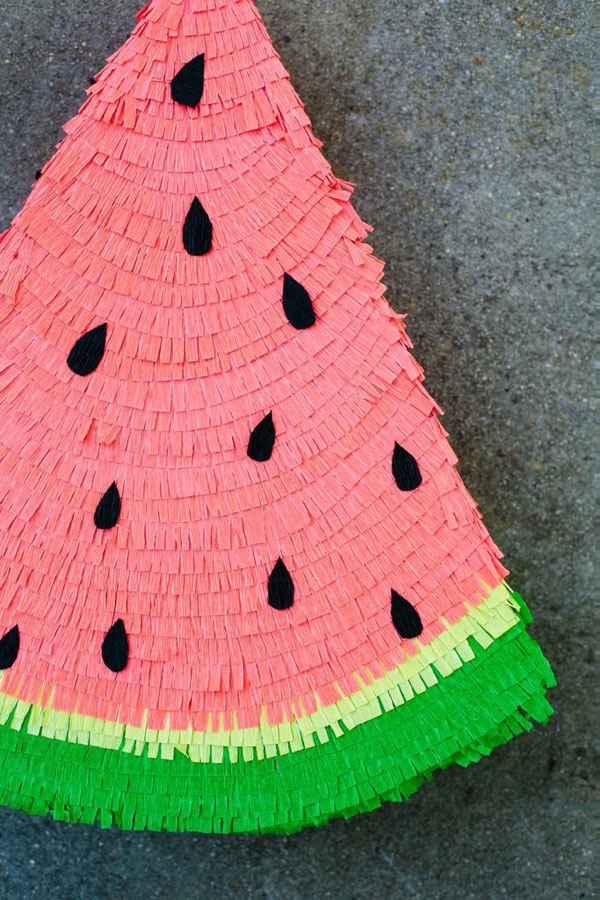
Step 9: Glue the fringe to the watermelon slice – Start at the bottom and work upwards. We used three colors of fringe: green and yellow for the rind, pink for the melon.
Step 10: Pay special attention to the last row of fringe. The secret to a nice looking piñata is all in how you apply the last row. Glue this row over the edge so that it is on the top and front surfaces.
Step 11: Cut seed shapes from black crepe paper and glue onto your piñata.
Step 12: Fill with treats and enjoy!
Photography by Kim A. Thomas for Oh Happy Day
Art Direction by Jordan Ferney
Styling by Irene Yu
Crafting by Caitlin Barker and Stephanie Pressler


Anne
June 27, 2013
This is so cute! Nicely done as always 🙂
http://annescribblesanddoodles.blogspot.com/
Meg
June 27, 2013
This is so cute!
Love!
http://happinessiscreating.com/
Lisette Wolter-McKinley
June 27, 2013
You certainly have become a professional at pinata making. Nice work!
http://lisetteandcameron.blogspot.com
LARY@Inspiration Nook
June 27, 2013
This is too CUTE!!!!
Marie
June 27, 2013
Love it! Perfect for a summer party! 🙂
http://www.happypaperplace.com
Christina
June 27, 2013
This is so great! Would love instructions on making one of those “pull string” pinatas. We don’t have a lot of space and the idea of little kids swinging a bat about freaks me out a bit!
Justina
July 1, 2013
Any tips on how to attach the right material to hang this? I love it! My girlfriend is having a TMNT party and I am thinking I could tweek this to be a pizza slice!
How fun! I tend to use ribbon for hanging, but strong twine would also work.
Cathy
July 3, 2013
Do you ever paper machete the card board boxes before decorating? I intend to make one, but don’t want it to fall apart too fast, or not all the kids will get a chance…
This is totally awesome. Thanks for sharing
Yes, you could add another layer of paper mache if you wanted to make the cardboard super-strong… but I don’t think it’s necessary. All of our pinatas have held together well. We just make sure to use strong tape!
Gypsy Wools
July 3, 2013
This is so cute! And I love how simple it is, thanks for the tutorial!
Heather - Chickabug
July 4, 2013
Perfect summer Pinata! The only downside to making this pretty creation is knowing you’d have to watch it get bashed apart. Maybe parent’s can just skip that step: show everyone the pretty watermelon, blindfold a kid and let him swing at the air for a minute or so and then throw candy on the ground! : )
Crosby
July 4, 2013
I love this idea, but I’m always super skeptical of cardboard pinatas. I’ve been to more than one party where the adults had to rip it open and dump out all the goodies because little kids can’t bash through cardboard. When you’ve made these can little kids (like the adorable one in the picture) actually break them open with the taped sides?
You’re right, cardboard pinatas tend to be pretty sturdy – although, ours aren’t any harder to break open than store bought versions. If you’re worried about it, you could make a few substitutions: weaker tape or thinner cardboard (like cereal boxes) should help.
Teresa
July 4, 2013
So this may be a silly question but if you put it all together, how/where do you fill it with candy?
You could fill it with candy before you tape up the sides, or you could cut a small incision in the top and insert the candy there after the pinata is decorated. I hope that helps!
Hilde
July 10, 2013
oh this is so cute. potentially my favorite pinata!