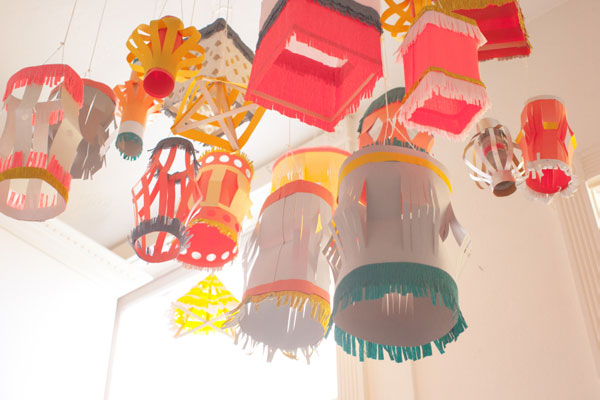
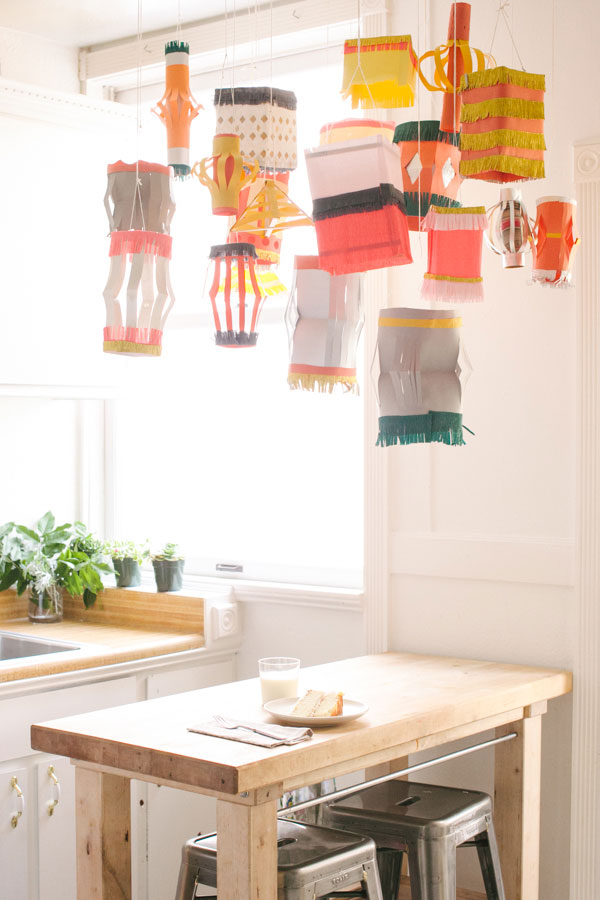
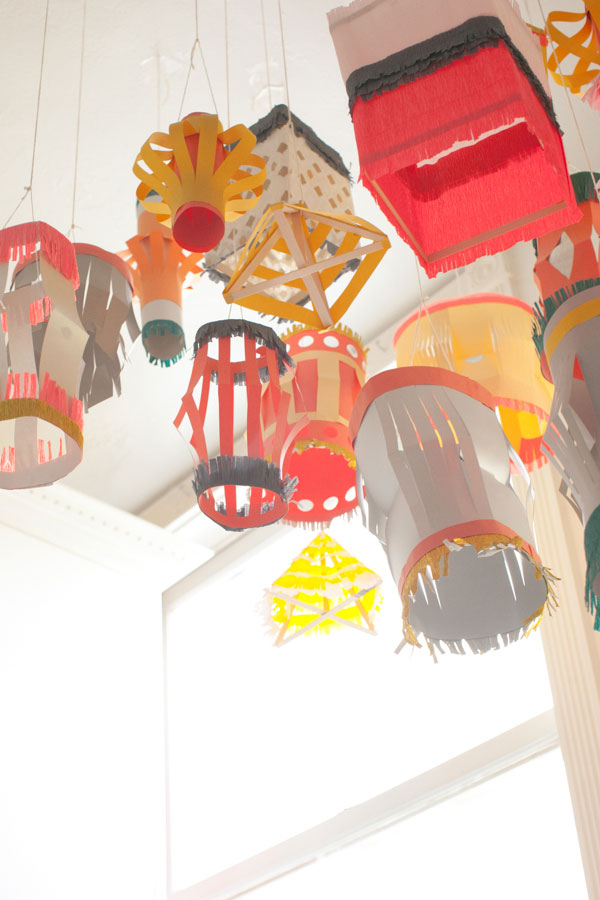
I saw a window of paper lanterns at an art store last year and I have been wanting to try my hand at them. Below, you’ll find tutorials for 4 different kinds of paper lanterns. They can be hung up for a party or strung across the backyard patio. I like the variety of all the shapes and sizes, it makes it look like a big festive party.
Click through for instructions.
Materials: Construction Paper, Quick Dry Tacky Glue, Scissors, String, Flat Wooden Sticks
Step 1: Cut out a large rectangle shape.
Triangle Paper Lantern
Step 1: Cut the thin wooden sticks down so there are two 7-inch sticks, four 5-inch sticks, and one 3-inch stick.
Step 2: Glue two 7-inch sticks together to make a “+” sign.
Step 3: Glue the 3-inch stick vertically in the middle of the “+.”
Step 4: Lean a 5-inch stick from one end of the base to the top of the vertical stick in the middle. Glue into place. Repeat with the remaining 5-inch sticks.
Step 5: Allow glue to dry completely.
Step 6: Cut out several thin strips of paper.
Step 7: Wrap this paper horizontally around the sticks and glue in place.
Step 8: Cover the leaning 5-inch sticks of wood vertically with a long strip of paper. Glue in place on the top and the bottom.
Step 9: Leave as is, or cover with crepe paper fringe.
Step 10: Attach string and hang!
Photography by Aubrey Trinnaman for Oh Happy Day
Art Direction by Jordan Ferney
Produced by Stacy Wichelhaus
Crafting by Jessica Heywood


PARIS BEE kids blog
May 20, 2013
They look amazing all hung up together!!!! Would be fun to use wallpaper prints on these for some really cool looks too.
xoxo PARIS BEE kids blog
Lisette Wolter-McKinley
May 20, 2013
There are endless things you can do with a piece of paper.
Kayleigh
May 20, 2013
Love the idea of creating these. Your steps look wonderful to follow as well, which I am sure is not always easy!
http://notesofinspires.wordpress.com
Meg
May 20, 2013
These are serioulsy awesome!
So bright and colorful!
http://happinessiscreating.com/
Kathleen
May 20, 2013
These are gorgeous!! Love the look of all the different shaped lanterned grouped together.
lauritapurple (@lauritapurple)
May 20, 2013
Great DIY!! Very nice lanterns!!
Natalie / Half Asleep Studio
May 20, 2013
Such a wonderful concept! So creative!
Liese
May 20, 2013
thanks for the idea!
lipstickandsoda.blogspot.be
Kate
May 20, 2013
These are so perfect.
Mackenzie
May 20, 2013
WOW, those are so gorgeous hung up together!! I would love to have those hanging over my bed!!
Mackenzie
http://www.heybirdfriend.com
Julia's Bookbag
May 21, 2013
HOLY MOLY MACARONI! Fun paper lanterns are my favorite. This is the mothership of paper lantern awesome!
lyndsay
May 23, 2013
wow! they look awesome all bunched up together, so cute! (as some other commenters have noted, too!) that is all the decoration you would need for a fun party! or, when you just want to sit down and eat a big old slice o’ cake and a glass of milk! 🙂
Anne
May 25, 2013
This is a really good idea! I’m planning a big party for the bday my BFF’s sister. This is awesome. Thanks!
http://annescribblesanddoodles.blogspot.com/
Paulette Leto
May 31, 2013
I think mixing a huge variety of styles really makes them all look cool together. I wonder if it would be possible to take a similar style and make minor variations on it, like cutting the paper in different ways or using a different color of paper, to make different lanterns using the same few basic styles?