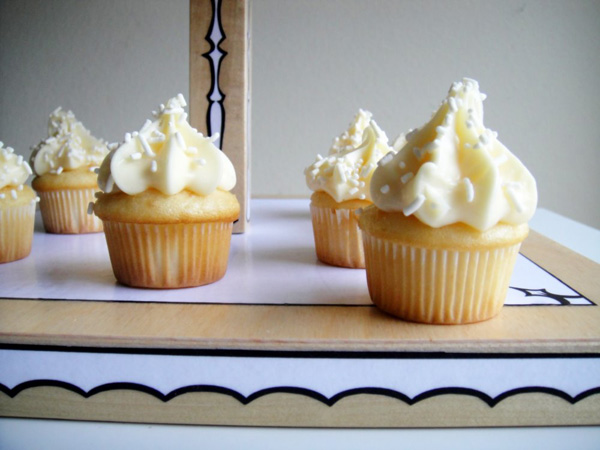
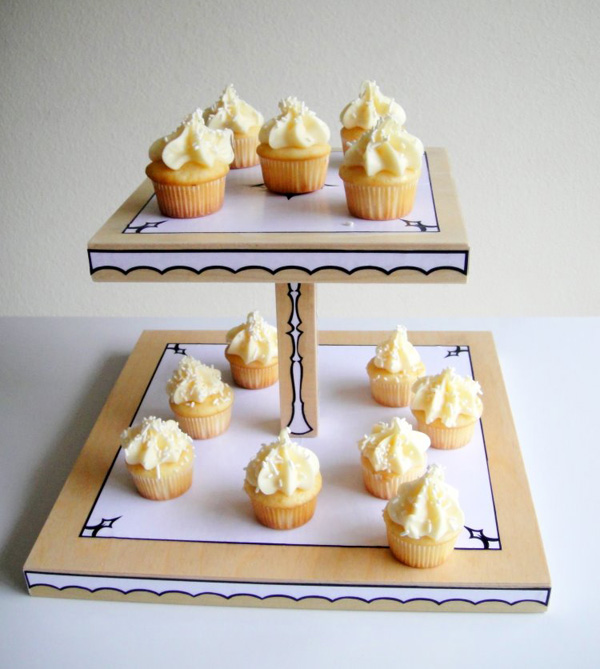
Fun with faux! Just a little something special to add to that cake stand collection. A girl can never have too many cake stands. Ok, maybe I might have too many, but that didn’t stop me from making my own! I have always loved the trompe l’oeil bags in black and white that pop up every once in a while and that inspired me to make a fancy cake stand, but with a tongue in cheek twist. You will just need to download the printables, print, cut and glue. This basic stand tutorial made from artist panels, is quick and only requires one power tool, a drill, which is only a 3 on the DIY tool scale. It’s very easy, and I did all the fancy work for you!
You will need:
printable cupcake stand designs {download here}
1 each of 8” and 12” square wood painting panels
1 – 1”x1”x7” wood dowel (have cut at shop or bribe loved one)
Mod Podge
scissors
sandpaper (finishing grit , like 400)
countersink bit (for drill)
drill
2 wood screws (same # size as countersink bit)
Step 1: Sand all pieces lightly and wipe off dust with a cloth.
Step 2: Pre-drill holes with countersink bits in the center of each of the panels. This will let you screw the pieces together easier. *Don’t fret over the bit, it is cheap and gives a nice little hole for the screw head to lay in. You use this bit exactly the same as pre-drilling with a plain drill bit. This just makes your work prettier. Just make sure you pick the same # bit to correspond to your screw size. Pre-drill holes in the top and bottom of the dowel, just don’t go down all the way to the countersink part. Pre-drilling holes will give you a “starter” hole to put your screw into later.
Step 3: Print and cut out designs, you will need 4 copies of the sides and one each of the 8” and 12” designs.
Step 4: Glue! For each side: Coat lightly, but generously, too little will give wrinkles, with Mod Podge and adhere a side decal in the top center. Smooth gently to remove all air bubbles. Coat with a second coat of Mod Podge, work efficiently and cover the whole area lightly. Let dry. *Don’t work this coat too much, it will make the ink bleed. It is better to have one light coat to seal and then go back with subsequent coats. Repeat with all four sides of the center rod. Then repeat with all four sides of each “plate.” Use the directions above to top the bottom “plate” with one side of the topper design for the 12”. Carefully attach and line up other side, the topper should look like one piece of paper, it is ok to overlap slightly if you prefer. Coat with seal coat, let dry and repeat coats like you did for the sides. Finish all sides, except for the top of the 8” plate, with 2-4 coats and fully dry to assemble. First, screw the bottom on from the under side of the 12” plate.
Step 5: Next, screw the top plate on from the top. Fill hole with Mod Podge and let dry. Sand smooth, if needed. Coat with a light, but generous coat of Mod Podge, adhere 8” decal in center. Let dry and finish with more coats, as before.
Enjoy and have a hoot of a good time. Could you imagine an entire Trompe L’oeil party?


Hannah @ Sparrow + Spark!
October 20, 2011
This is really neat! And those cakes look delicious 😉
molly ruth
October 20, 2011
awesome idea! and i love that you use the word ‘hoot’ too!
rhiannon
October 20, 2011
this is so adorable!! i seriously love it.
http://www.modernsuburbanites.blogspot.com
postcards and pretties
October 20, 2011
super cute!!!
Cecilia
October 20, 2011
Cool! Loved it!
sami
October 20, 2011
huge fan of tromp l’oiel. but those cupcakes are what i have my eye on!
xo
sami
Miss Amy
October 20, 2011
Very creative! Looks like it could be hard to store and heavy! Is it?
Kacie
October 20, 2011
This is brilliant!!!! I love it. It’s so creative and affordable and doable!
Kacie
http://www.acollectionofpassions.com/
Rebecca - A Daily Something
October 20, 2011
<3! This is incredible, and seems *easyish* to make. Just gotta work on bribing my bro 😉 Maybe if I promise a cupcake AFTER the stand's made? 😉
Stella - Stella's style
October 21, 2011
aww so cute! I have to make one! thanks for the download!
Julianna
October 21, 2011
This is SO adorable! I am going to try this today for a party this weekend!
Sara
October 21, 2011
I can’t handle how amazing this is! The great thing is that this idea could totally be blown out into other decorations for any party. So ingenous!
sharon garofalow
October 24, 2011
I freaking love your DIYS, Jenny! This cake stand is, as some say, amazeballs. I LOVE it! Congrats on the new monthly gig!