


I’m obsessed with this little face planter DIY. They are seriously so easy to make and are SO CUTE! I have a bunch of little planters I’ve collected with funny faces on them and I thought it would be cool to make my own to add to my collection. For these planters we just picked up some pots at a nursery and then made the faces out of paint and sculpey. So easy! We partnered with Google Home for this DIY. Do you know about Google Home? It’s a voice-activated device that does everything from: setting timers, answering quick questions, playing music, and even turning on the heat or a kettle! It’s a great tool for busy parents – because it’s totally hands free. So, if you’re in the middle of a project with your kids, or need some inspiration while you’re working, or if you’re in the middle of crafting these planters and just want to listen to some music – you just have to tell it and voila! Music! It’s like having an assistant to make life easier so you can focus on important things, like crafting (and family).
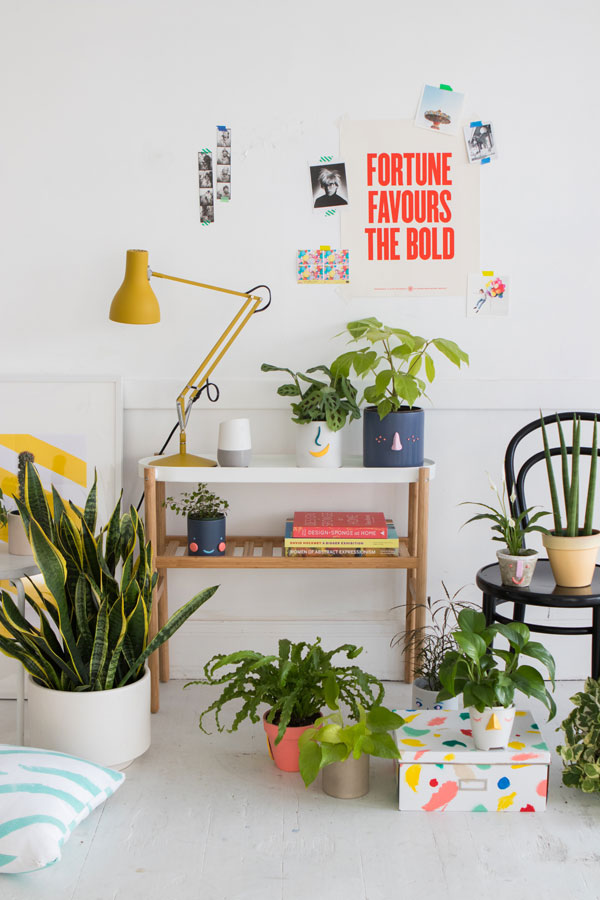
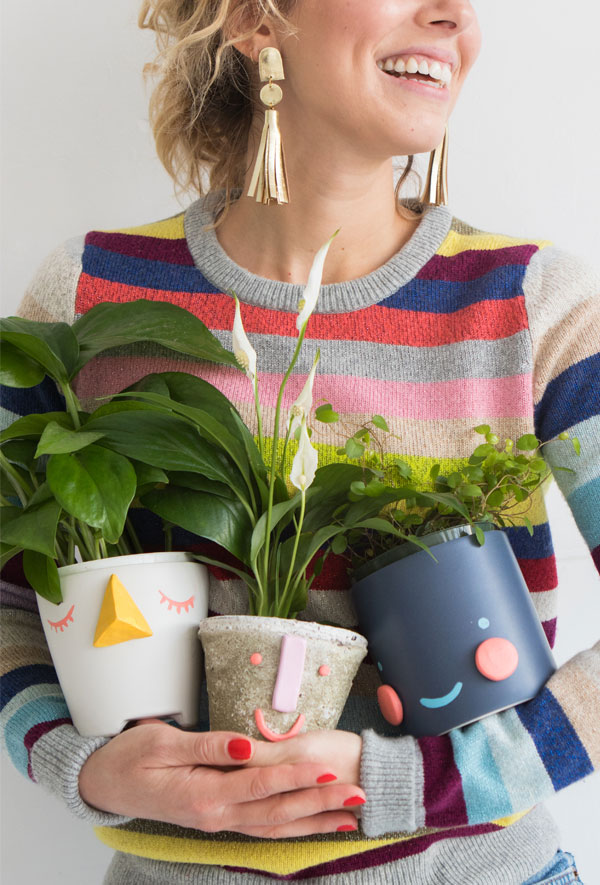
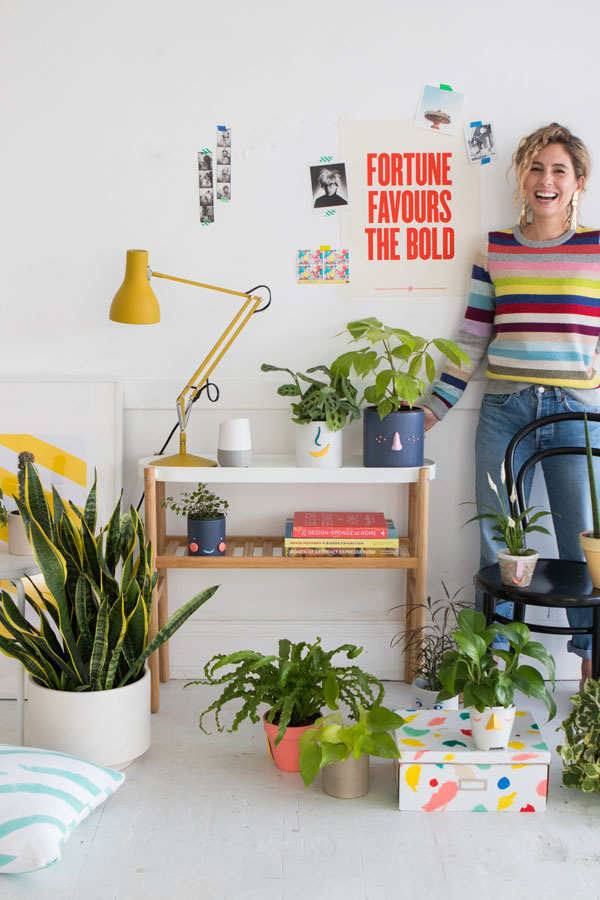
I love how each little pot has a personality. They would make such a great homemade gift for the holidays because they are affordable and right on trend. You could make a batch add a little plant and give them to your friends or coworkers.
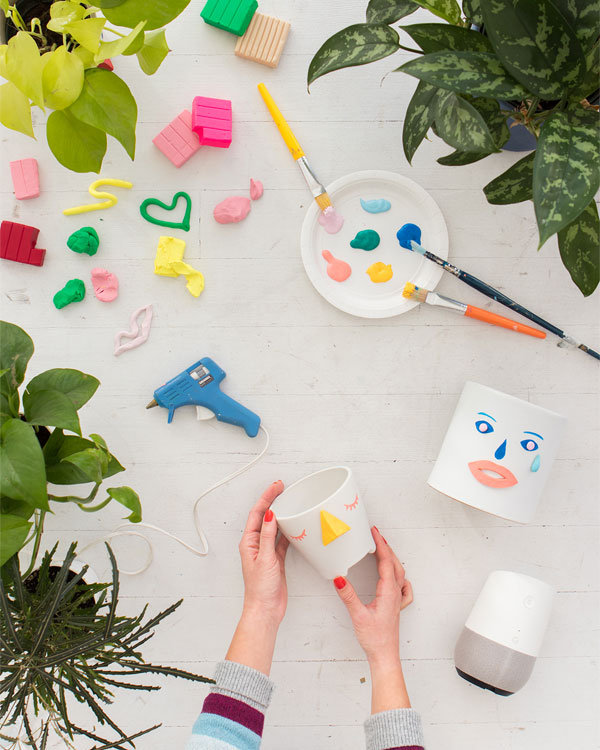
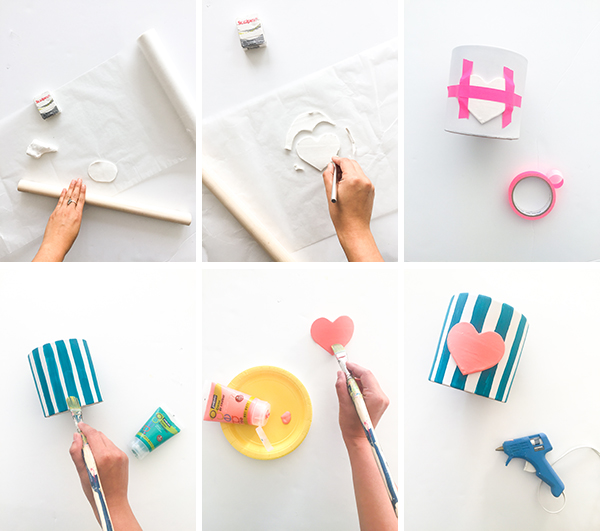
Materials needed: Sculpey III, wax paper, x-acto knife, oven, ceramic plant pots, artists tape, acrylic paint, paint brush, hot glue gun
Step 1: Roll sculpey onto a piece of wax paper until you have an evenly flattened piece. Using an x-acto knife, cut out your three dimensional design from the flattened sculpey. Smooth the edges with your fingers.
Step 2: Bake your design for the amount of time specified on your package. This can vary from brand to brand. Because of the small size of our designs, we only needed to bake ours for about 1-2 minutes each.
Step 3: While the sculpey is still warm, lay the design over the curve of the ceramic pot. Tape the design onto the curved form and let cool completely. Remove the design and tape from the pot.
Step 4: Paint the pot and the hardened sculpey design with acrylic paint as you wish and let dry.
Step 5: Adhere the design to the ceramic pot with hot glue.
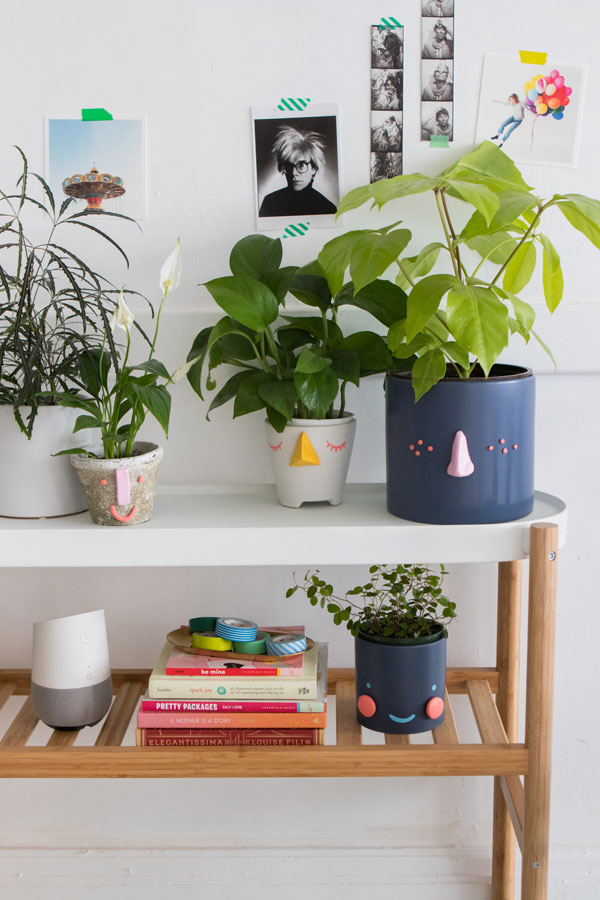
Step 6: Put your plant in its new home, and you’re all set!

This post is sponsored by Google Home.
Crafting by Naomi Julia Satake and Justine Pon


monika0930
December 12, 2016
LOVE this project but i think I love those gold earrings even more!
Jessica
December 12, 2016
These are awesome! x
Jessica — NinetyCo
Michelle
December 12, 2016
How cute are they? So adorable!
https://www.makeandmess.com/
Natalie
December 12, 2016
I’ve been looking for some new planters but now I’ve seen this I’m just going to upcycle the ones I’ve already got because these are amazing
– Natalie
http://www.workovereasy.com
Kari
December 12, 2016
What a fun craft idea!
Kari
http://sweetteasweetie.com/honey-bunches-oats-almond-treats/
Jean
December 13, 2016
Love this project. Love Google Home and also love the “fortune favors the bold” print! Where is it from??
Dottie Louise
December 14, 2016
I LOVE these! What a great way to add even more personality to your plants! lol My favorite one is the planter on the very left of the second photo up from the bottom! Those cheeks are too cute! But they each have something awesome going for them! 😀
Christy
December 16, 2016
Love the idea, but more importantly WHERE ARE THOSE EARNINGS FROM?!
Leila
December 21, 2016
The chicken pot is so cute!
Mari
December 21, 2016
awesome gift idea! great post but i have to know ..where are those earrings from ?