


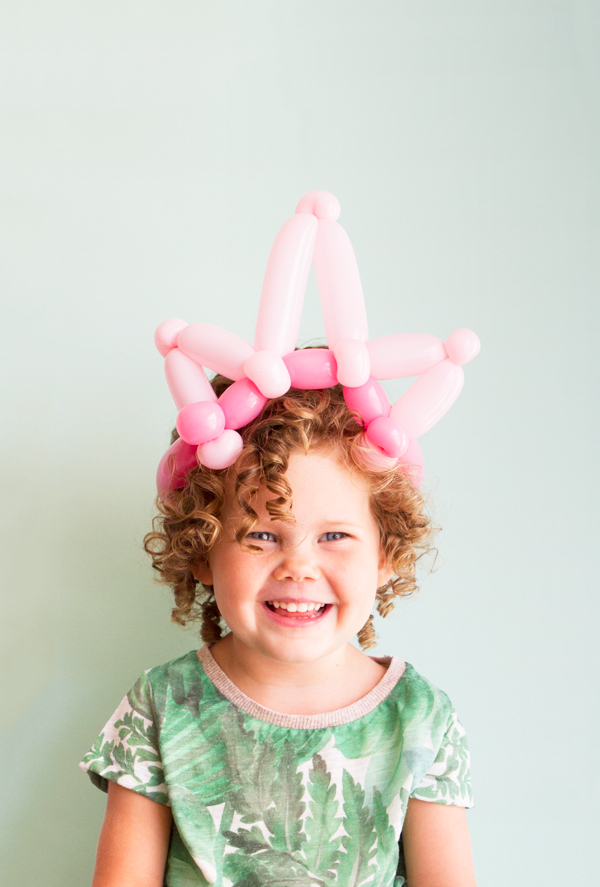
Here’s a cute and relatively simple balloon twisting DIY that is sure to be a crowd pleaser at a kid’s party- A Princess Crown! We’ve been working with a balloon artist to create so basic balloon sculptures. We’ve used the 160 balloons that look more delicate and pretty than the standard 260 balloons. Balloons are cheap and easy and are biodegradable! They are our favorite party accessory.


If you’re never done balloon twisting before, this video will help you with the basics!
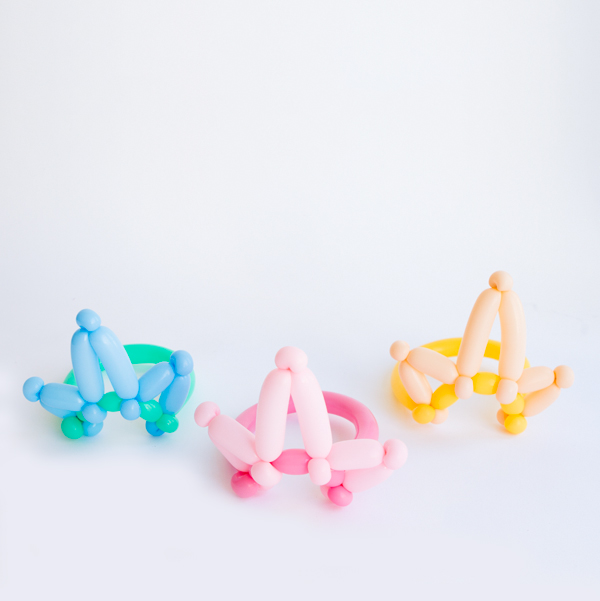
Tools and Materials: Balloon pump, 2 (different colored) 160q balloons. We’ve used light pink and dark pink. The light pink will be for the top of the crown (the most visible part) and the dark pink will be for the bottom band of the crown.
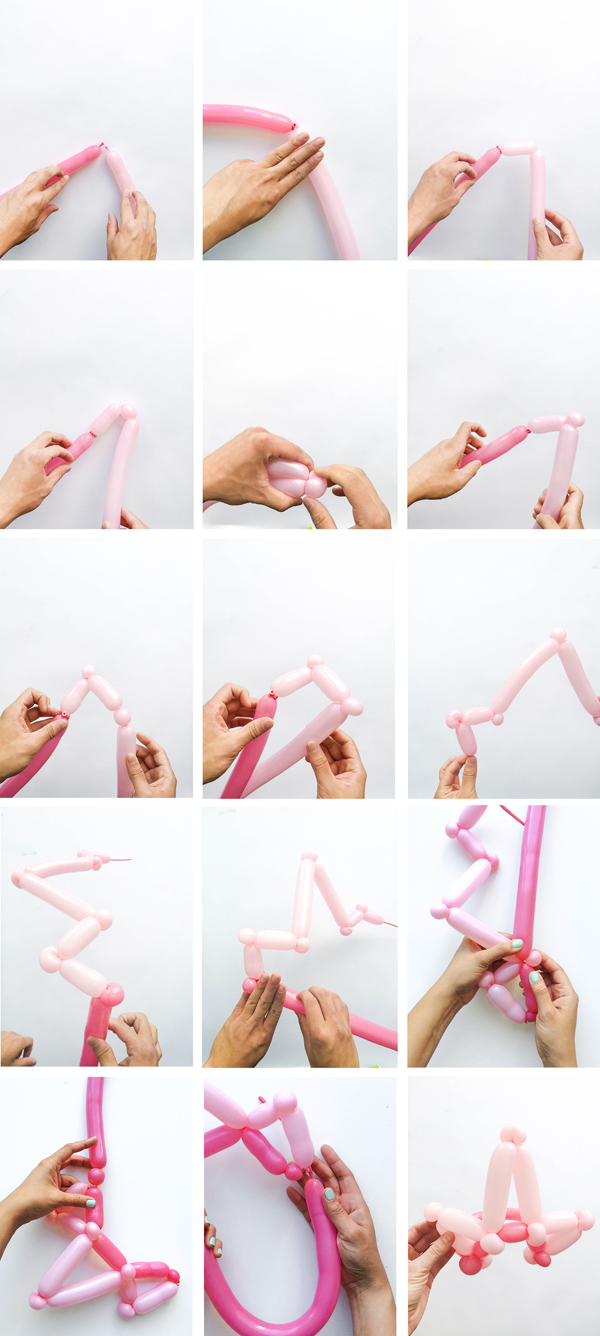
Step 1: Pump 8 or 9 pumps into each balloon.
Step 2: Tie the end of both balloons together.
Step 3: Measure 4 fingers from the edge of light pink balloon (or whichever color you’re elected to be the top of your crown) and twist 5 times (basic twist).
Step 4: Create a 1 inch “bubble” and perform a pinch twist (lift the bubble and twist 5 times then put back down). See this video for a good example!
Step 5: Repeat step 3 and 4 to create the second part of the first spike.
Step 6: For the second longer spike, repeat step 3 and 4 twice, except this time we’re measuring 6 fingers for each side of the spikes.
Step 7: Repeat step 3 and 4 to create the third and final part of the spike.
Step 8: On the dark pink balloon measure a 1 inch bubble from where it connects with the light pink balloon and pinch twist.
Step 9: Measure 3 fingers in from the bubble on the dark pink balloon and do a basic twist, then twist this point together with the second pinch twist on the light pink balloon (5 times, as usual).
Step 10: Repeat step 9 except connect with the 4th pinch twist on the light pink balloon.
Step 11: Create another 1 inch bubble in the dark pink balloon and pinch twist.
Step 12: To connect the final spike to the dark pink balloon, grab the ‘tail’, or the part of the balloon that is not inflated and wrap it around that pinch twist.
Step 13: To measure the band of the crown, wrap it around the head of your “Princess”. Mark the point with your finger and then twist this point into the pinch twisted bubble at the corner of the crown.


Pat Schwab
September 3, 2015
The crown is cute but her smile is the best. She has Shirley Temple curls and is adorable.
Meredithe
September 5, 2015
Hilarious!